Introduction
Your vehicle has a variety of electrical components that power everything from the air conditioner to the taillights. When something goes wrong, it can be hard to diagnose the problem with one of those components, but when it comes to a vehicle’s electronics, there’s a decent chance the problem is related to a relay.
Several electrical components in your vehicle are controlled by relays. They function like switches, letting one circuit control another, despite differences in amperage. When they go bad, it’s important to know where the problem lies, so that it can be safely fixed without damaging the vehicle. Thankfully, testing a relay is a task that even amateur mechanics can handle.
The Drive’s crack informational team is here to help, so let’s dig in!
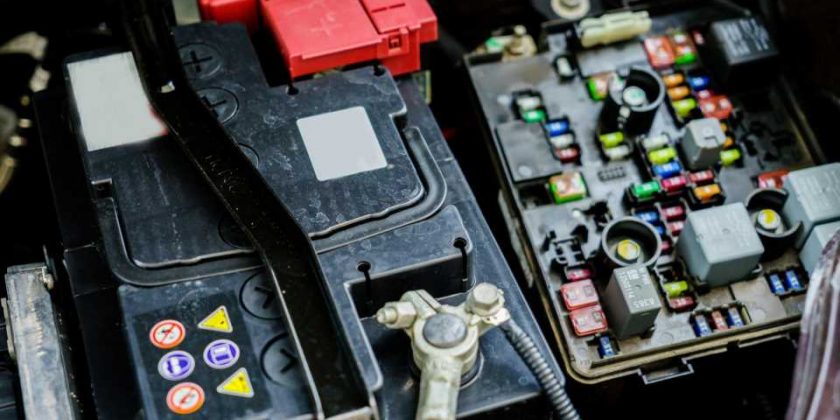
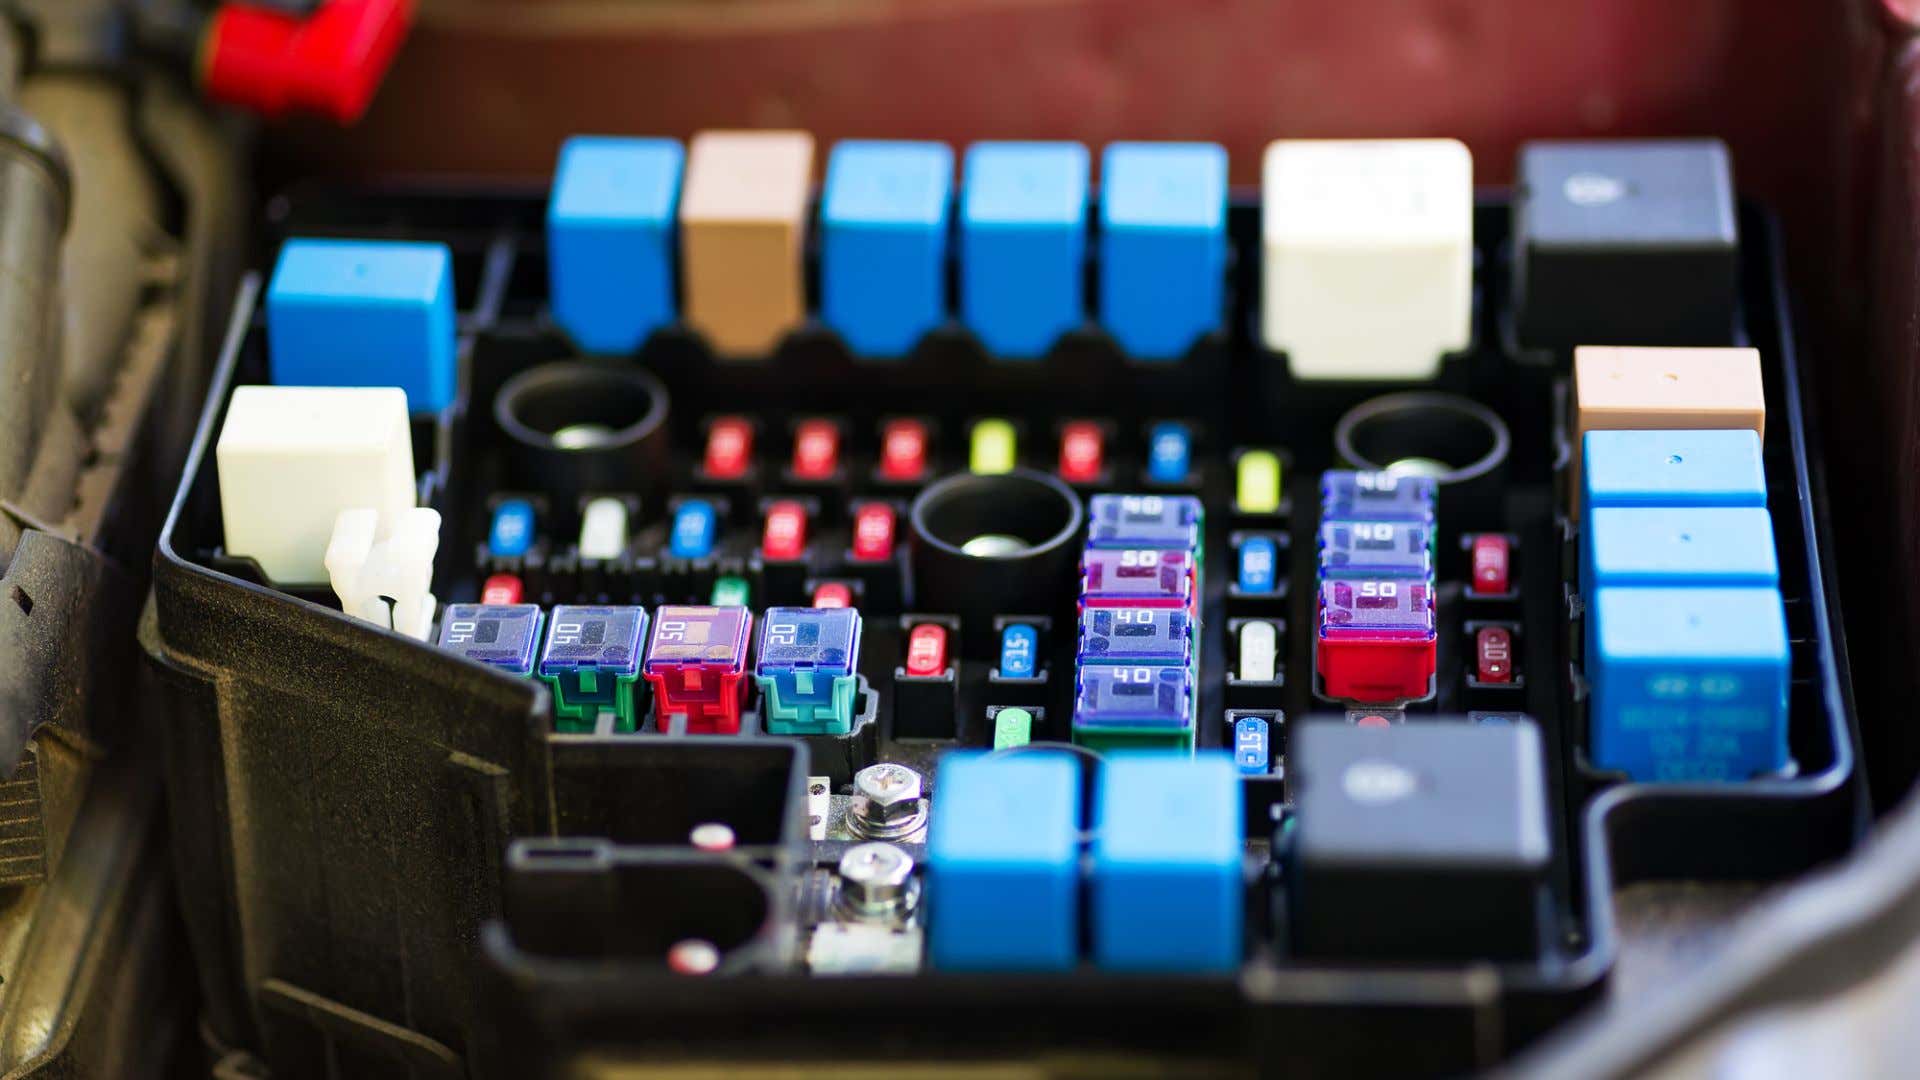
A car’s fuse and relay box.
Relay Diagnostics Basics
Estimated Time Needed: 30 minutes to an hour, depending on skill level and the relay location
Skill Level: Beginner
Vehicle System: Electrical
What Is A Relay?
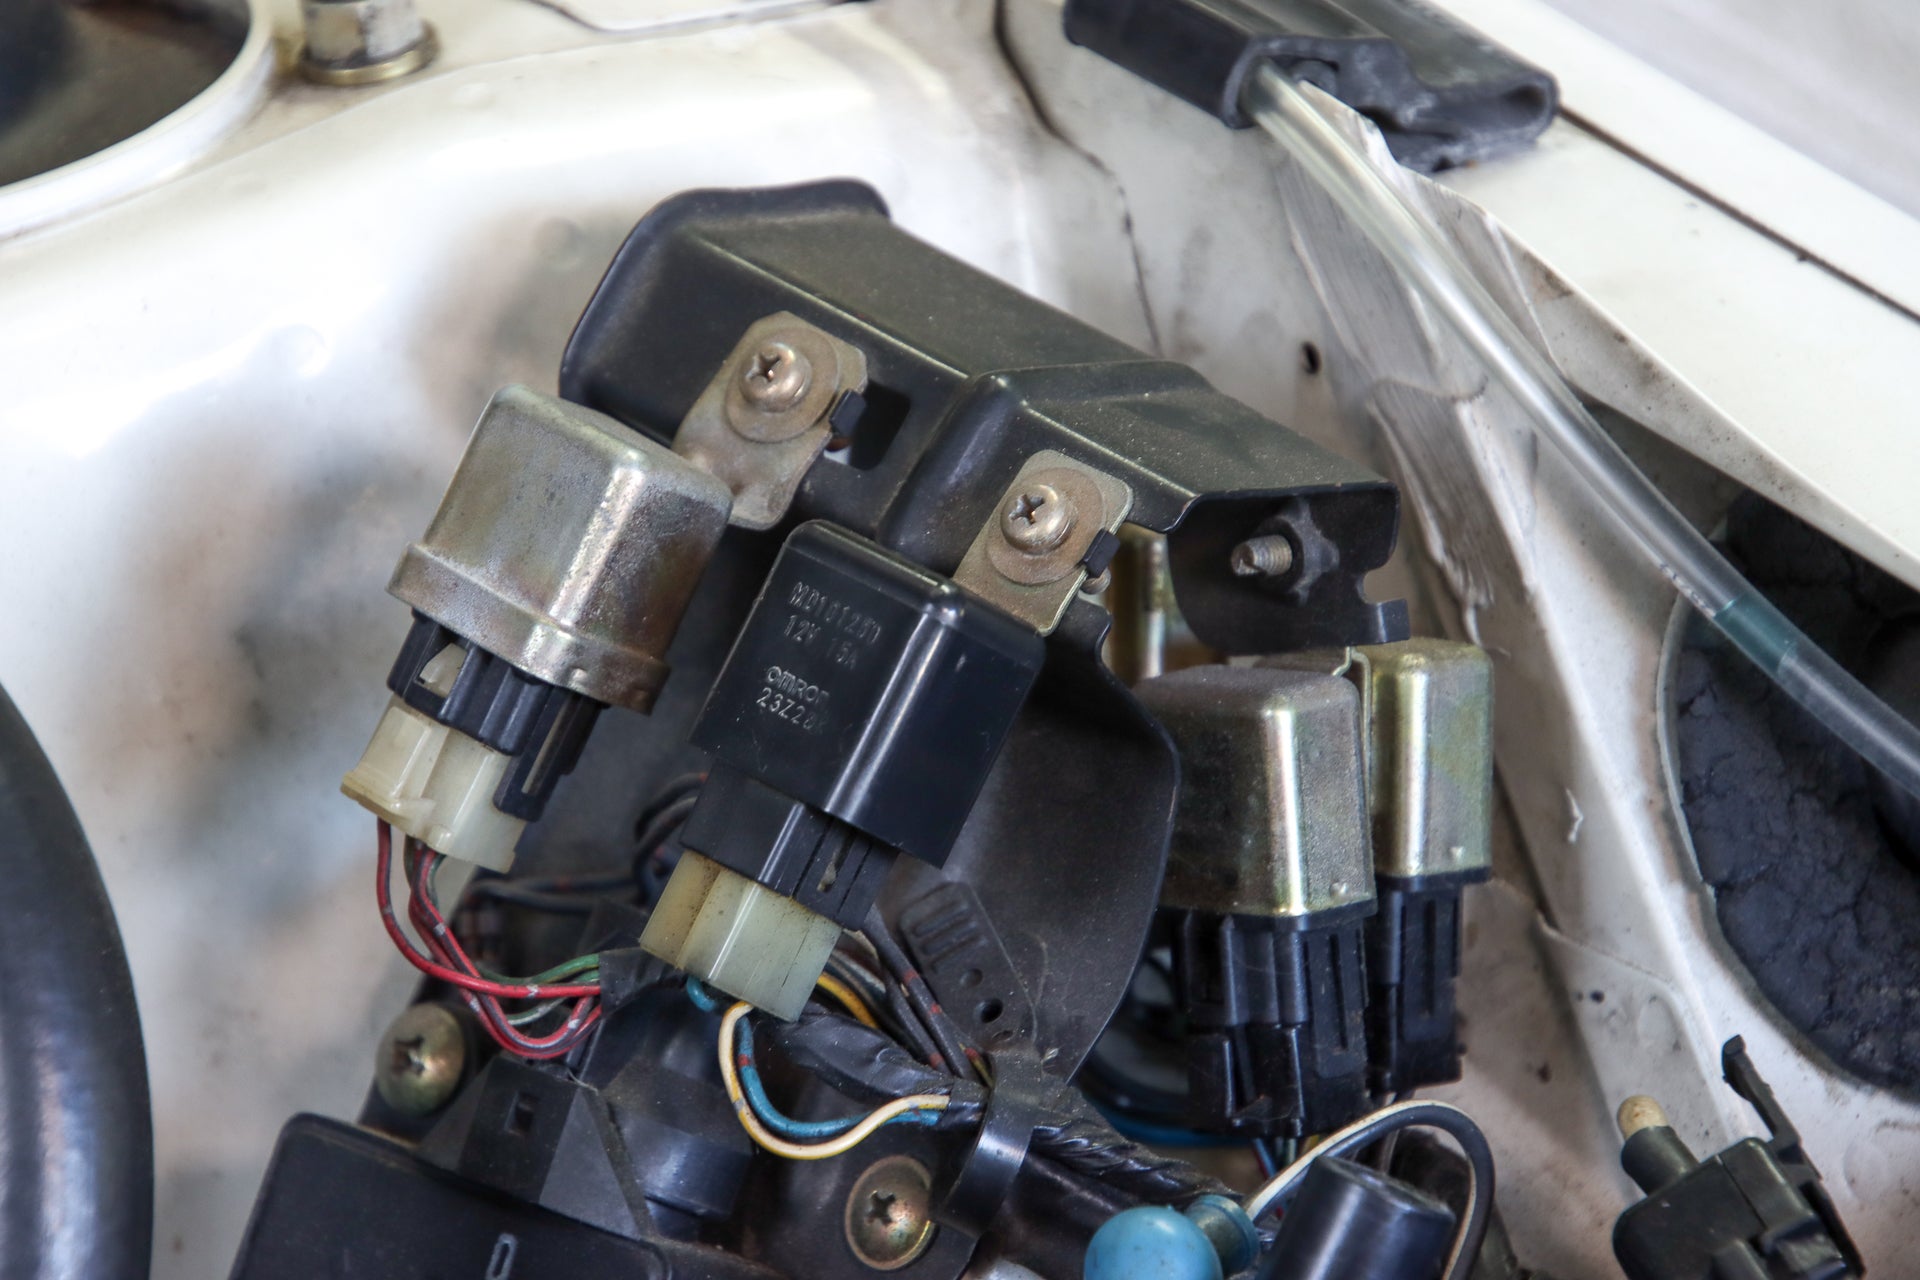
Relays can be found in nearly any vehicle, and are even used in marine and aviation applications. They’re generally used to allow a low amperage circuit to control a higher amperage circuit. Relays act as a switch, allowing the low amperage circuit to turn the high amperage circuit on or off.
As an example, imagine your vehicle’s headlights. If you connected the lights directly to the on/off switch in the vehicle’s dash, the amperage could exceed the switch’s capacity, which can cause melting wires and even a fire in some cases. Relays can also control multiple systems at once, such as activating headlights when windshield wipers are turned on, or extending an antenna when the radio is turned on.
Relay Safety
Relay testing is a simple process, but don’t skip out on safety. It’s a good idea to take these things into account when working with relays:
- If you’ve determined that the relay is malfunctioning and needs to be replaced, it’s not ok to mix-and-match relays from other parts of the vehicle or from a random junk bin in your garage. The wrong relay can cause a short or a power surge that can damage your vehicle’s electrical system.
- Handle the relay gingerly and try to avoid dropping it. If the relay is damaged internally, it can cause burning or melting of wiring. Also avoid modifying the relay in any way.
- Do not start working with relays or anything involving electricity in a space that contains flammable or explosive gases such as gasoline or other fuels.
- Even if you’re an experienced tinkerer in the garage, check your vehicle’s service manual (not the owner’s manual) to identify and understand the wiring system and relays.
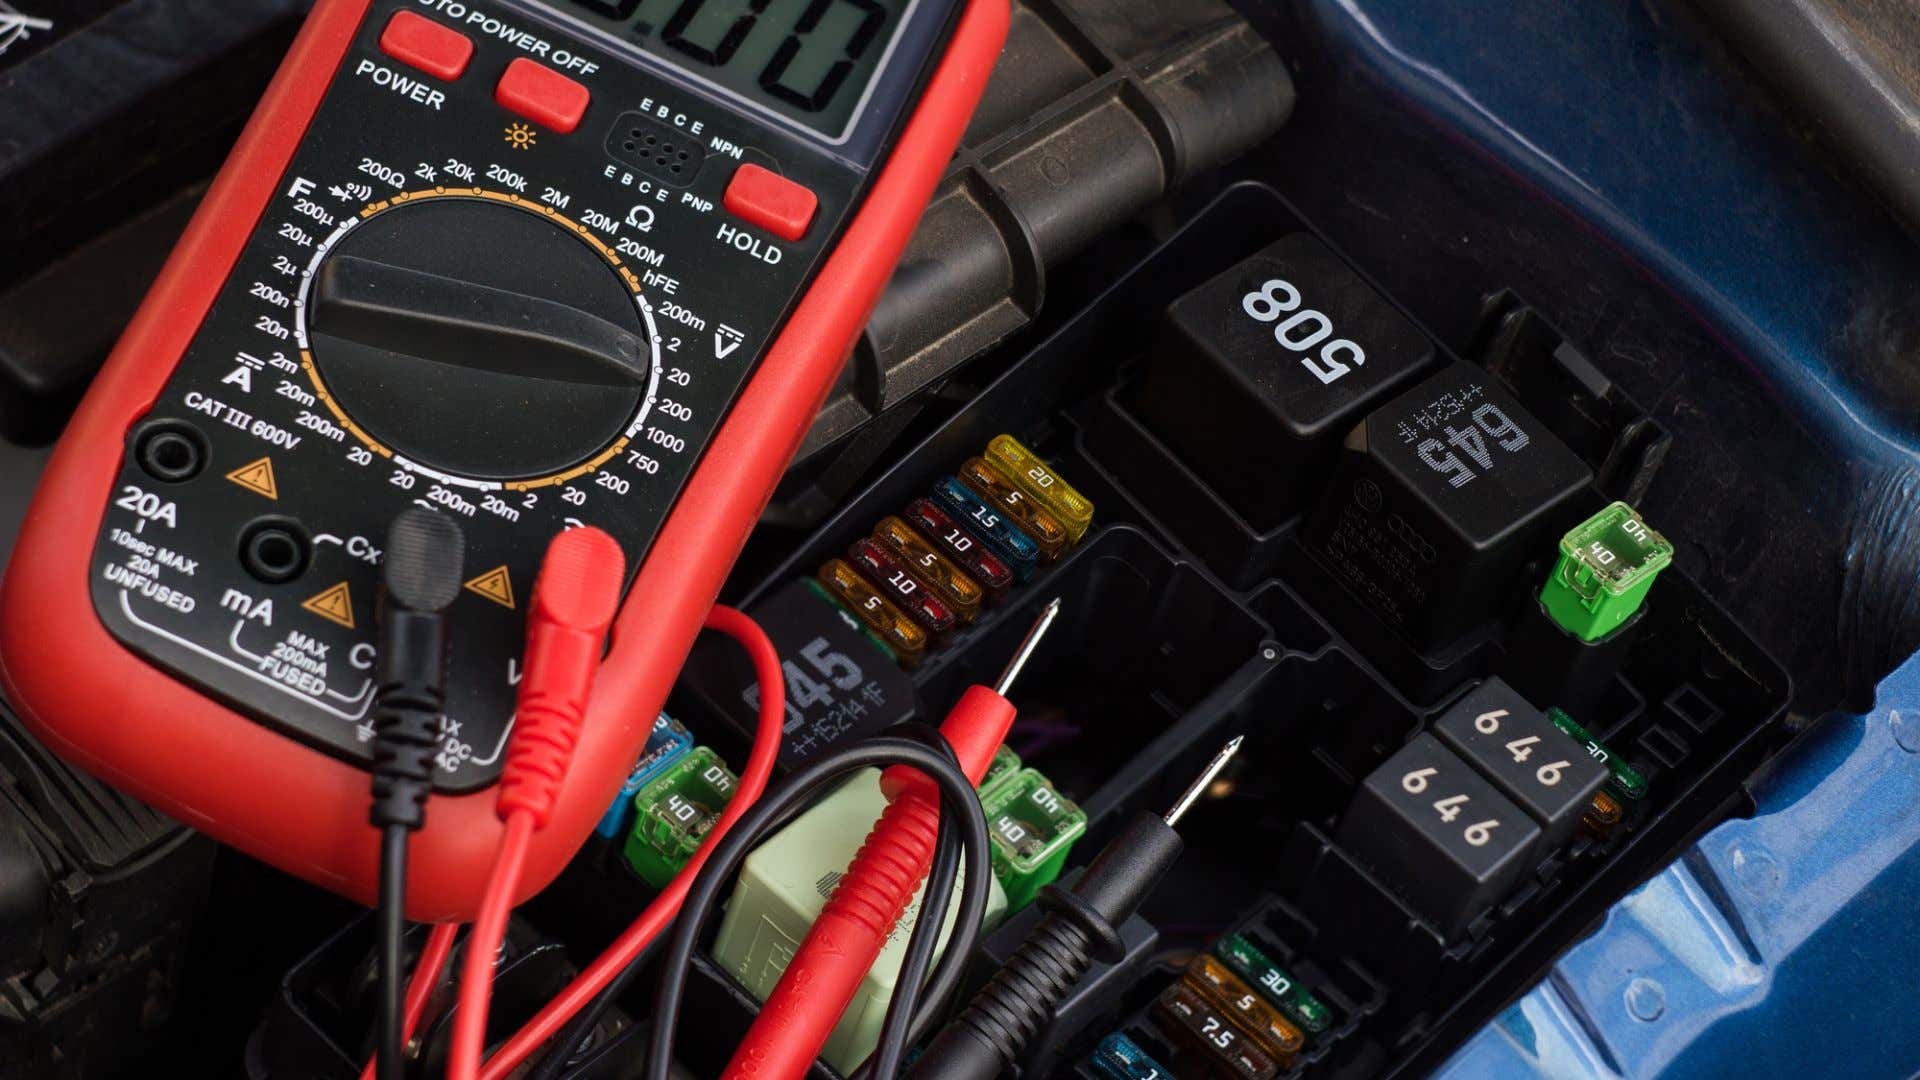
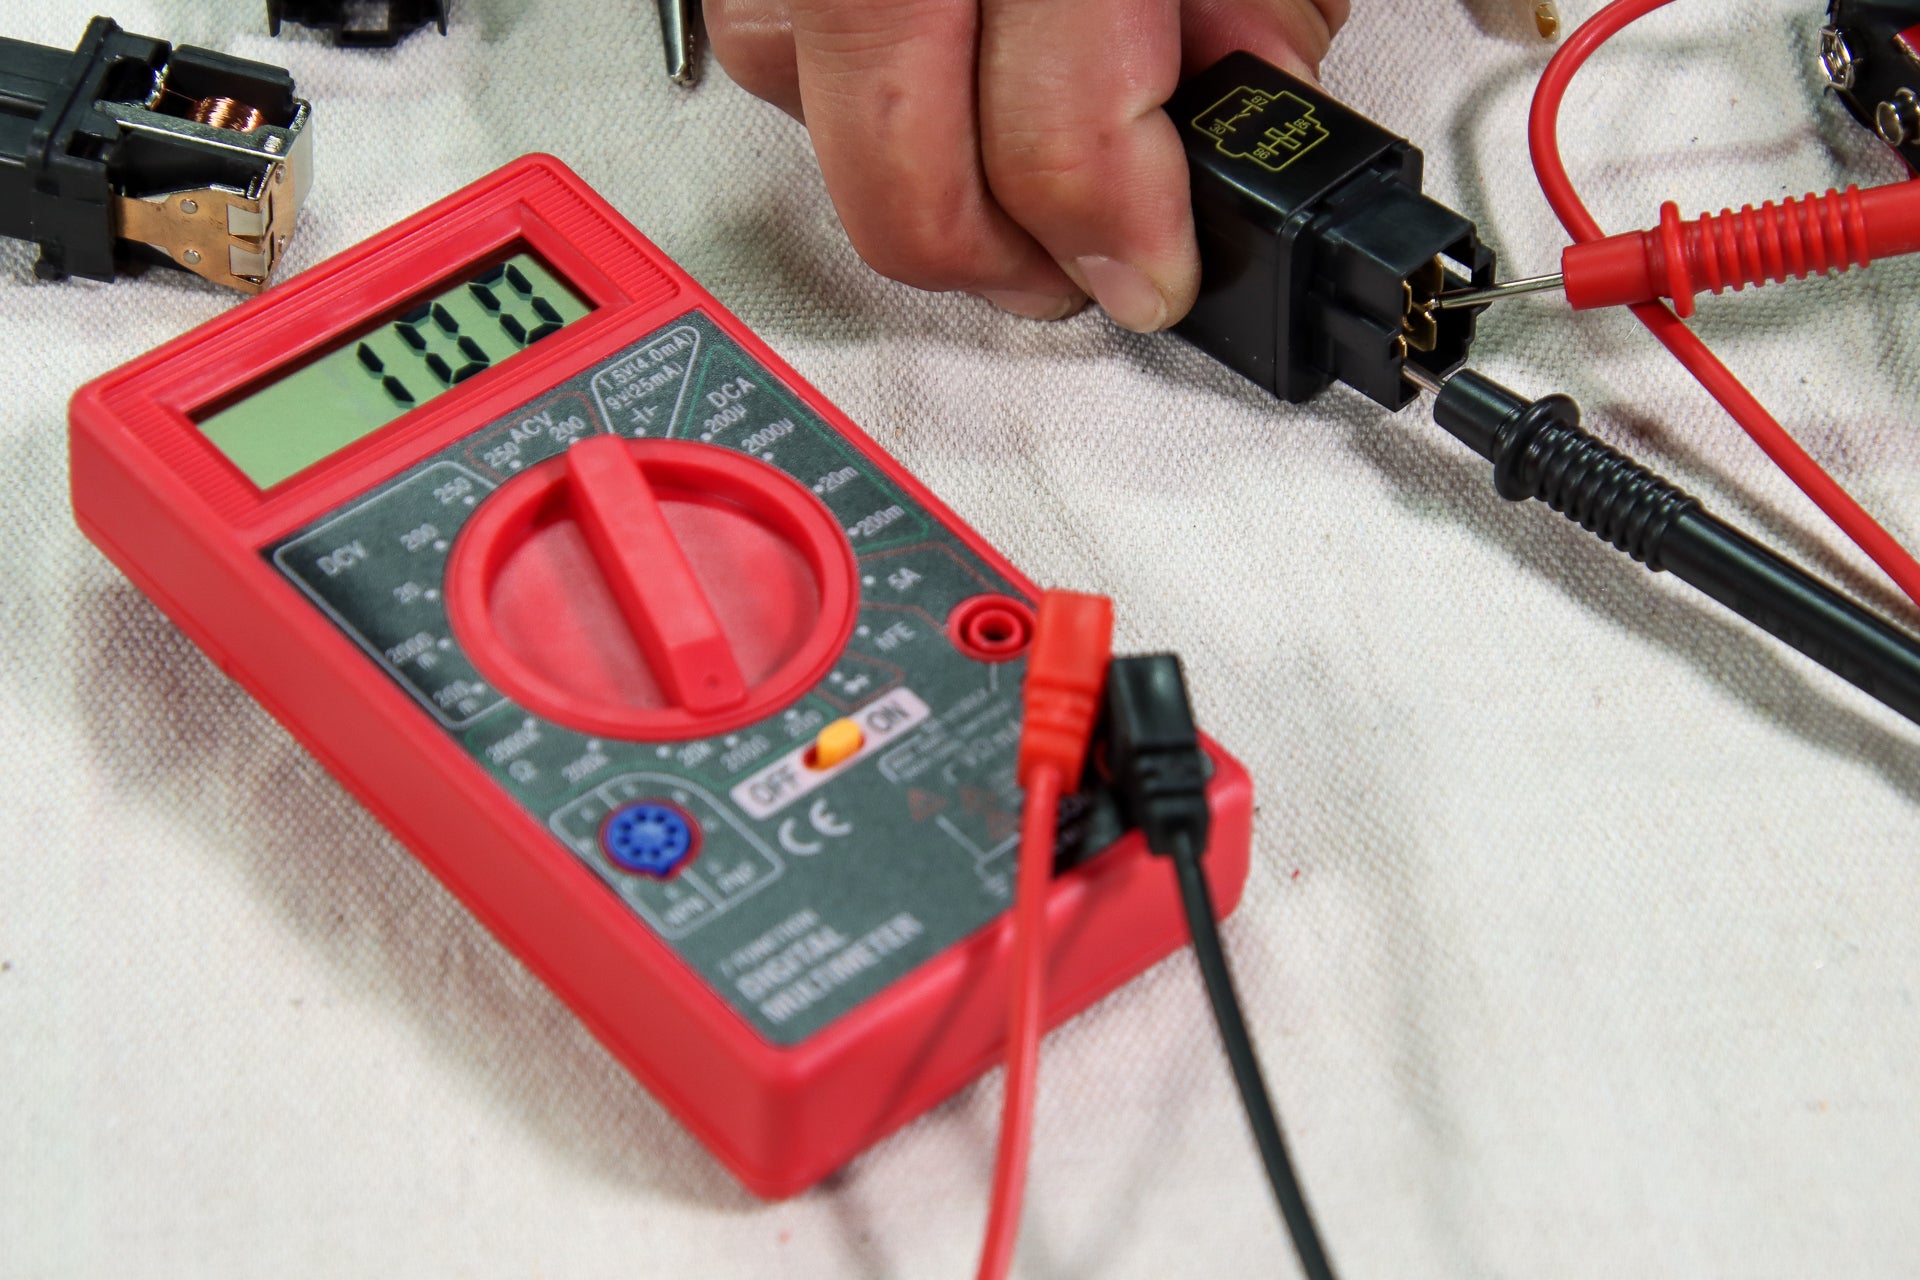
An ohmmeter testing a car’s relay.
Everything You’ll Need To Test a Relay
Checking your vehicle’s relays is a simple process that doesn’t require an entire toolbox to complete. To check for faulty relays, you’ll need:
Tool List:
- A high-impedance test light
- An ohmmeter – may also be called a digital multimeter (DMM)
- Vehicle service manual (strongly recommended but not required)
Parts List:
- Jumper wires
- Replacement relay
Organizing your tools and gear so everything is easily reachable will save precious minutes waiting for your handy-dandy child or four-legged helper to bring you the sandpaper or blowtorch. (You won’t need a blowtorch for this job. Please don’t have your kid hand you a blowtorch—Ed.)
If you’re short on garage space and plan to work on your vehicle in the street, check your local laws to make sure you’re not violating any codes. Every state and town has different regulations on this type of thing, and we’re not going to help bail out your car if the situation goes south.
Here’s How To Test a Relay
Let’s get started!
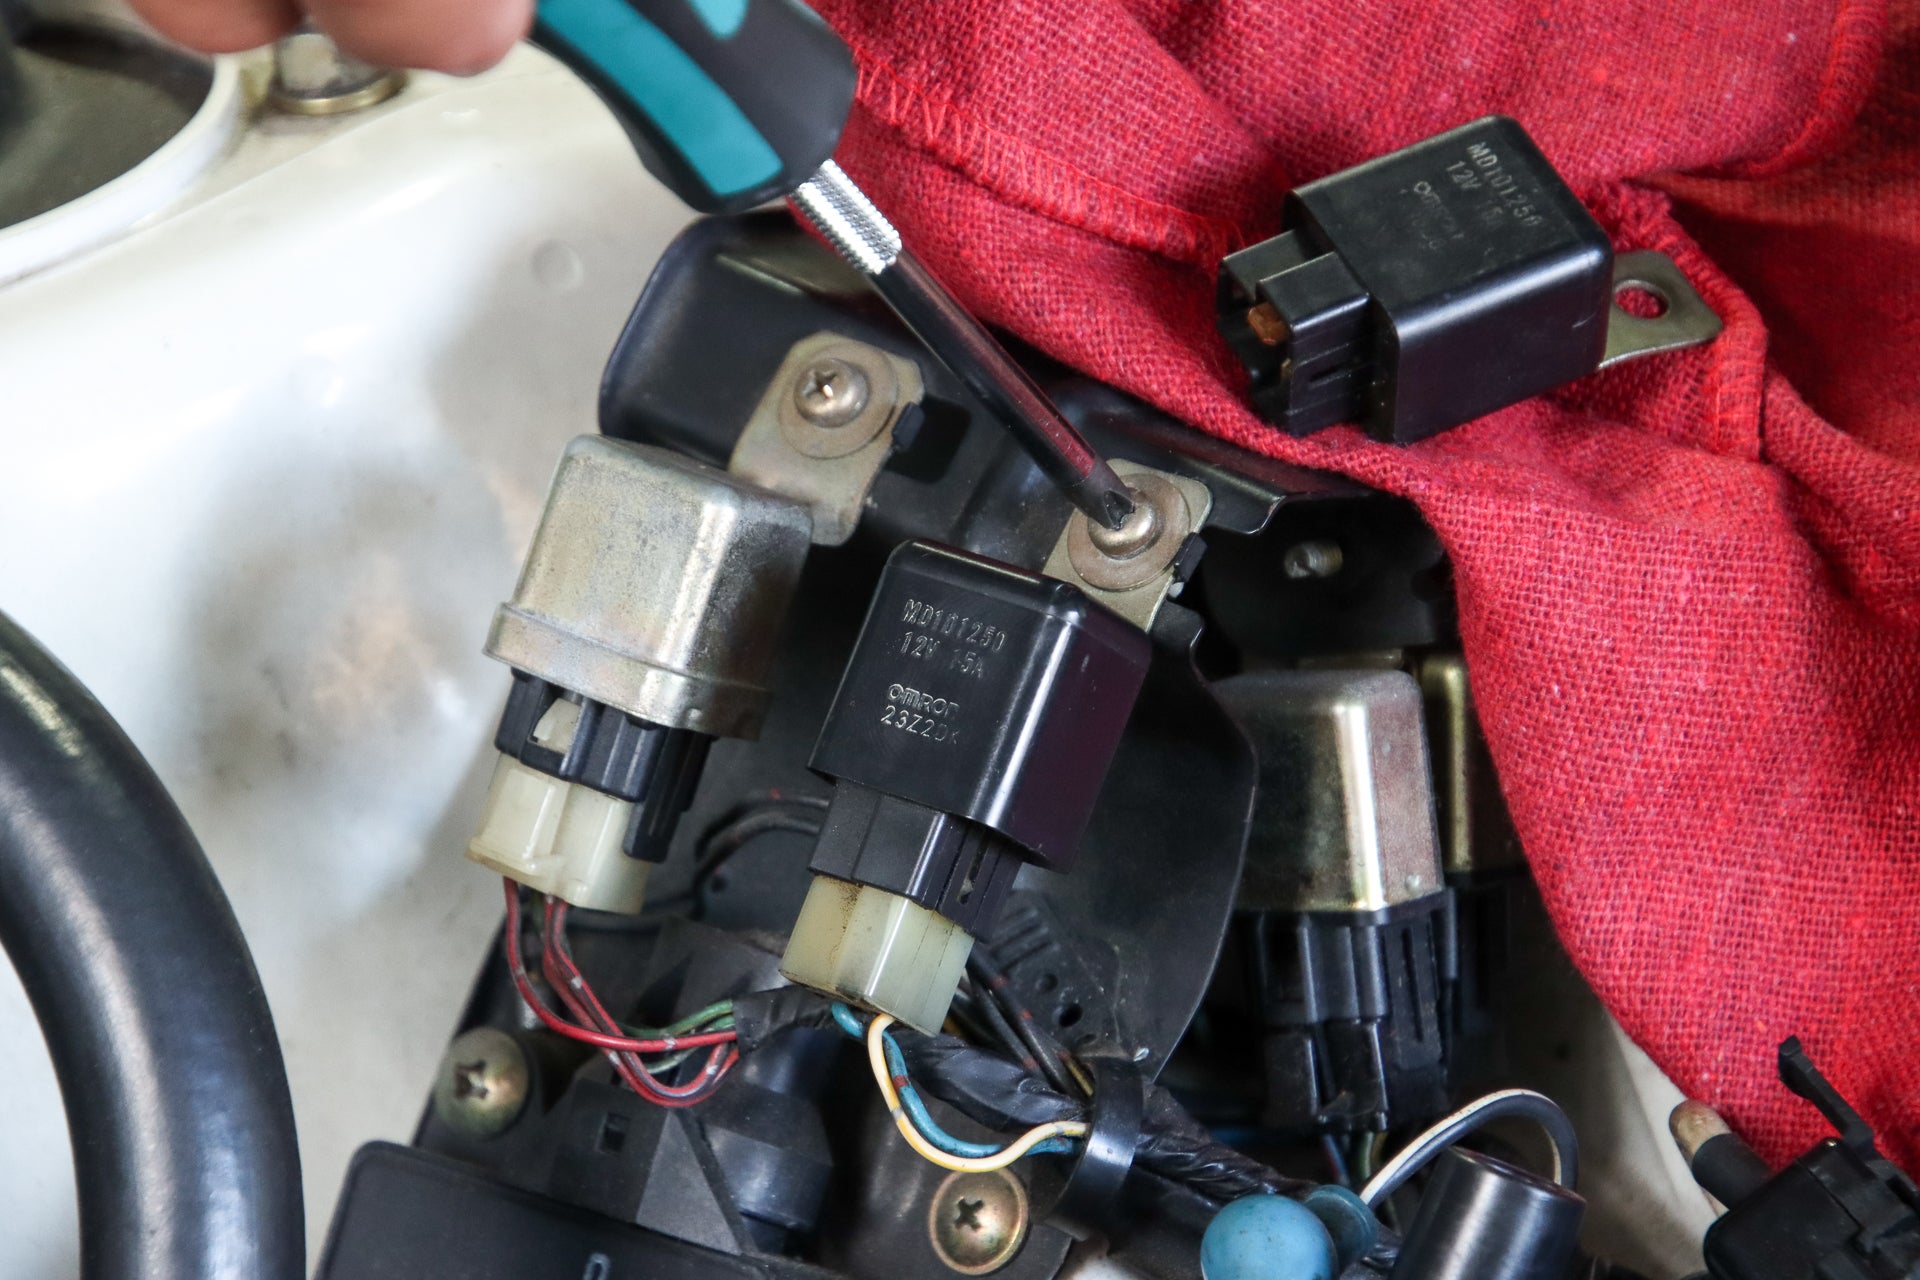
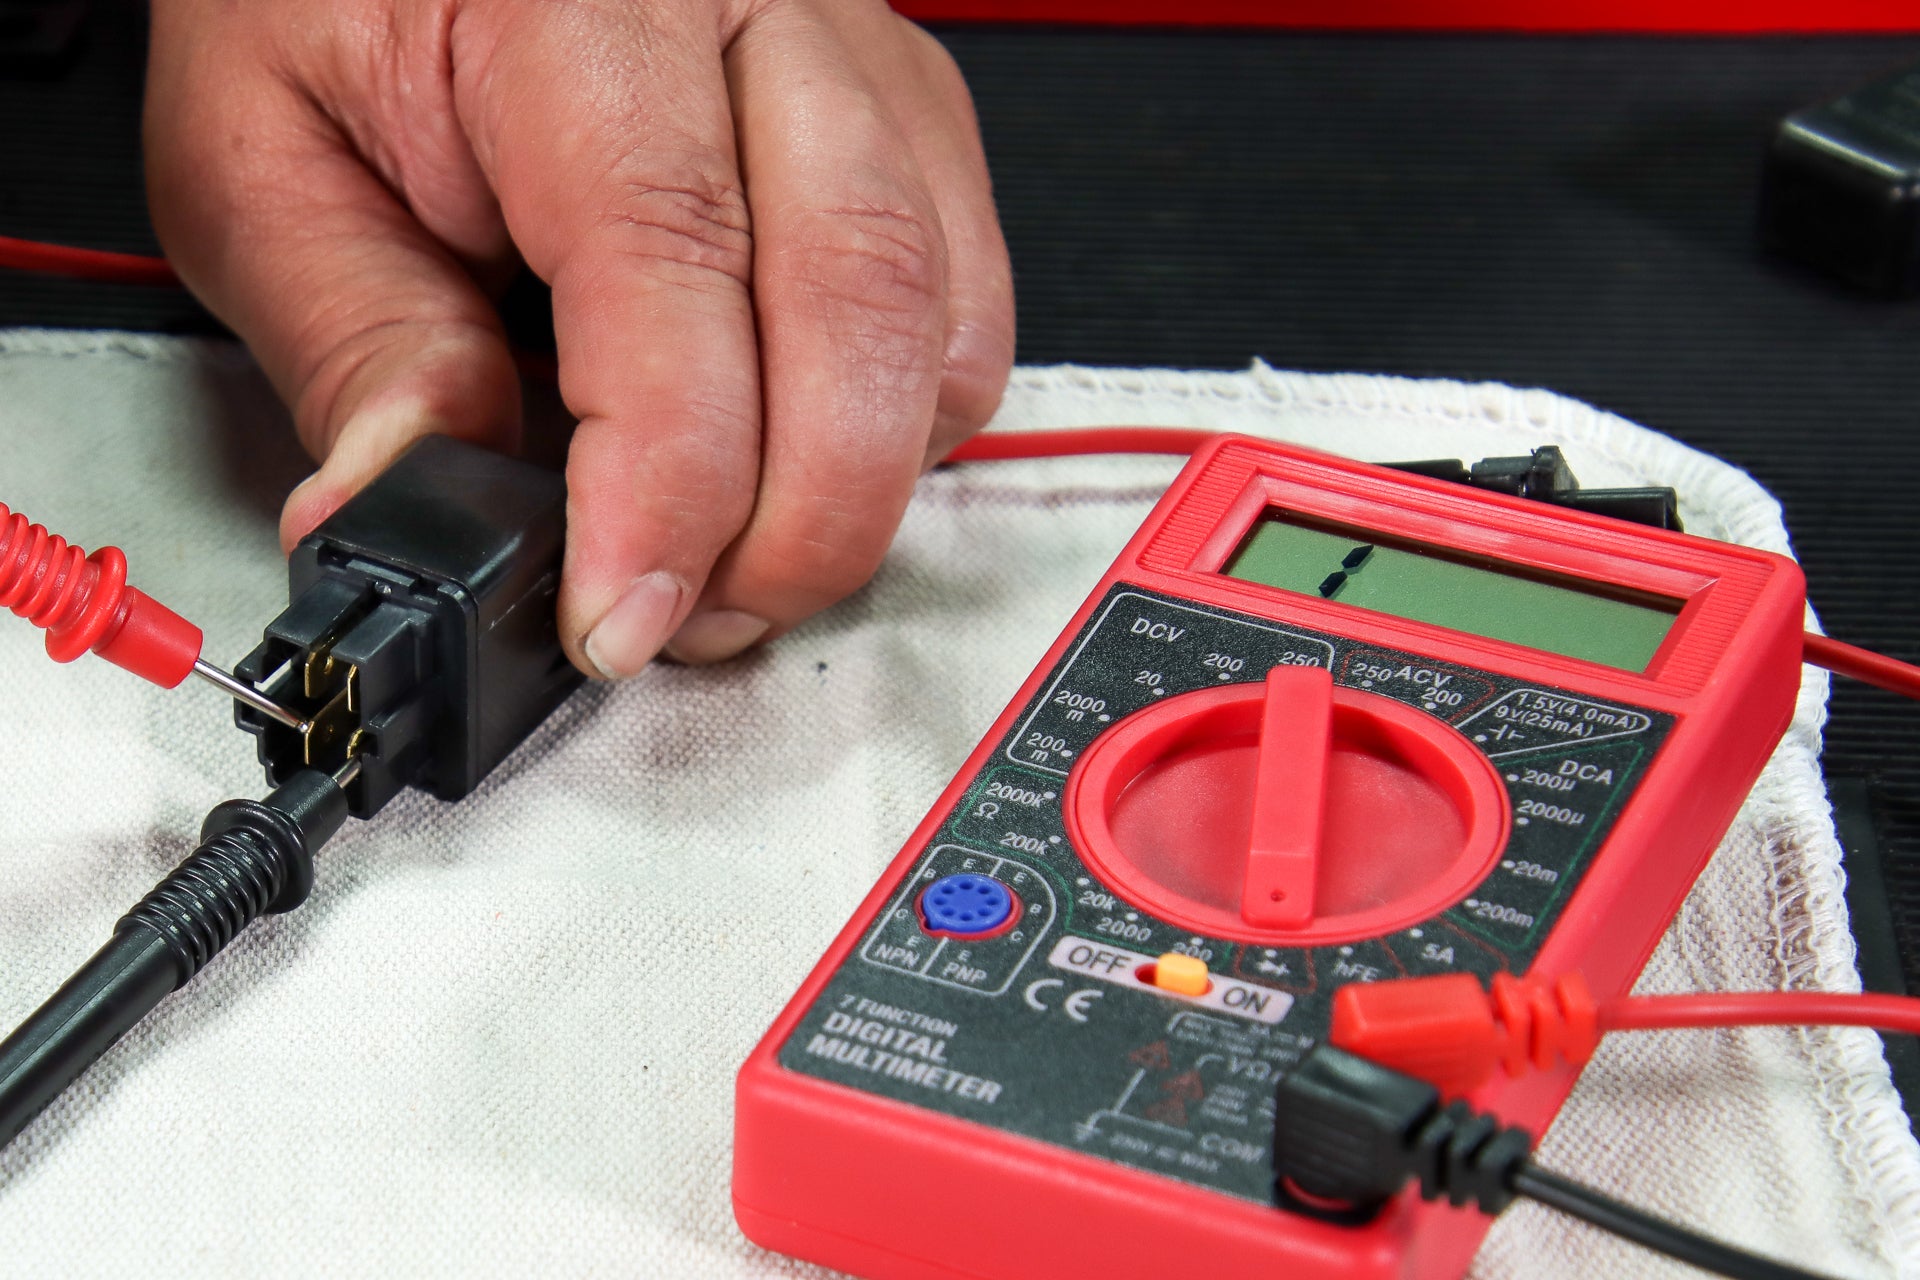
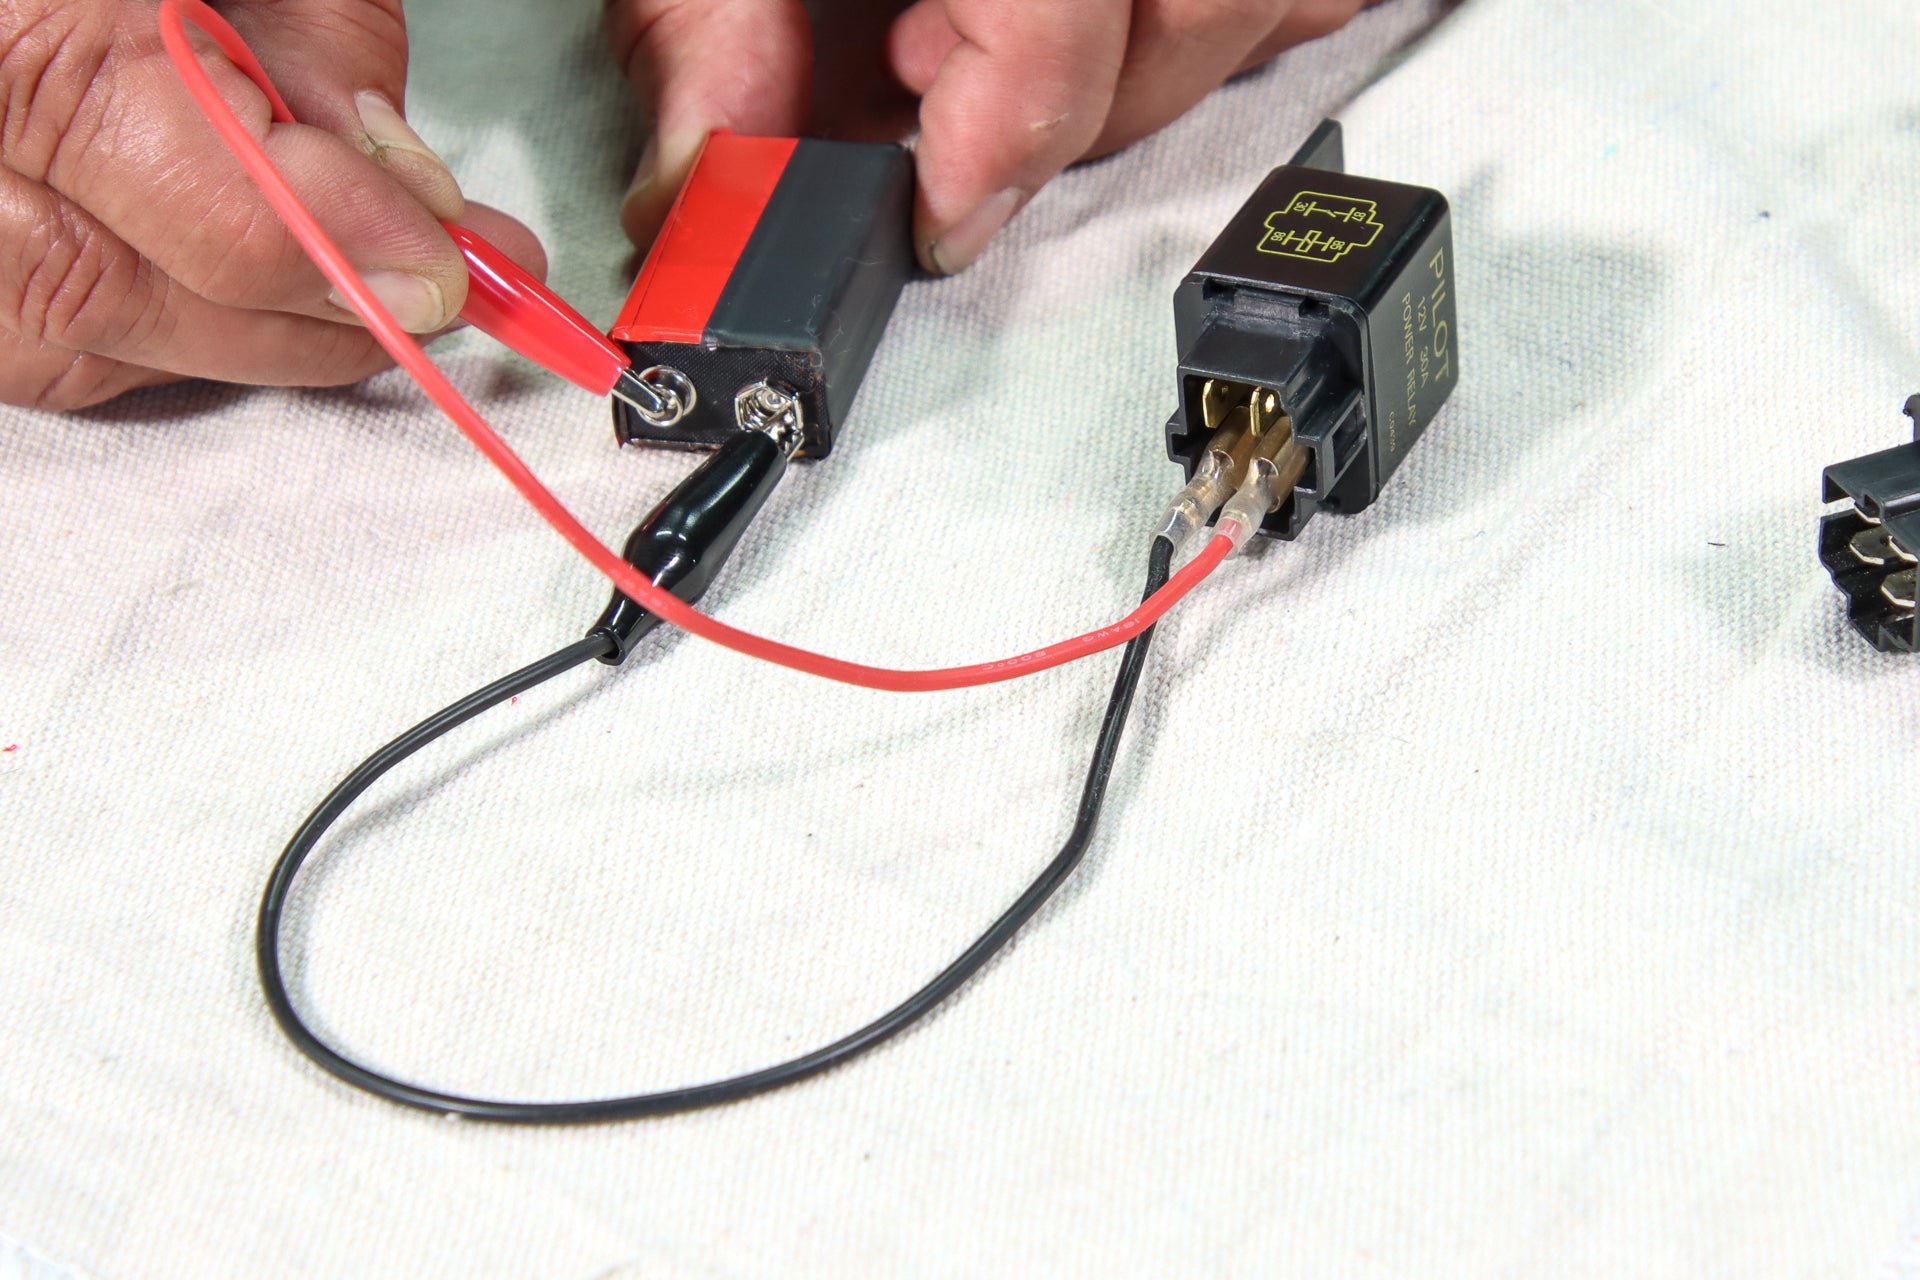
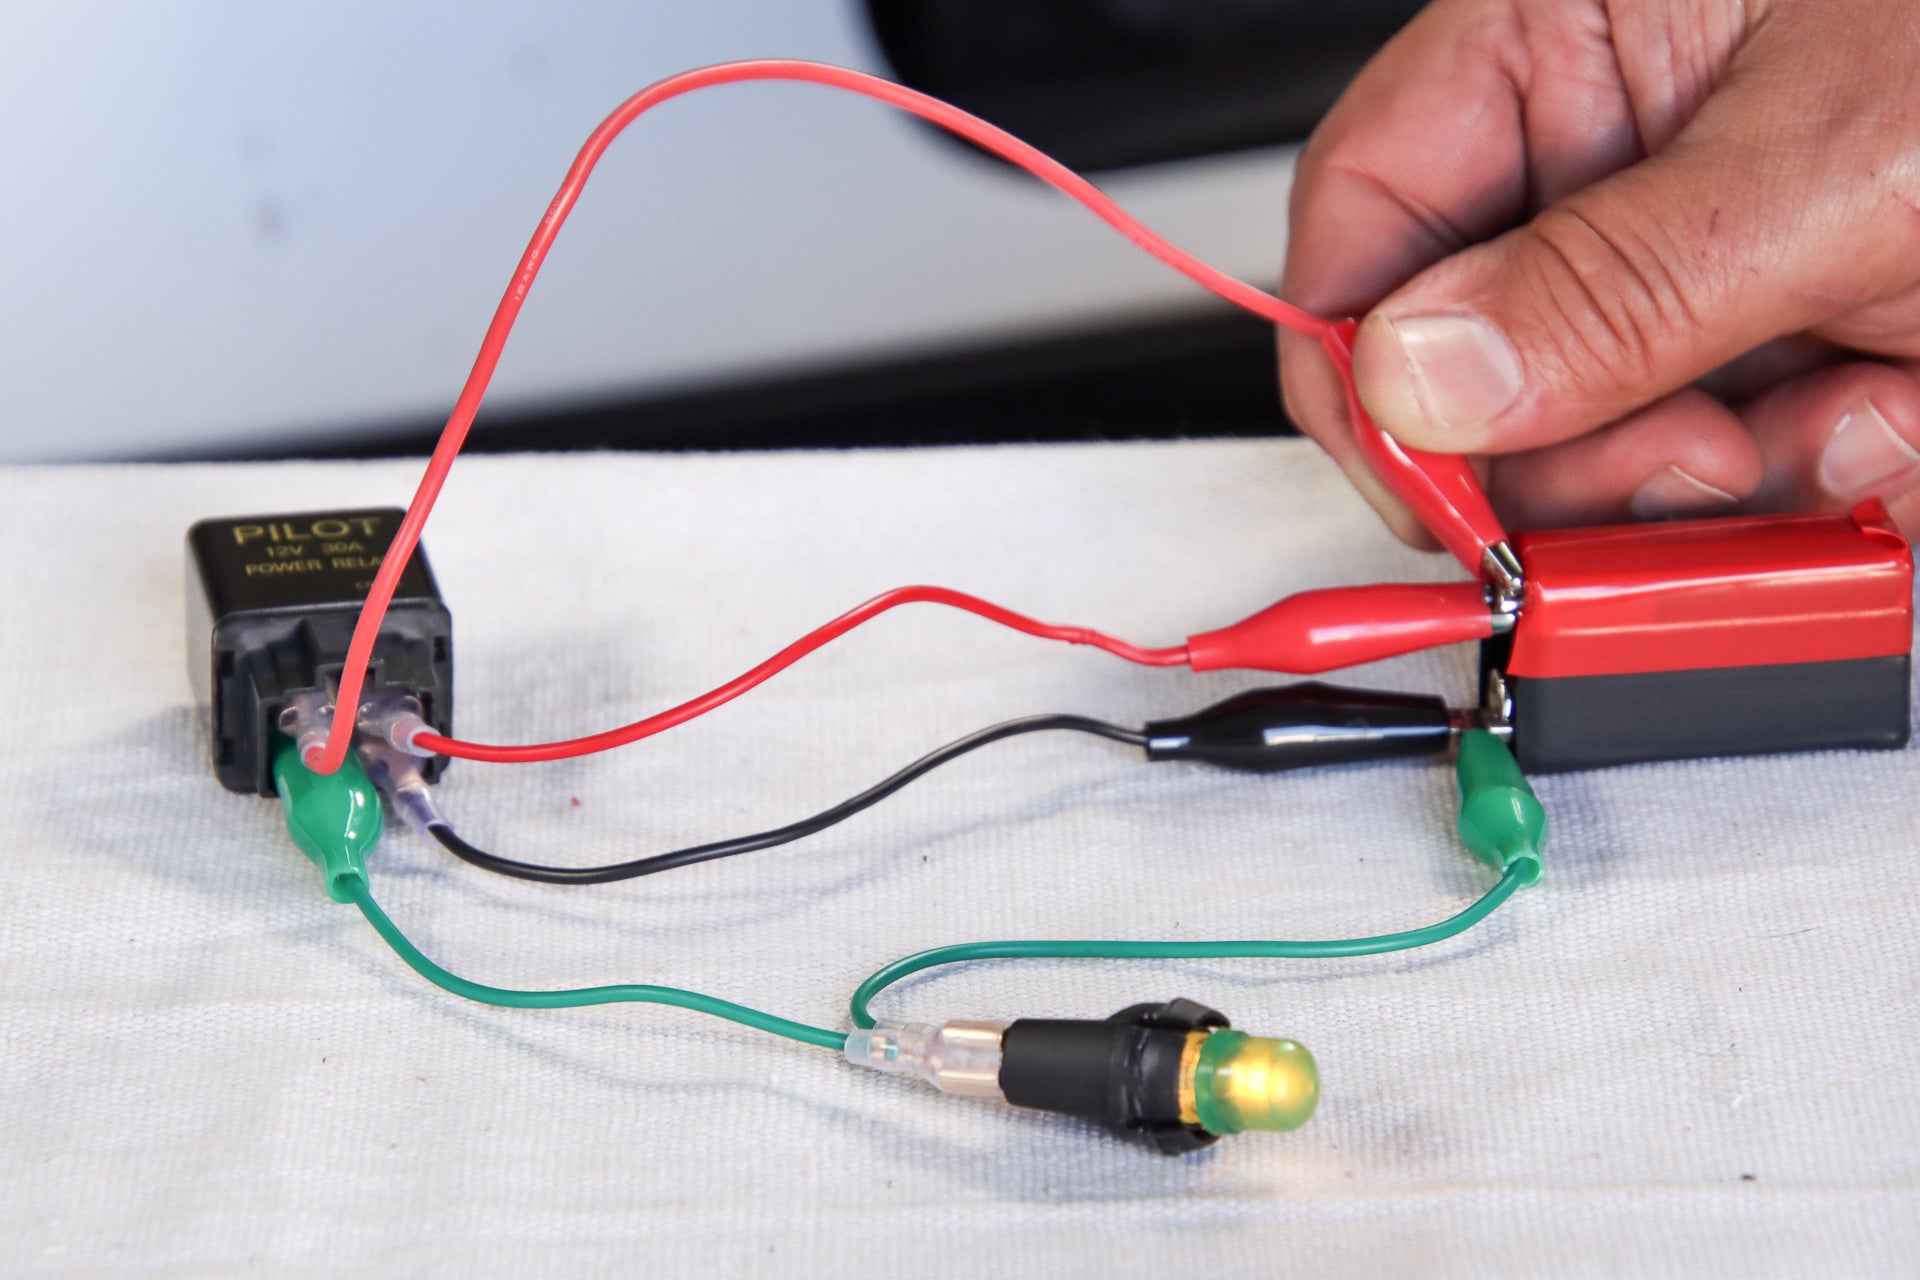
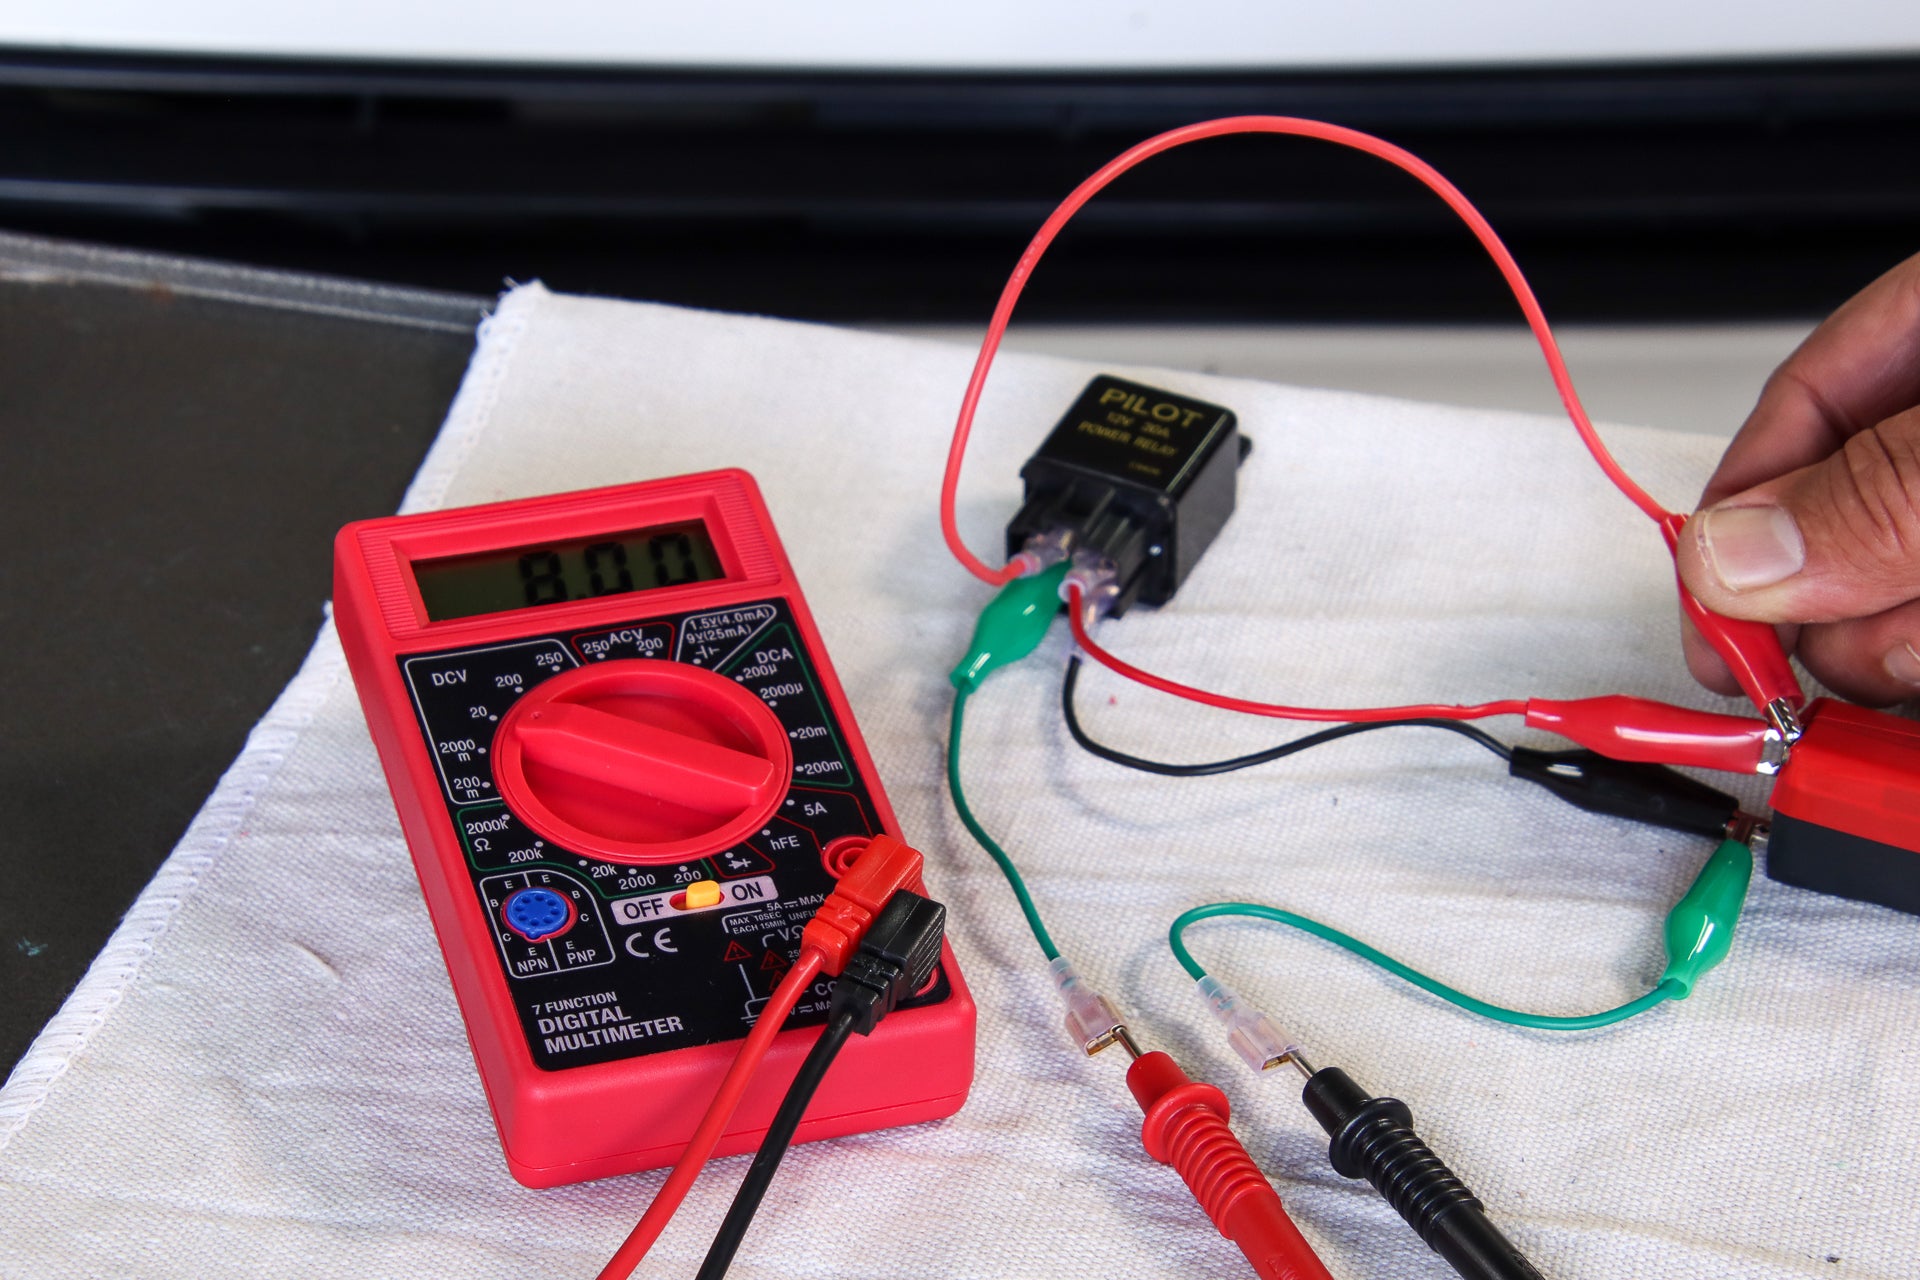
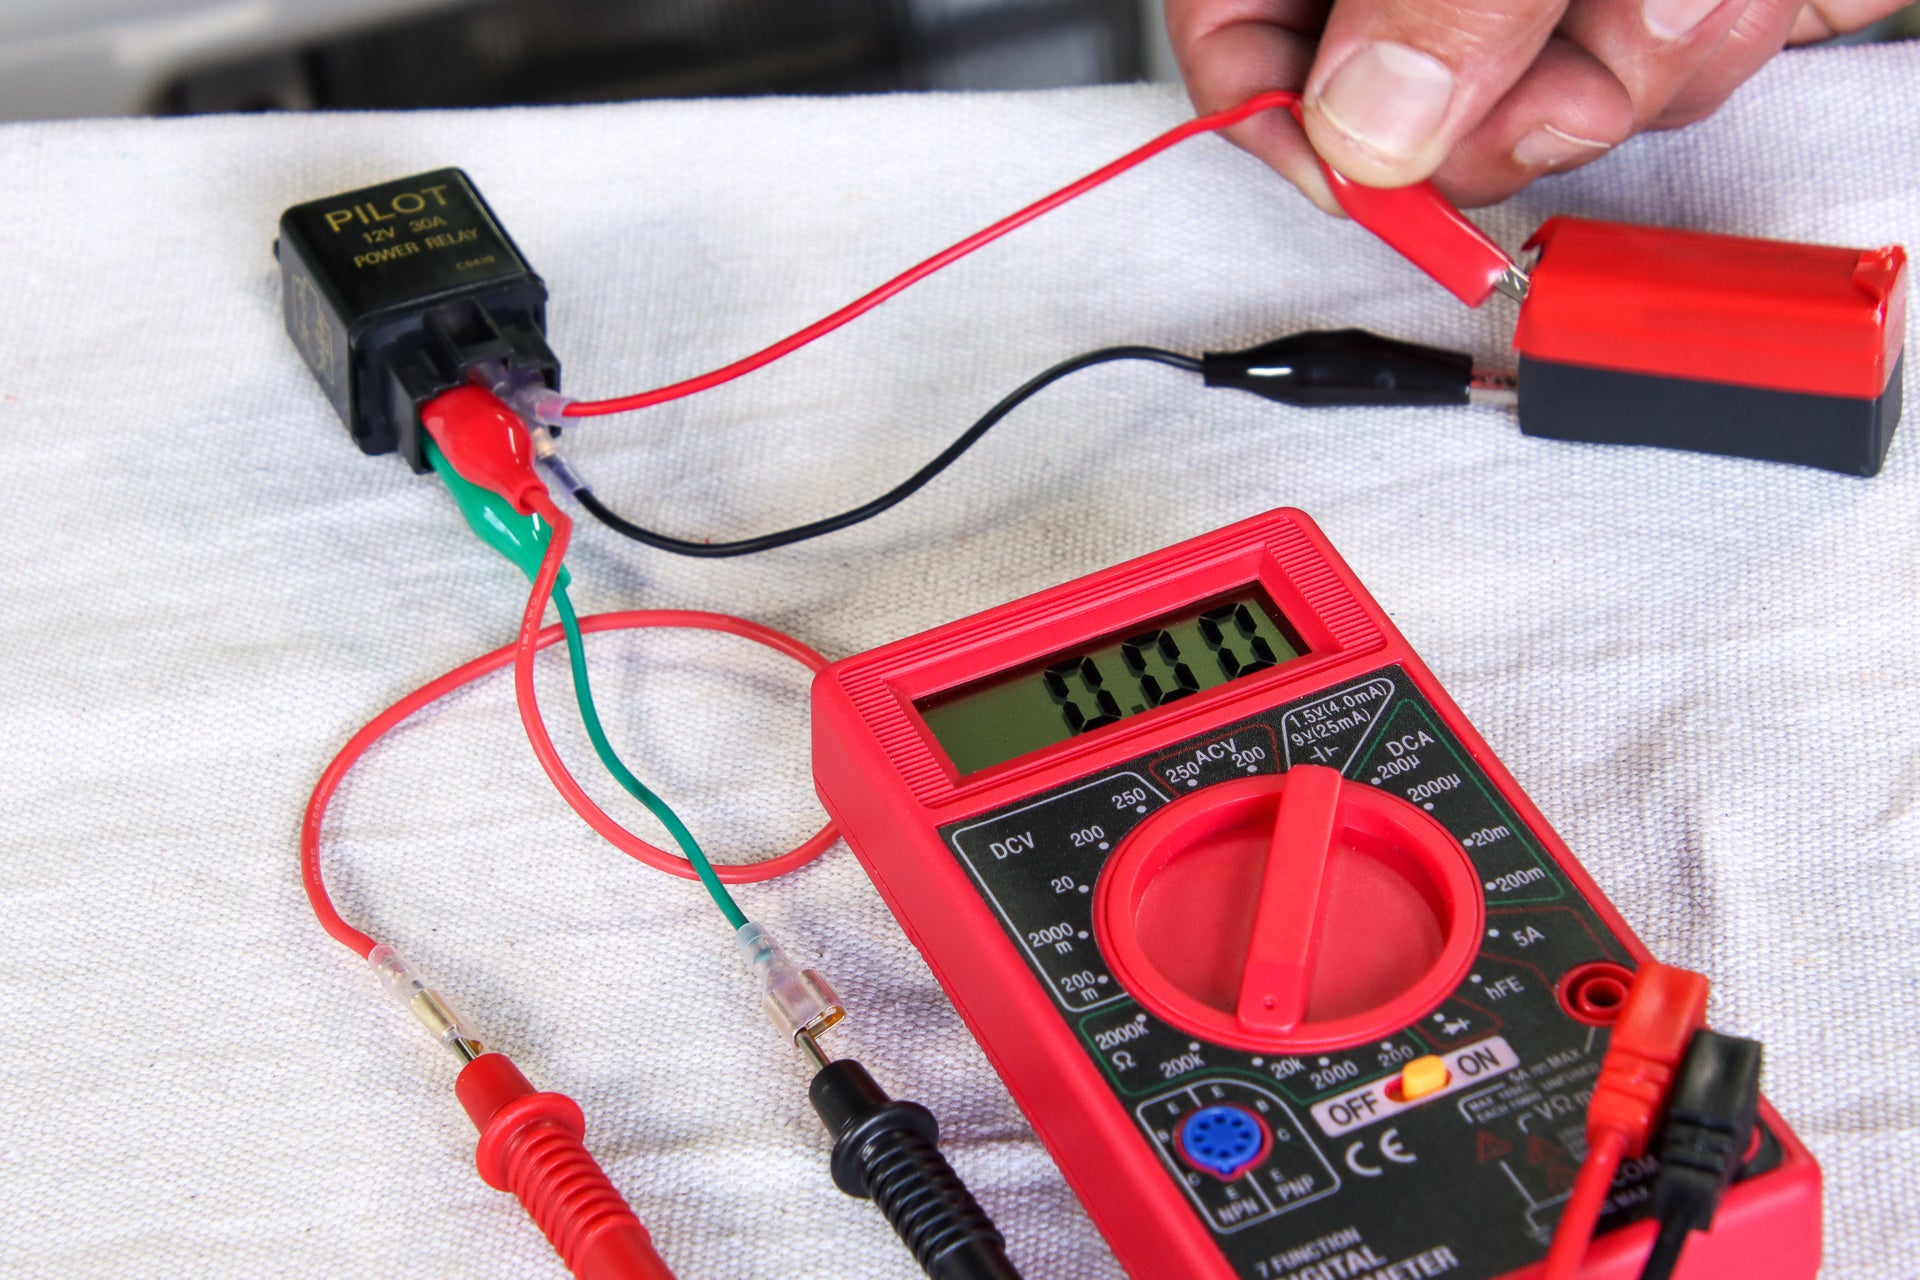
Here’s our step by step process in picture form.
You’ve done it! Way to go!
Get Help With Testing a relay From Mechanic On JustAnswer
The Drive recognizes that while our How-To guides are detailed and easily followed, a rusty bolt, an engine component not in the correct position, or oil leaking everywhere can derail a project. That’s why we’ve partnered with JustAnswer, which connects you to certified mechanics around the globe, to get you through even the toughest jobs.
So if you have a question or are stuck, click here and talk to a mechanic near you.
Pro Tips to Test a Relay
Here at The Drive, we’ve tested our fair share of relays over the years and have found that the simplest method is best. That said, here are a few helpful tips from us pros.
- Look, we all want to be a hero that can work our way through any automotive task with ease, but sometimes it’s best to fall back on the manual. Pick up a service manual for your vehicle at nearly any auto parts store and check it regularly.
- When in doubt, throw it out. If you’re unsure of a relay’s functionality or condition, just replace it. While certain types of relays can be expensive, they’re generally affordable and it’s better to be safe than sorry.
- Gather all of your tools ahead of time. Cooks and chefs call this process “mise en place,” or everything in its place, and it helps keep you focused on the task at hand without the need to search for tools.
- If you don’t have an ohmmeter or a test light, you won’t be able to test relays. You can just replace them, but it’ll be a guessing game as to whether or not relay is defective without testing first.
FAQs About Testing a Relay
You’ve got questions, The Drive’s info team has answers!
What Happens If I Just Ignore the Potential Problem?
Ignoring a misbehaving relay or slapping in any old relay that fits can lead to big problems under your hood. If a relay is malfunctioning or if an incorrect relay is installed, you can end up frying wires and potentially starting a fire under your hood. Not a good look at 80 mph on the highway.
Can I Test Relays Without an Ohmmeter or a Test Light?
No. If you’re convinced that there’s a problem with a relay and don’t have the tools to test, you have two choices. You can be cautious and just replace the relay, which is the easiest path forward, or you can pay a mechanic to do the testing and changing of relays for you.
What If My Vehicle’s Relays Are Hidden or Very Hard to Find?
Most relays should be located in locations that can be accessed quite easily, but if there’s one that you’re unsure about, it’s best to have a professional check it out. Digging around blindly under your hood can damage good relays and do a number on your knuckles in the process.
Why Do You Keep Telling Me to Read The Repair Manuals? Isn’t The Drive Supposed to Be An Authority on These Types of Things?
Pump the brakes. We’re recommending that you fall back on a vehicle-specific repair manual for help locating the correct relay, replacing it with the correct relay, and to make sure that you understand what you’re looking at. Every make and model is different, and even the same model can differ greatly from year to year, so it’s best to have a guide for your specific vehicle to fill in the gaps that the super-brains at The Drive may have missed.
Do All Vehicles Have Relays?
Given the number of electronic devices and systems in modern vehicles, it’s safe to say that nearly all new vehicles have relays.
How Much Does It Cost To Test A Relay?
The most expensive part of testing and replacing relays in your vehicle is the relay itself. Depending on what it’s controlling a relay can cost anywhere from $5 to several hundred dollars.
Ohmmeters can be purchased for less than $20 and come in a variety of designs. High-impedance test lights are slightly more expensive, usually costing between $20 and $40, but spending more doesn’t necessarily net a better product.
Finally, jumper wires are cheap, ranging in price from $2 to over $50, depending on the length of the wire.
Featured Relay Testing Products
Digital Multimeter
High Impedance Test Light
Jumper Wires
Service Manuals
Got a question? Got a pro tip? Send us a note: [email protected]
Source: Read Full Article
