I love the looks of the Yamaha Aerox 155 but the handling, seating position & practicality of my scooter are superior.
BHPian thtechnician recently shared this with other enthusiasts.
Since I was about 12 or 13, my bicycles have never been to a repair shop. I love all things mechanical and electrical and taught myself to fix, repair and maintain them, and my family gladly encouraged my interest as it meant they got a handyman for free around the house.
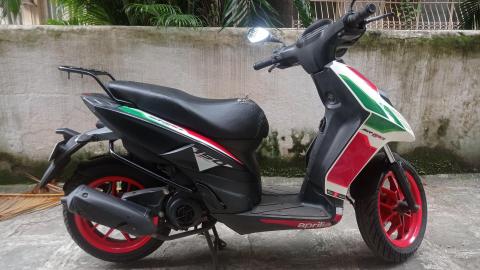
They say boys don’t grow up, our toys just grow bigger, so naturally, as I graduated from bicycles to motorcycles and scooters I intended to fix and maintain them myself instead of giving them to the greasy hands of a Friendly Neighbourhood Mechanic. As I recently completed 10k kilometres on the odometer of my 2019 Aprilia SR 150 Race, I thought of creating this post to compile all the work I’ve done on it so far for other owners to read.
Headlight, brake light and parking light replacement
The low beam on my stock bulb burned out, so I replaced the bulb with a Phillips HS1 35/35. Works well enough for my 98% city usage so I didn’t feel the need to upgrade. Also installed a couple of white T10 LED parking lights in place of the stock halogens just for the looks. Fairly simple to do yourself, 10 screws undone and the front cowling comes off, revealing access to the bulbs. Plenty of videos on YouTube showing how it’s done.
The LED parking bulbs :
Brake light was also replaced with a regular Phillips 2-pin bulb. I scratched my head for a good while because I couldn’t get the housing open after removing the 2 visible screws, but finally consulted the internet and learned there’s a third hidden screw which requires removing the rear grab handles.
Design could be better on Aprilia’s part, shouldn’t require so many screws to replace the headlight either.
Cleaning front brake pads and greasing the axle
Brake pads still have some life in them, but were coated with brake dust and the grooves on the pads were also stuffed. Cleaned both pads with some sandpaper and reinstalled them. Braking performance has improved marginally. I also greased the front axle as the old grease had dried into a powder and was providing more resistance than lubrication.
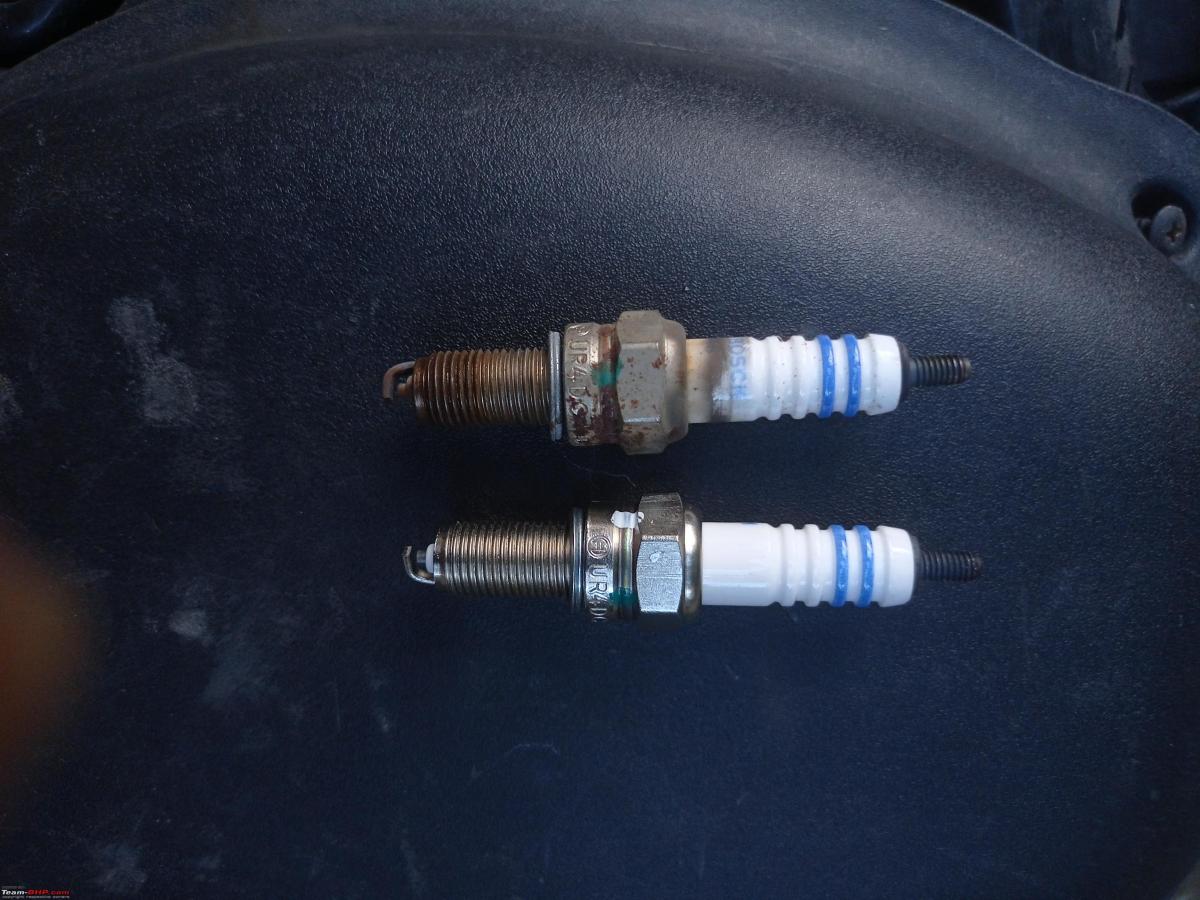
Replacing the spark plug
4 screws remove the panel just below the front of the seat providing access to the spark plug. Aprilia helpfully provides the extension and spanner necessary for this as the plug is quite deep inside the head. I couldn’t find the UR4DC spark plug at regular shops as it’s quite rare, ended up buying it from the service centre itself which asked me to wait 2 hours if I wanted it replaced from them as they had a backlog of scooters to repair. Another reason to avoid the service centres. Double the price of an Activa or Access plug, but the premium scooter tax is to be expected.
Installing a carrier rack
This was inspired by my mom who always complained of not having a backrest or handle to hold while sitting on the scooter. I asked the service centre if I could purchase the SR 125/Storm style grab handle but they declared it wasn’t possible and would require a seat replacement as well, which could cost upwards of 5k.
I inquired about and saw an Aprilia with an Activa-style generic backrest, but I immediately turned the idea down as it looked tacky and extremely out of place. I looked around for carrier racks which I felt would look better than a backrest and would serve the purpose, but the only one I could find made specifically for an Aprilia was ridiculously expensive.
Undaunted, I ordered a rack made for a Pulsar and try to install it with some good old jugaad. The carrier arrived and I took it to a local mechanic who refused to do a direct install and insisted that I get a custom bracket made which would cost me twice the amount of the carrier itself! I gave up hope on mechanics and decided to install it myself.
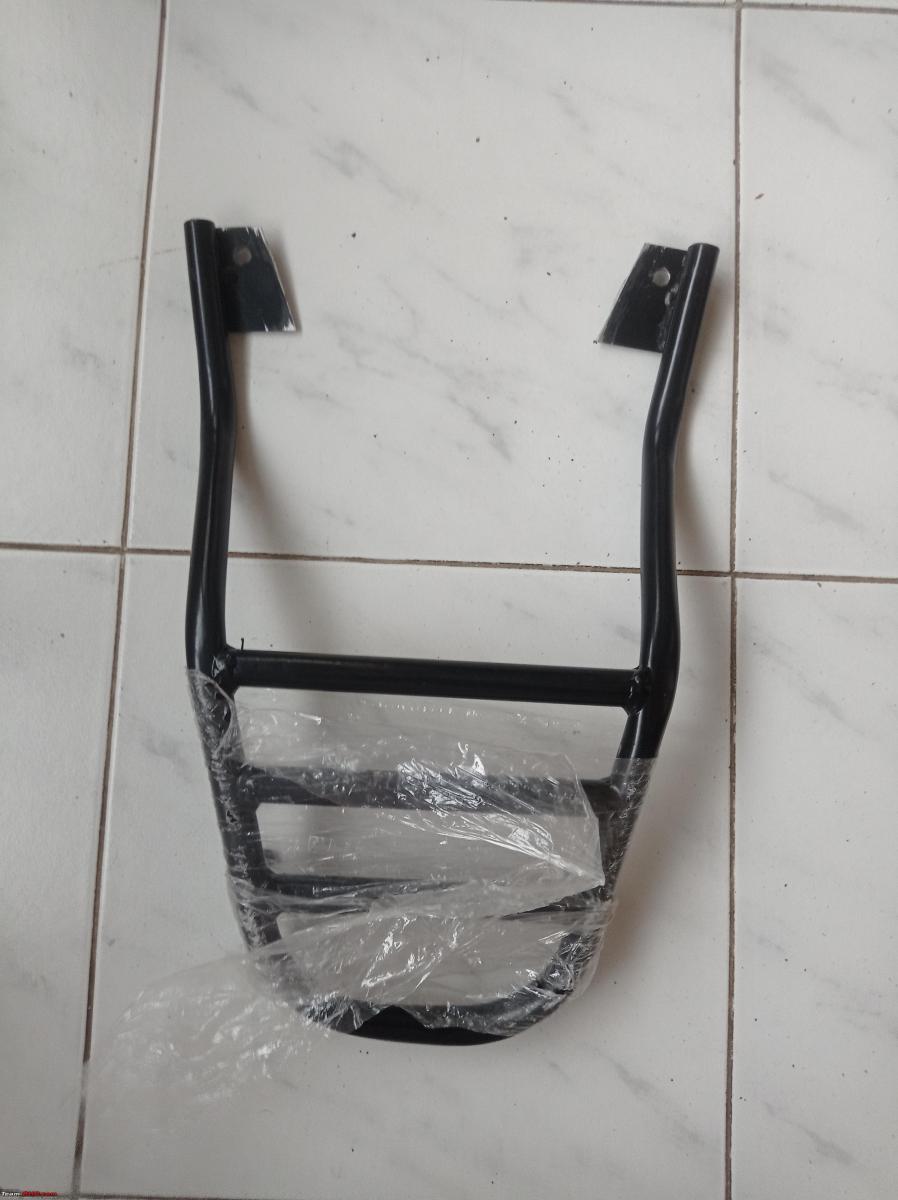
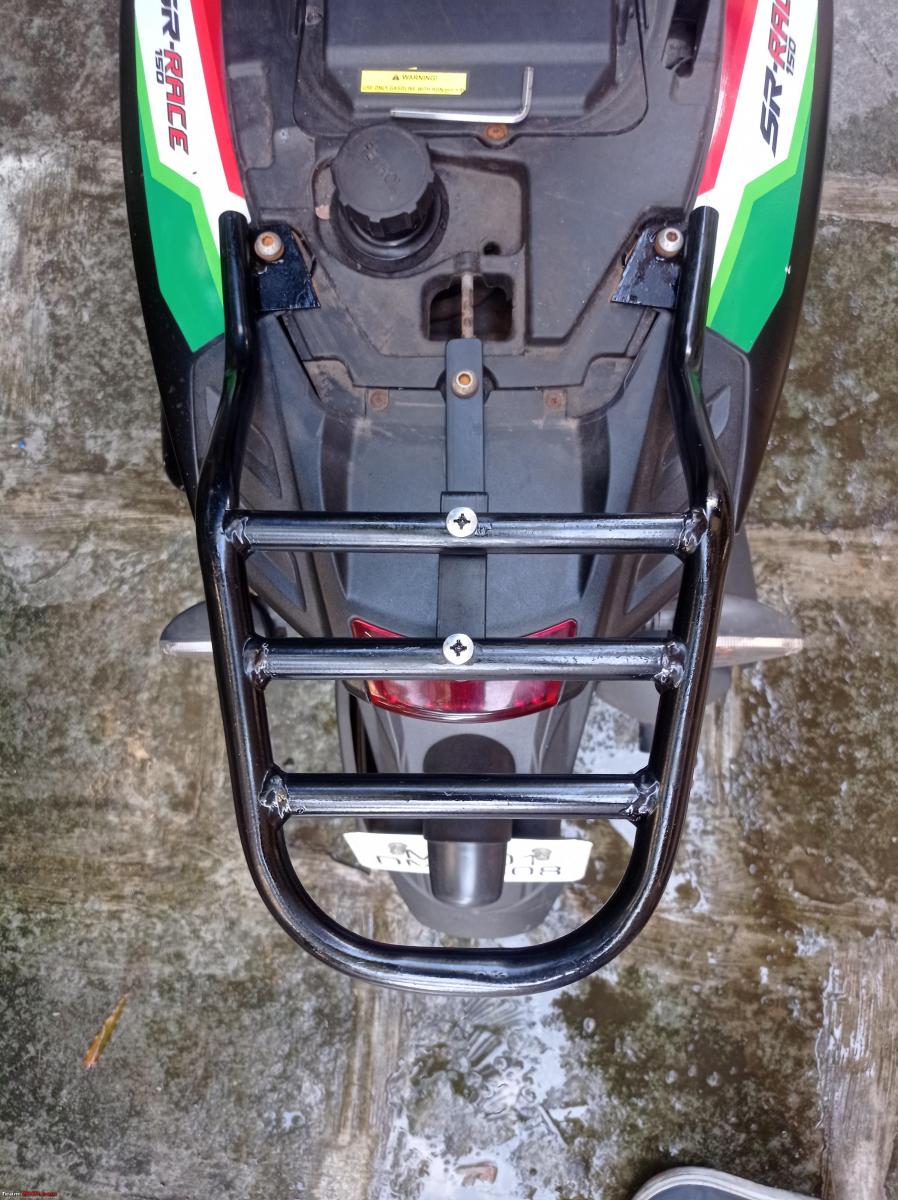
I first cut the mounting plates in half with a hacksaw to accommodate the raised section around the fuel filler cap. I also had to bend the mounting arms slightly outward to follow the lines of the original grab handle. Drilling fresh holes to mount it proved to be challenging until I realised I was using a drill bit meant for wood which barely caused a scratch on the hardened steel. A quick trip to the hardware store and the new bit went through like butter. Mounting complete? Not quite. There was still a bit of play due to the length of the carrier, so I went to a local metal fabricator who helpfully made me a z-shaped support piece for the carrier at a very reasonable price. The carrier is now as strong as the OEM grab handle and can easily resist being used to drag the scooter around.
The total cost was ₹580 plus a few hours of my time including the carrier (360 from Amazon), support piece (100), nuts bolts and washers (20) and a steel-capable drill bit (100). The overall total cost is cheaper than what the mechanic wanted to charge me just for his bracket.
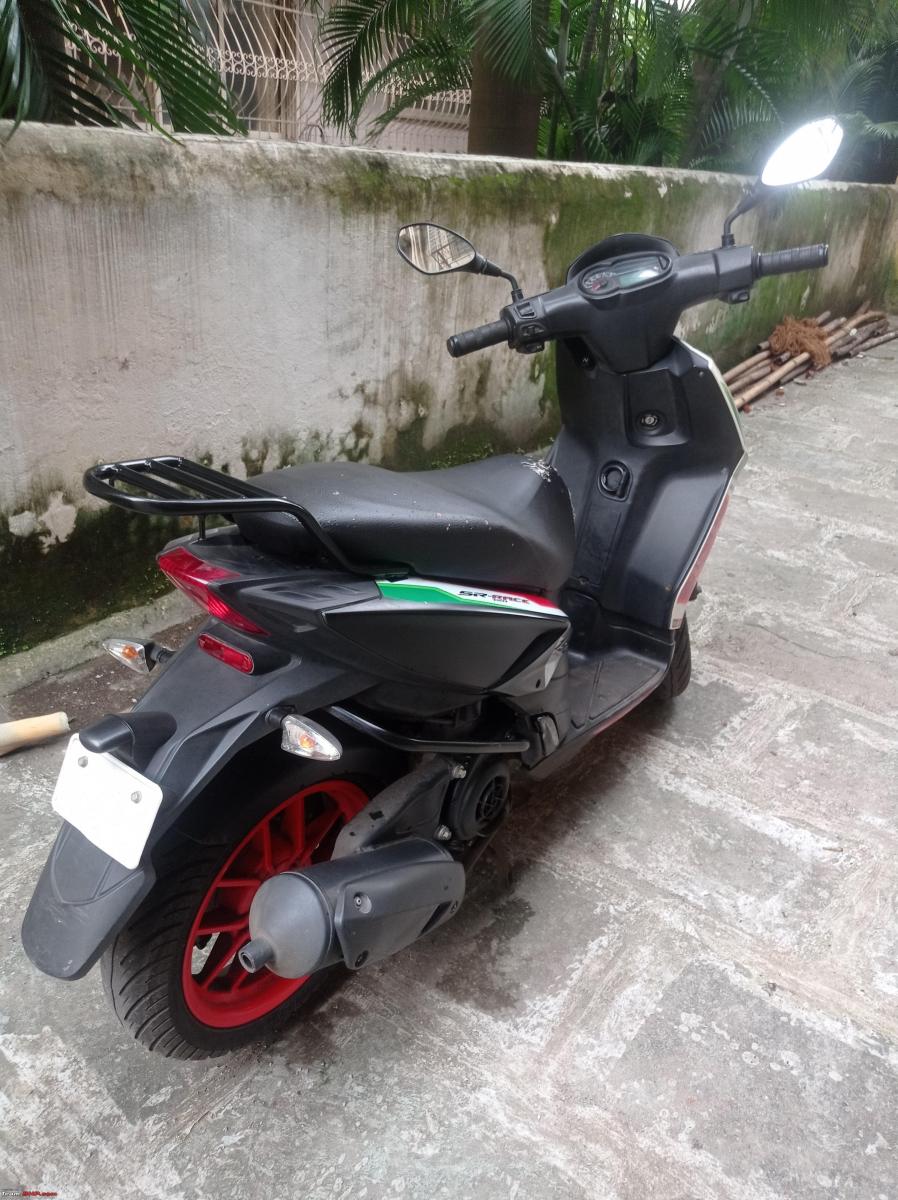
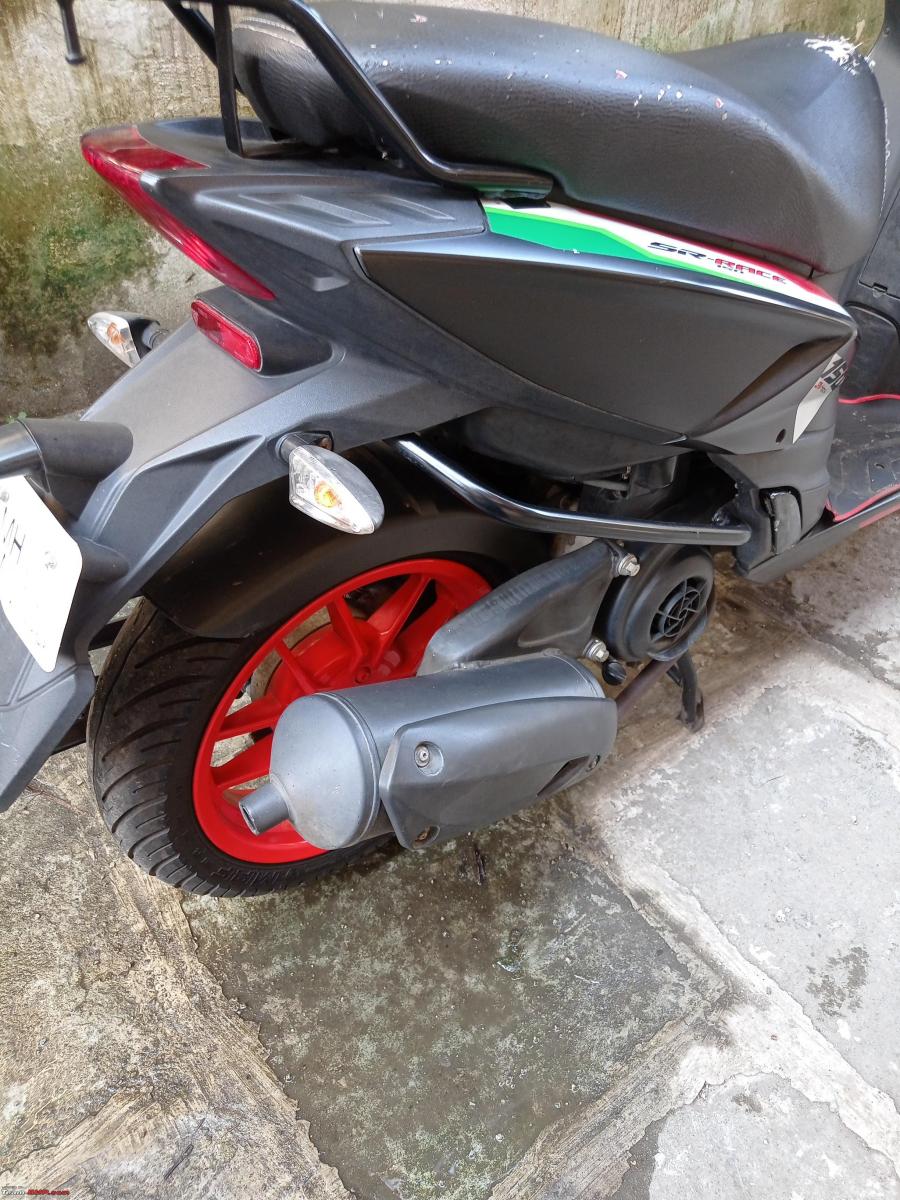
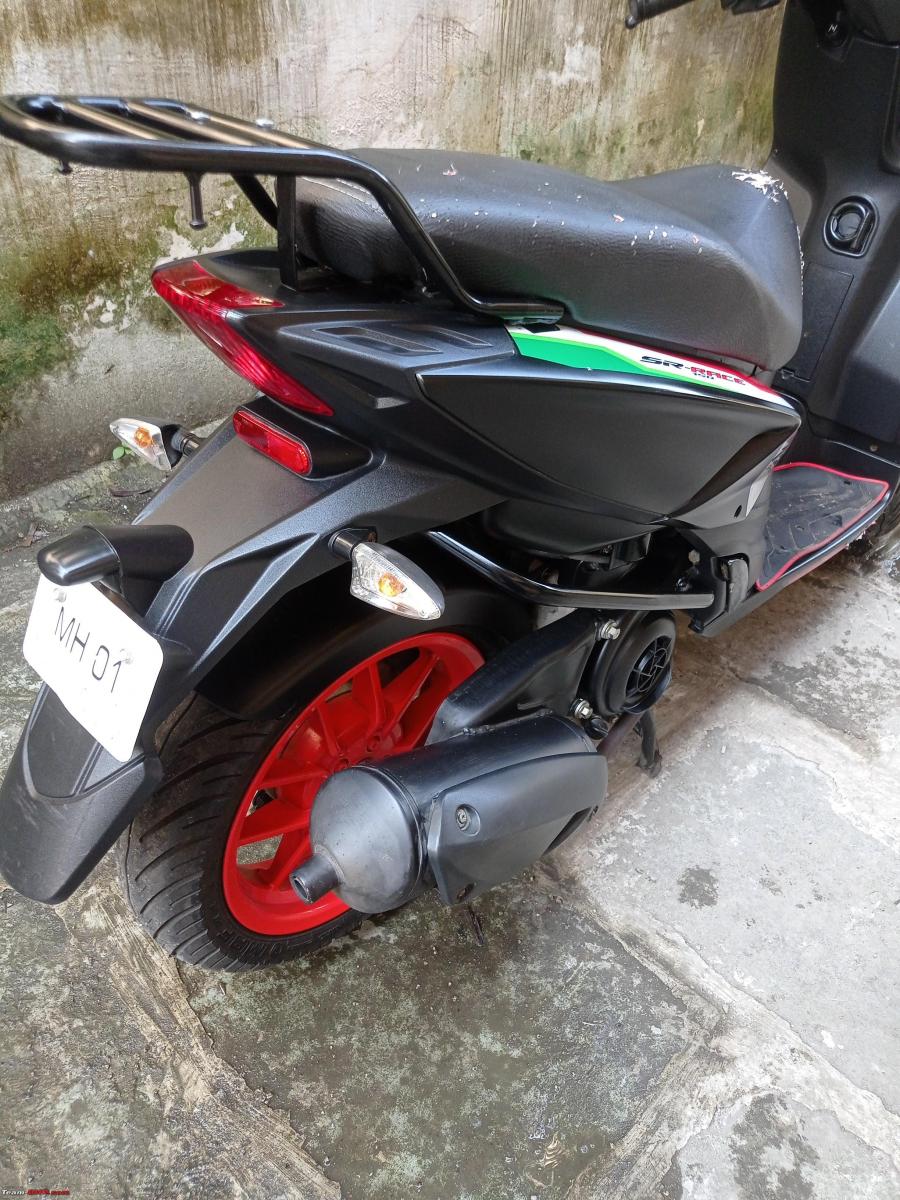
The carrier after modifications :
A comparison of how it looks with stock handles v/s carrier :
Carrier fitting
The z support bracket :
Installing a headlight switch
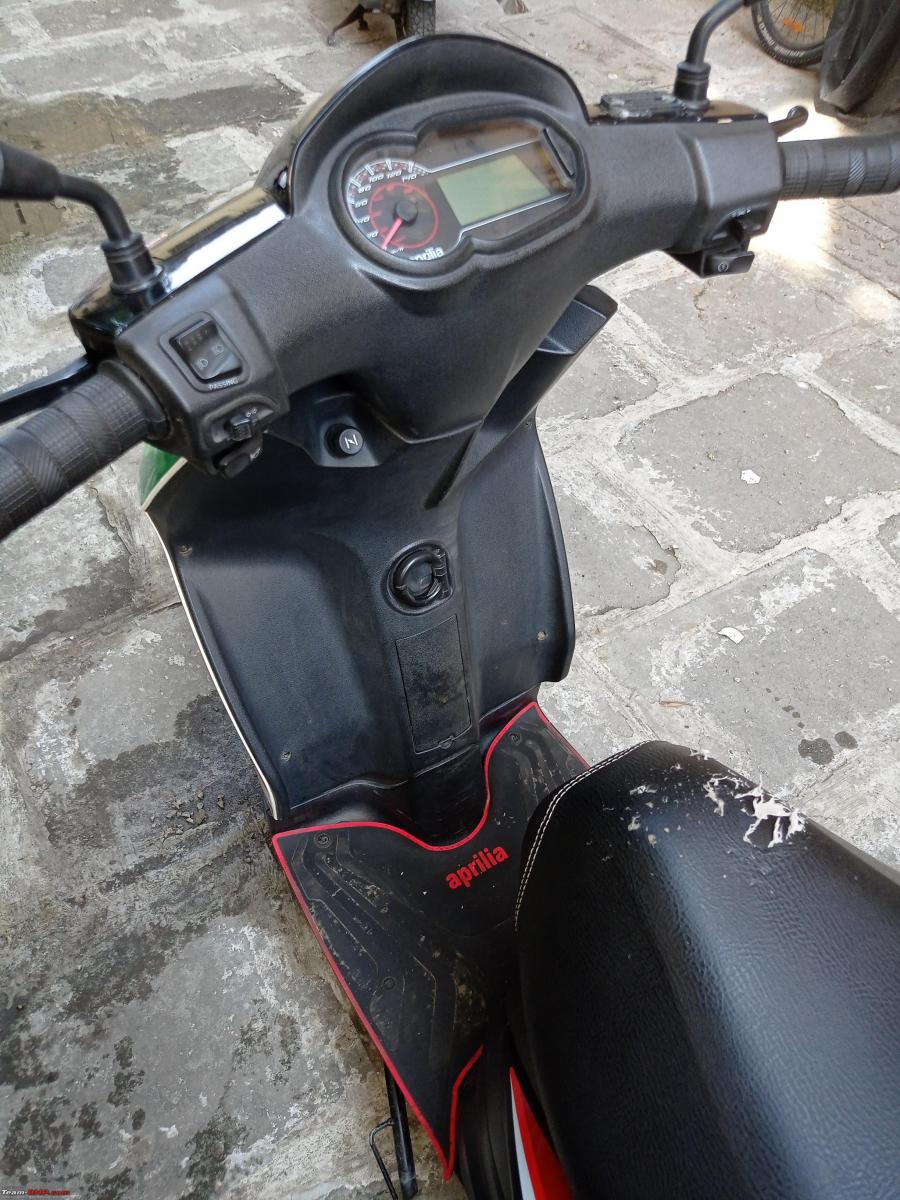
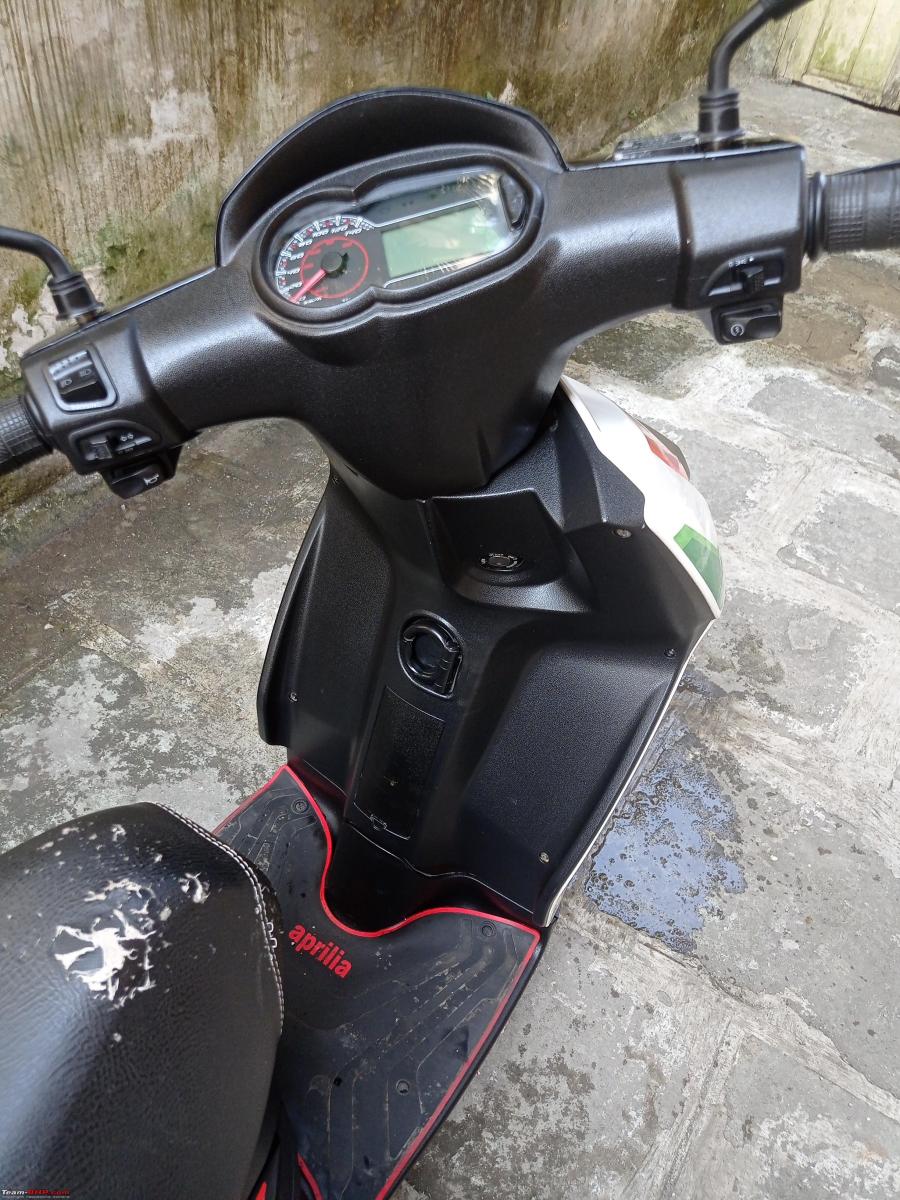
As my vehicle is manufactured after the government-mandated DRLs on all vehicles, Aprilia’s solution like many others was to simply remove the headlight switch altogether. I was unhappy with this as I didn’t want the headlights on all time (That’s what I assume caused my bulb to fail prematurely), so I wanted to put a switch as the older models had.
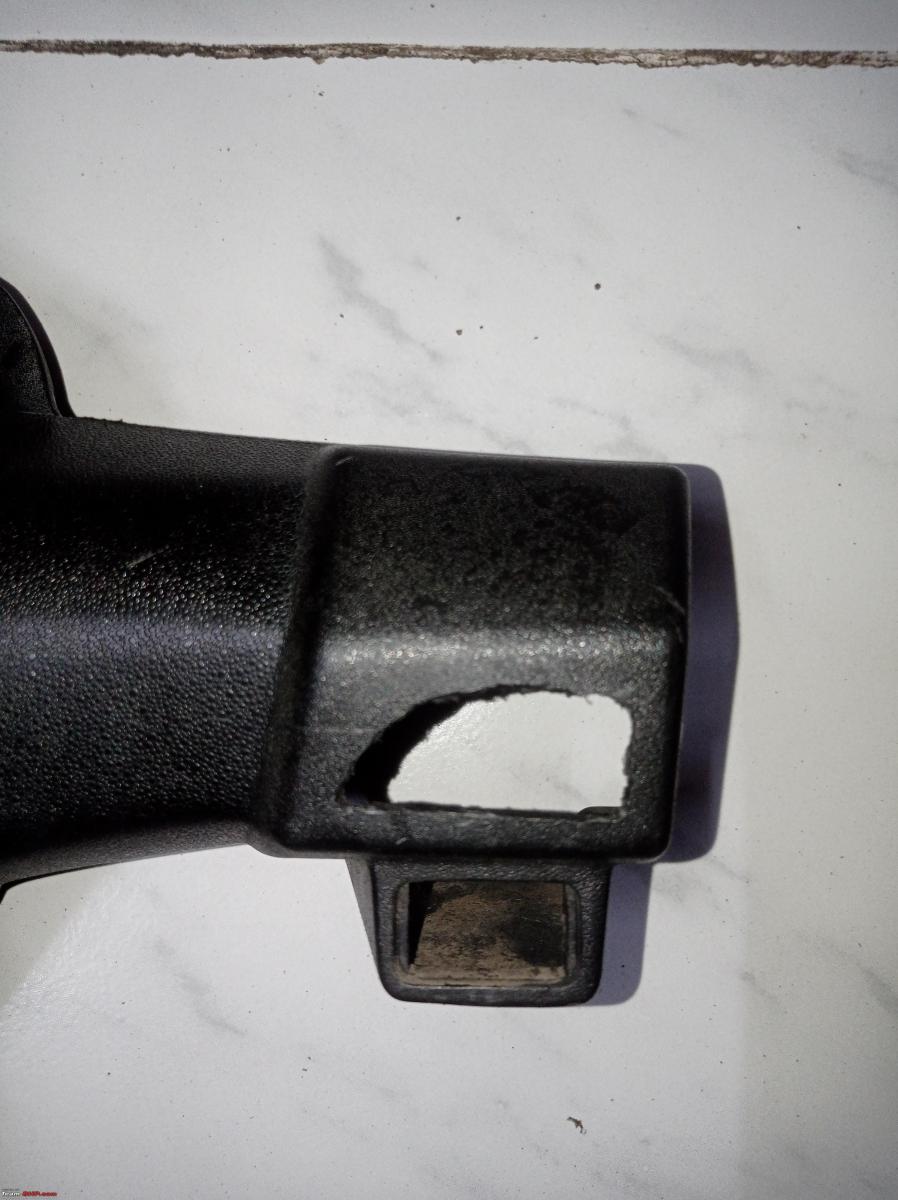
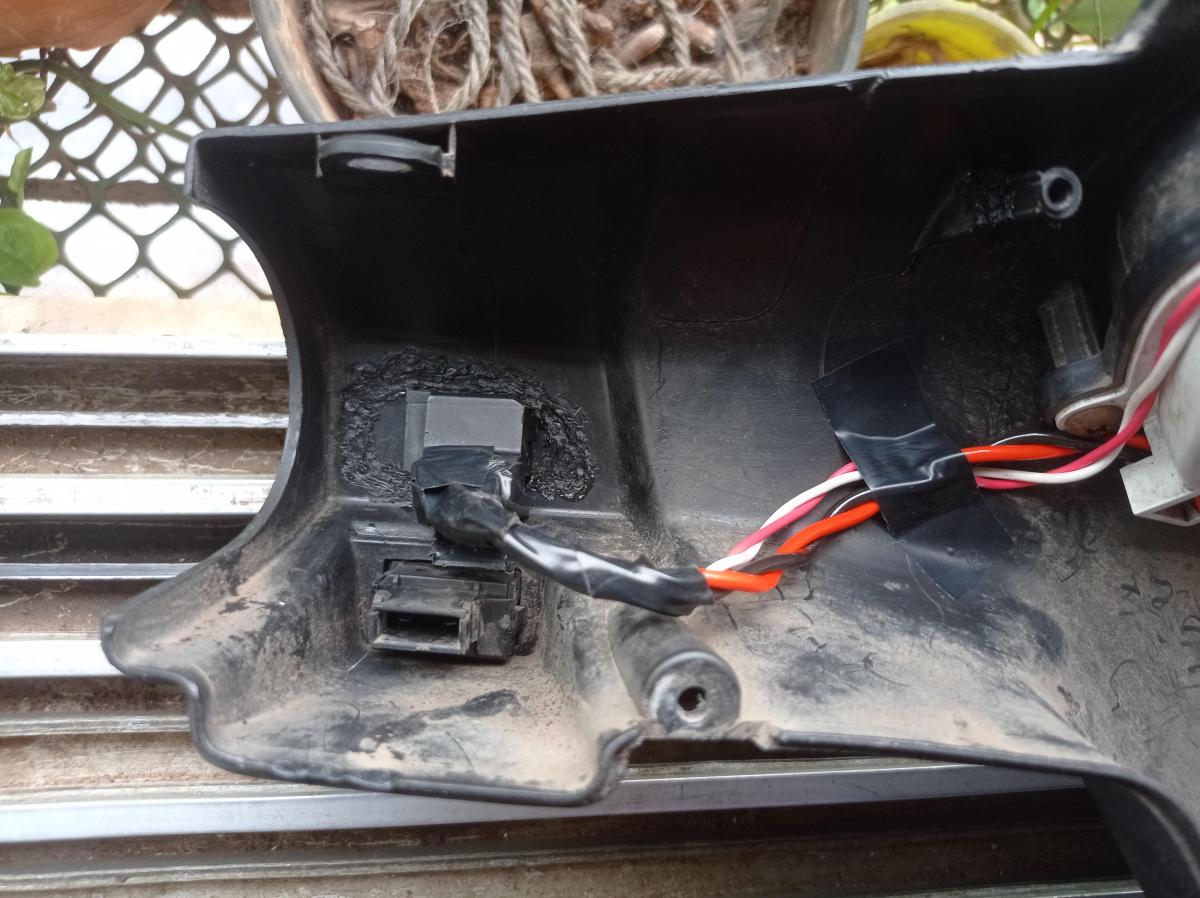
I bought the headlight switch from a TVS Jupiter as they use an identical switch. Installation and wiring were fairly simple, I removed the plastic casing from the handlebars and cut a hole roughly the size of the switch with a Dremel and made finer corrections with a file. The original switch was held in place by tabs, but mine was missing those so I had to improvise. I used some Feviquick to hold the switch in place, then plastic welded the back of the switch into the casing with a soldering iron. Wired the switch to the negative wires of both bulbs. The only downside is that the console on the scooter shows the “high beam on” indicator constantly while the switch is turned off, and the passing lights no longer work.
Work in progress :
Cutting the hole
Welding and wiring
Carburettor cleaning and tuning
I was getting horrible fuel economy to the point where taking out the car would be cheaper. I removed the carburettor and cleaned it, but I couldn’t perfect the tuning. I took it to a local mechanic who tuned it for me. I haven’t properly tested the fuel economy yet, but initial impressions are promising.
Washing and polishing
The scooter is hand-washed and wiped down daily, but was caked with mud and dust after the monsoon rains so a pressure wash with diesel was necessary. Got it done at a local place. I polished all the black plastic bits myself with silicon emulsion polish I got from Amazon. It now gleams like new.
Pressure diesel washing :
Polishing before and after :
Future plans
- I’d like to add an engine killswitch on the handlebar as reaching down to turn the key on and off in traffic is annoying. I planned to use the killswitch from a TVS Jupiter as it fits the design of the rest of the buttons, but I can’t find the switch anywhere yet, even at the service center. The idea is on hold for now.
- Another future project is to replace the carburettor jets with smaller ones to reduce fuel consumption as I don’t really require the extra power anyway. My ideal scooter would be an Activa engine in the Aprilia body. However, finding a matching jet is easier said than done and I haven’t found a solution as of writing this post. Perhaps I’ll update this if I do find something.
Ending with some random photos I’ve clicked. Looking forward to many more kilometres on this beautiful machine.
With a Yamaha Aerox – Pretty much the only market rival. I love the way it looks but the handling, seating position and practicality of the Aprilia are superior.
Standing out from the crowd
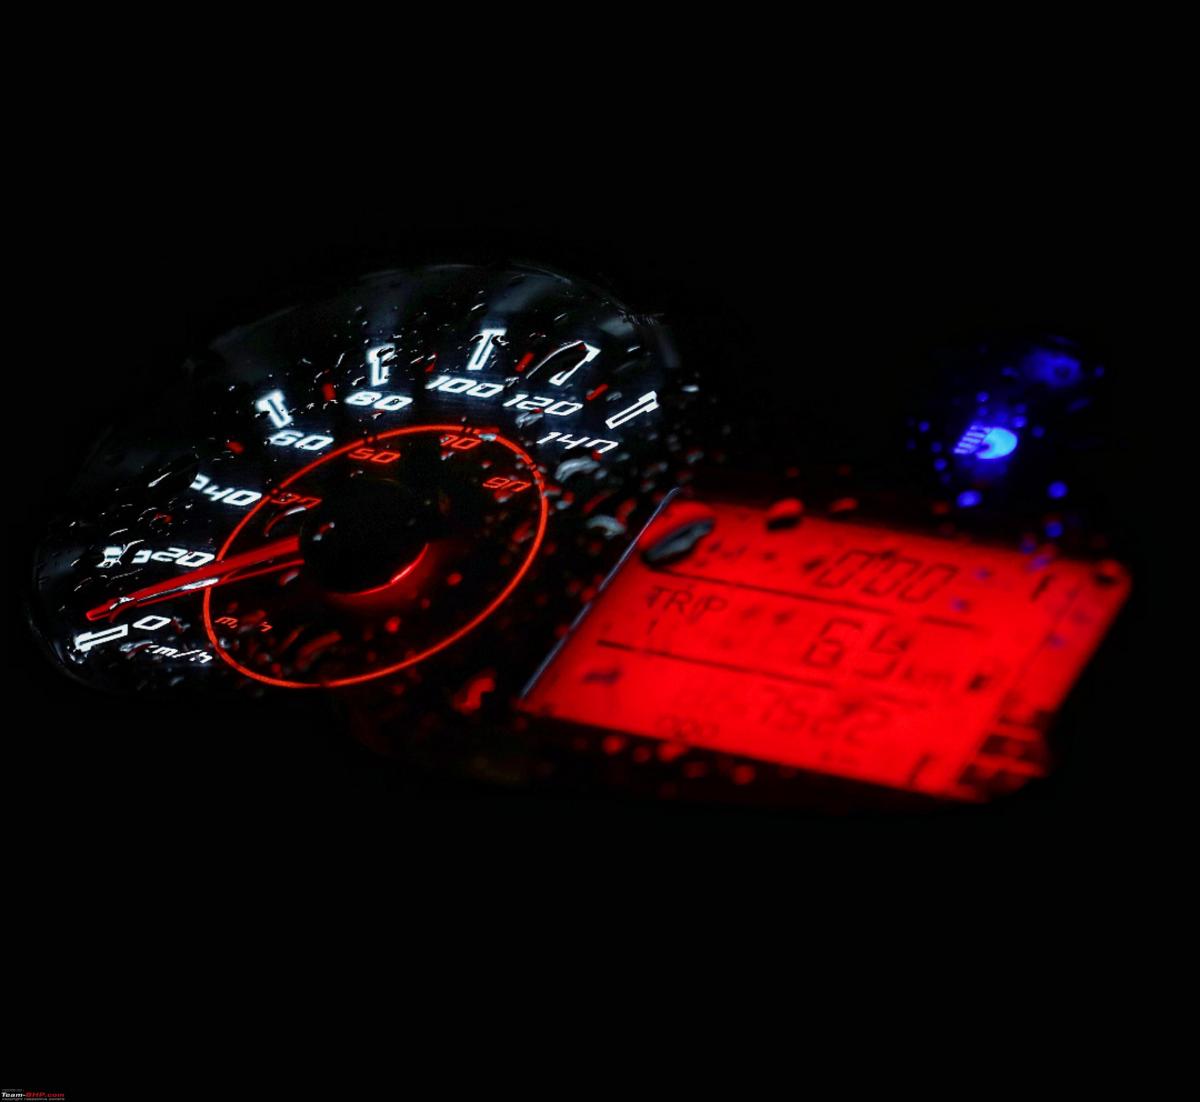
Took this after a spot of rain riding
Check out BHPian comments for more insights and information.
Source: Read Full Article
