Instead of spending Rs 4000 on a hydration pack, you can now easily make a perfectly nice one for Rs 800 – 1000 at home!
BHPian ebonho recently shared this with other enthusiasts.
So the saga of gear damaged by long storage and disuse continues. The victim this time being my trusty Camelbak that has hydrated me on many a motorcycle and bicycle tour. I last used it in 2017 during the BRM season, which I attempted on my ACT, and since the frame had only one bottle cage, I used to carry the Camelbak for added hydration. However, I soon jury-rigged a second bottle cage with zip ties to my seat tube and the Camelbak was put away, as the extra weight on the back used to tell on long 300+ km rides when you are not only the rider, but the motor as well!
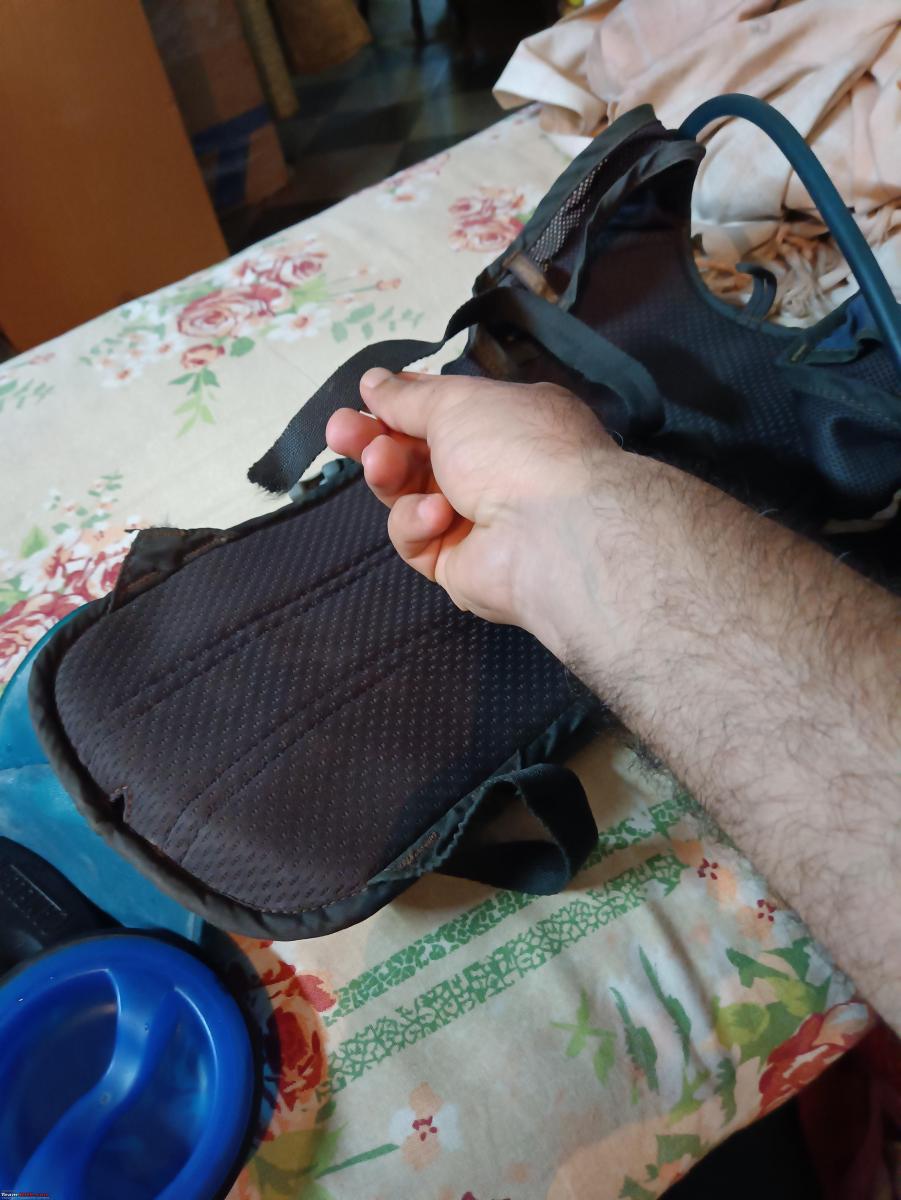
Took the Camelbak back out now, washed it, filled it, and suddenly found it flopping to one side, the shoulder strap on one side giving way. Closer inspection revealed that the entire nylon strap framework on the webbing had deteriorated and rotted away and was coming apart just by pulling on it. All the nylon straps would have to be replaced, using the old Camelbak buckles. Not a small job. The problem lies in no bag maker willing to take on the pretty intricate headache, and tailors not being able to use their machines and thinner needles. The other option would be to buy a new hydration backpack and see if the Camelbak bladder could be made to work with it. Or buy a new hydration pack and return this old one as beyond salvage.
The two main issues with these proprietary bladders are how they are attached inside the backpack so that they do not collapse on their own weight while filled up, and second, the routing and anchoring of the tube with the bite valve so that it stays in place and is always in easy reach with one hand while on the move.
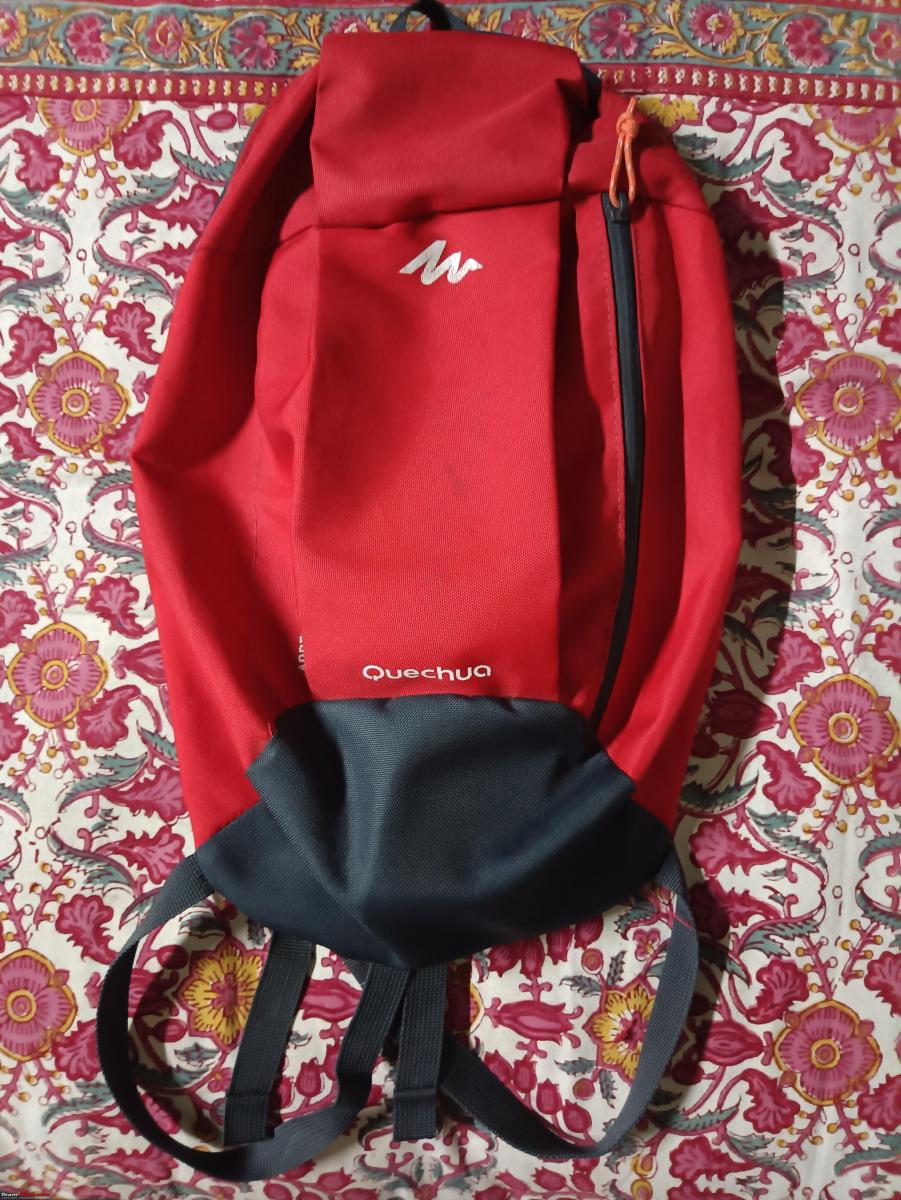
Came back home after unsuccessfully having tried at various tailor shops and bag makers. My eyes lighted on the 10-litre Decathlon mini backpacks that we have many of at home, both my kids and me loving them for their utility, size and price. Started thinking about whether I could jury rig one of these bags and modify it to take the bladder (checked, and yes it just about fit, perfectly!) and then whether I could take the tube out through the zipper (no, as it a single side zipper) and whether there was some way to hold it in place over my right shoulder. Each question would need to be addressed stepwise.
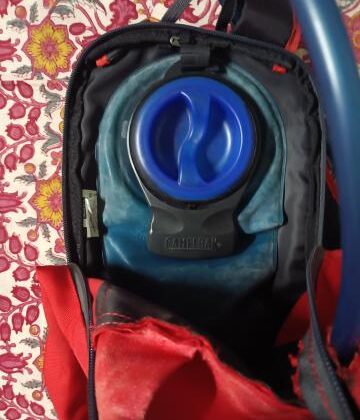
Customized the 10-litre Decathlon backpack into a hydration pack, replacing my CamelBak with the damaged straps, and transplanting the bladder into this. Started with 3 safety pins holding the bladder hook, anchored through the nylon and cotton inner piping of the bag. But the jostling weight of the filled bladder would have ripped the pins out of the nylon and cotton internal piping eventually. So figured out a way to anchor only one of the safety pins length-wise with 4 anchor points instead of 1 by needling it through the nylon, and then suspending the bladder from a section of cut road bike 23 mm inner tube.
Had to make a hole in the fabric of the bag up top for the egress of the tube. Tried heating a cylindrical punch over a flame and melting a neat hole through the nylon but that did not work. Eventually cut a small neat hole with scissors. However, the nylon ends started unravelling as I tried to force the bite valve through a hole that was the exact perfect size of only the pipe. Tried sealing the ripped nylon with a flame … and the hole became too big. Gaping. Another concern is that the safety pin might not hold with the weight of the full bladder jostling while riding. And bend and open up from its clasp. Another thing that will need to be tested and get known only by test riding the rig, and not just on smooth roads either. Something I am okay with, as this is essentially a dummy pilot “jugaad” run and I hope to fine-tune and improve the design based on how it performs on the road.
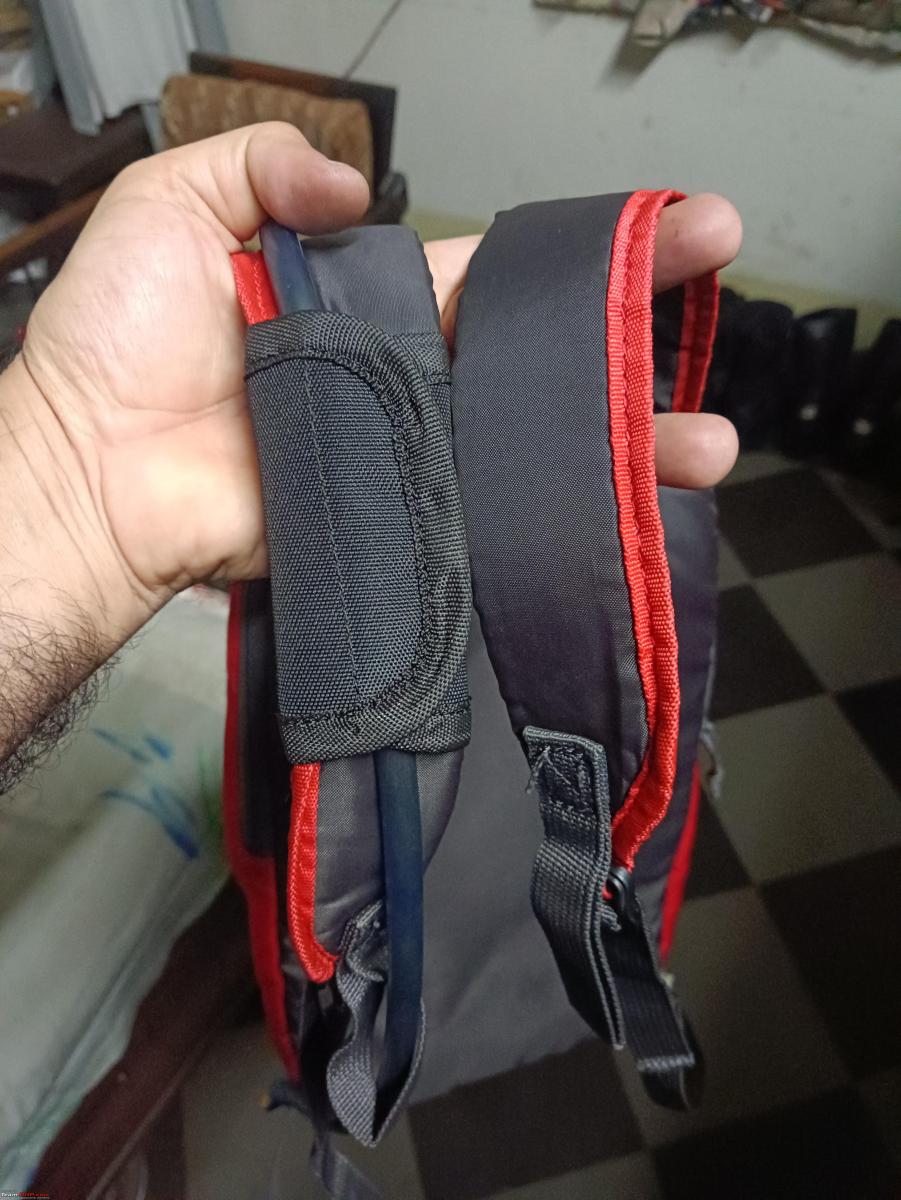
The finishing touch was the velcro flap handle holder of my old Bullet saddlebags (never used this flap anyway!) on the right shoulder strap of the backpack to hold the water tube in place under it on the shoulder. Initially tried looping the tube across from below the shoulder strap, so that it held it in place, but this is so much better. And flush and comfortable. Alternatively, you could just use an ordinary velcro strap around the shoulder strap and pass the tube under it. The bite valve end finally passed through the trekking thumb rest strap loop, so that it does not fly off at speed.
The bag is 199 bucks at Decathlon. The bladder came off of my old Camelbak. But one can pick up a bladder from 600 to 800 bucks on Amazon or from any of the bike gear manufacturers. So instead of spending 3500 to 4000 bucks plus on a readymade hydration pack, you can now easily make a perfectly nice one for 800 to 1000 bucks at home!
Will keep you guys updated on how the bag sits and stays in place without a sternal belt, and how the safety pin and rubber inner tube anchor hold the 1.5 jostling kilos of water bladder when on a ride over varied surfaces.
Check out BHPian comments for more insights and information.
Source: Read Full Article


