There could be a problem with either the linkage between the handle & the lock mechanism or the lock mechanism itself.
BHPian Jeroen recently shared this with other enthusiasts.
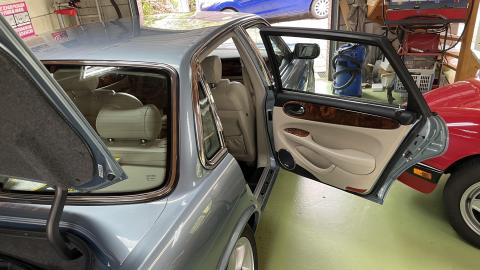
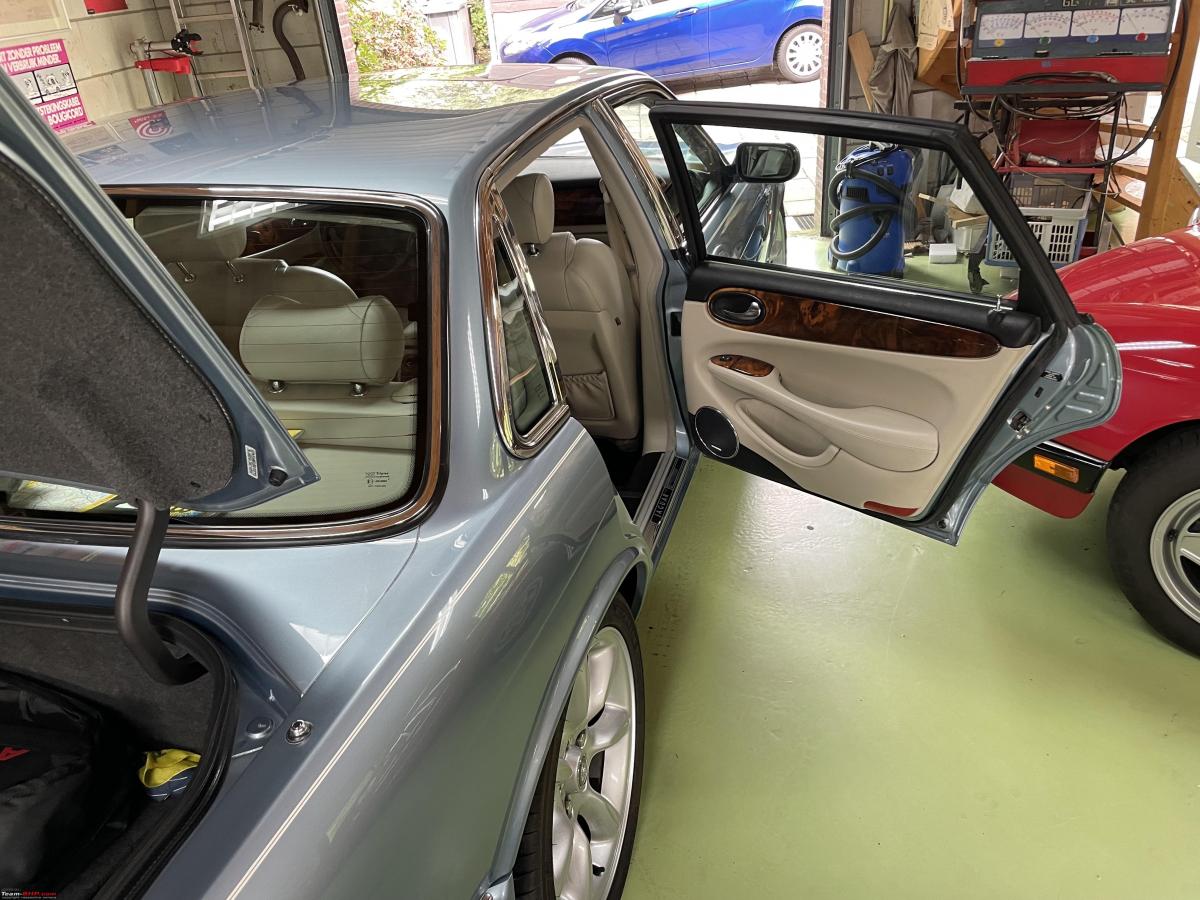
Yesterday I worked on the rear passenger door of the Jaguar. It could not be opened from the inside.
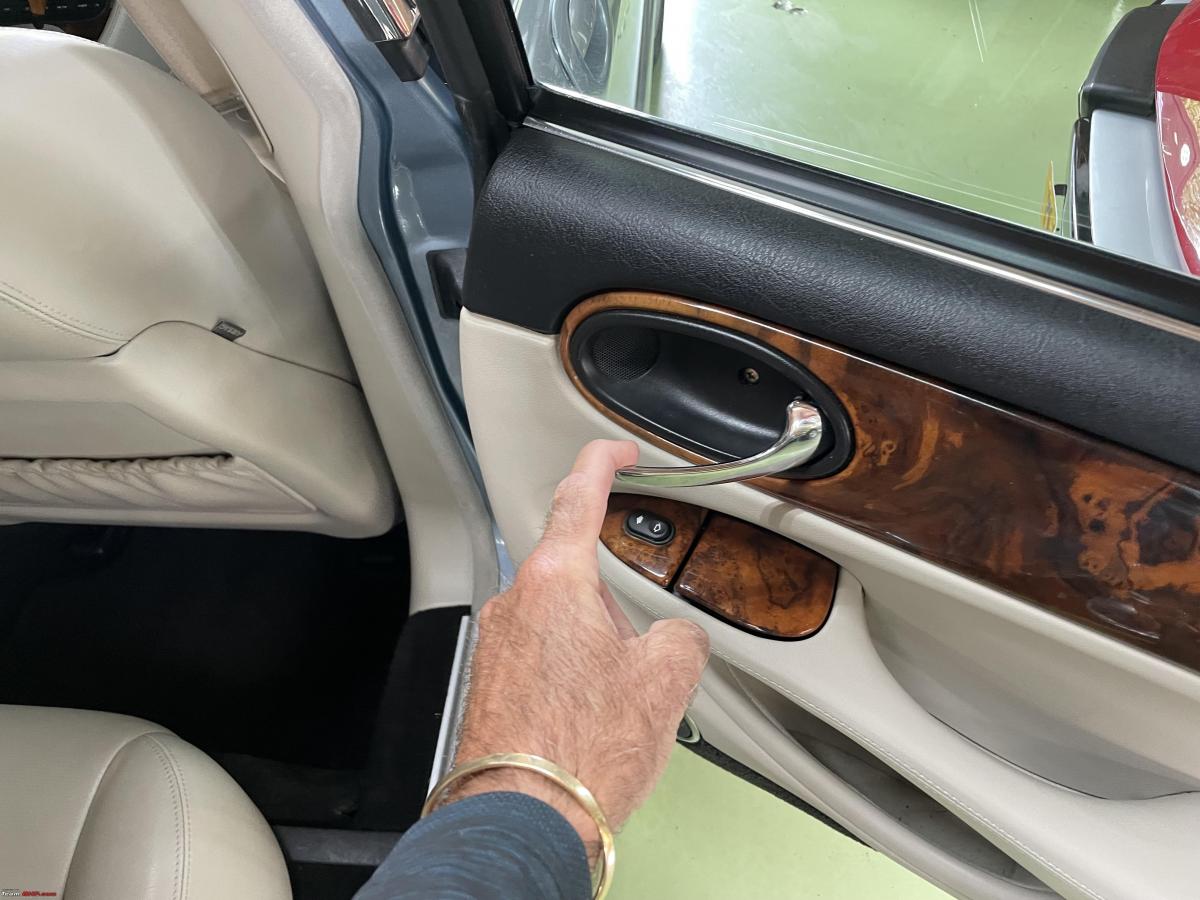
When something like this happens, before taking anything apart there are usually a couple of things you can do to check what might be the cause. First of all, do you feel any resistance at all when pulling the handle? Double check the child lock is in the off position. Also, check if the door is properly unlocked. Especially, if you have actuated door latches, make sure the little pin indication open/close door is in the fully open position. Does the outside handle still work?
In my case, it was very clear that there was zero resistance when pulling the door handle on the inside. Everything else worked fine.
This suggests a problem with either the linkage between the handle and the lock mechanism or the lock mechanism itself. Either way, it means the door card has to come off.
First thing is to position the Jaguar in such a way I can open the door fully without it bumping into anything.
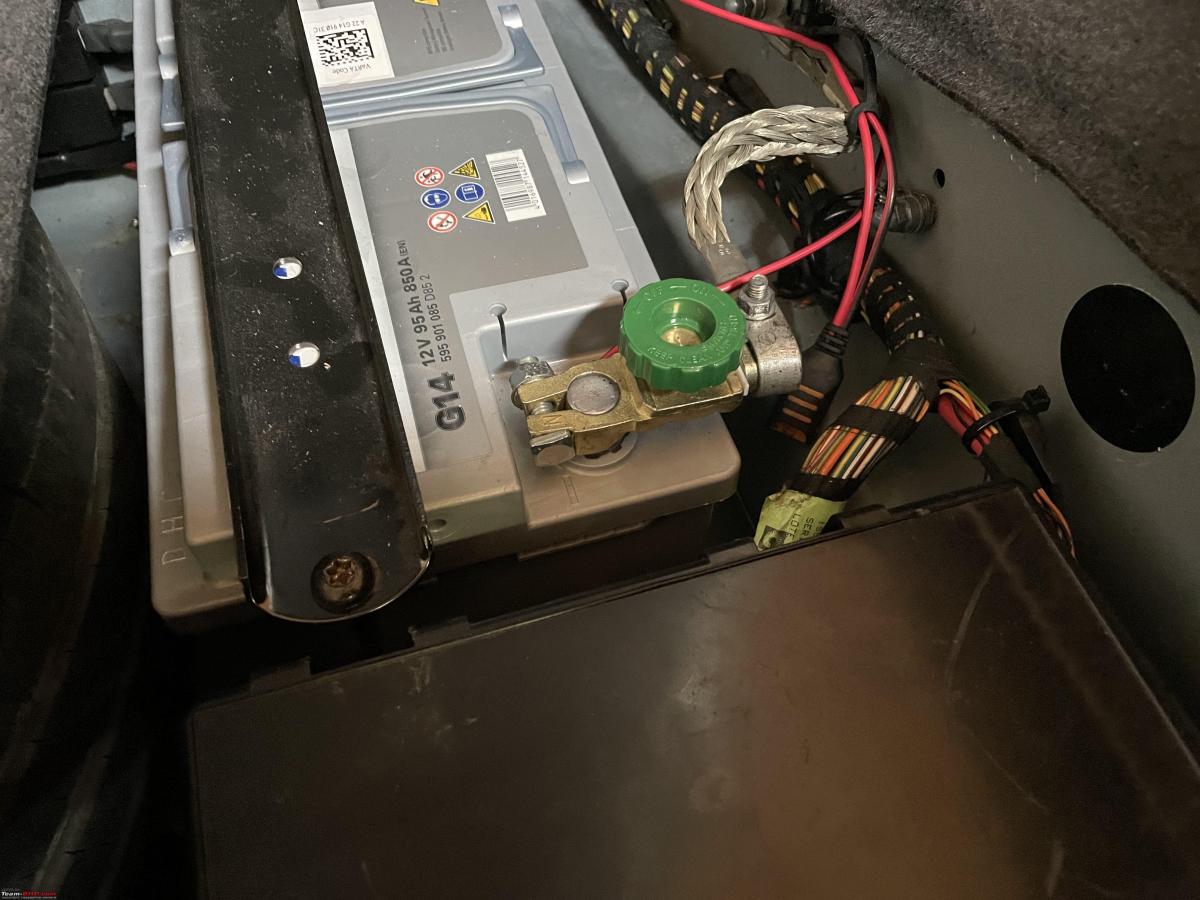
Secondly, disconnect the battery. I have this handy device fitted, just undo the big green screw and the battery is disconnected. The reason to disconnect the battery for this job is that there are multiple electrical wires and other electrical stuff inside the door. E.g. door lock activation, window motor, puddle lighting.
I seem to recall I had this door card out before to replace the lens of the puddle light. It is in one of the earlier posts. Getting out the door card of the Jaguar is a pretty straightforward process. Still, I always check the workshop manual. I don’t do this on a regular basis, so I forget. With an old car, many of the plastic and trim bits will become brittle. So you don’t want to force anything in case anything snaps!
First, the wooden trim needs to come off. One bolt holds the plastic bit underneath the door handle.
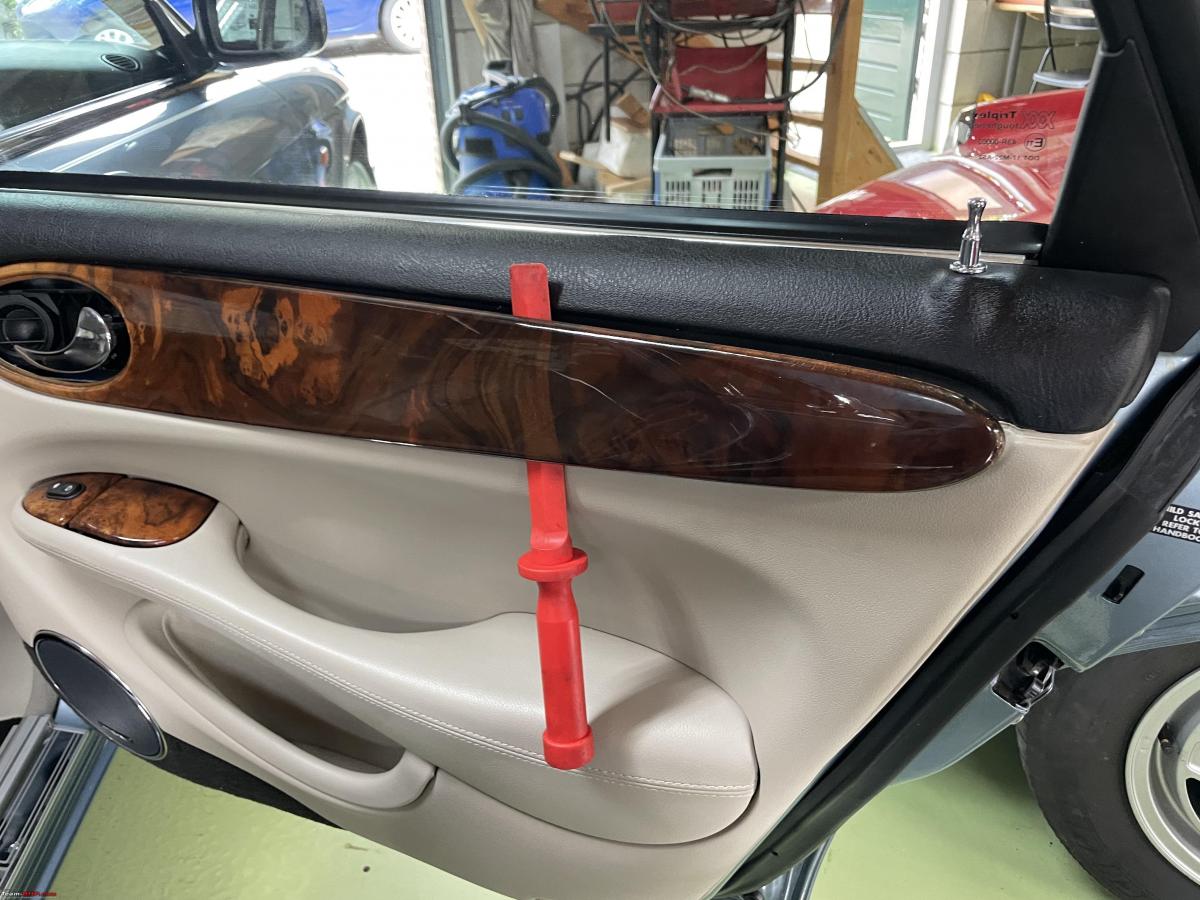
Next, carefully pry off the end of the veneer trim with a plastic screwdriver. It is held onto the door with two clips, and then slide it rearwards.
This is a very tricky job, you don’t want to crack this bit of trim. Apart from being difficult to find spare, it is also ridiculously expensive. So easy doe!! Notice, there is also a little speaker in the doorhandle fixture, a tweeter.
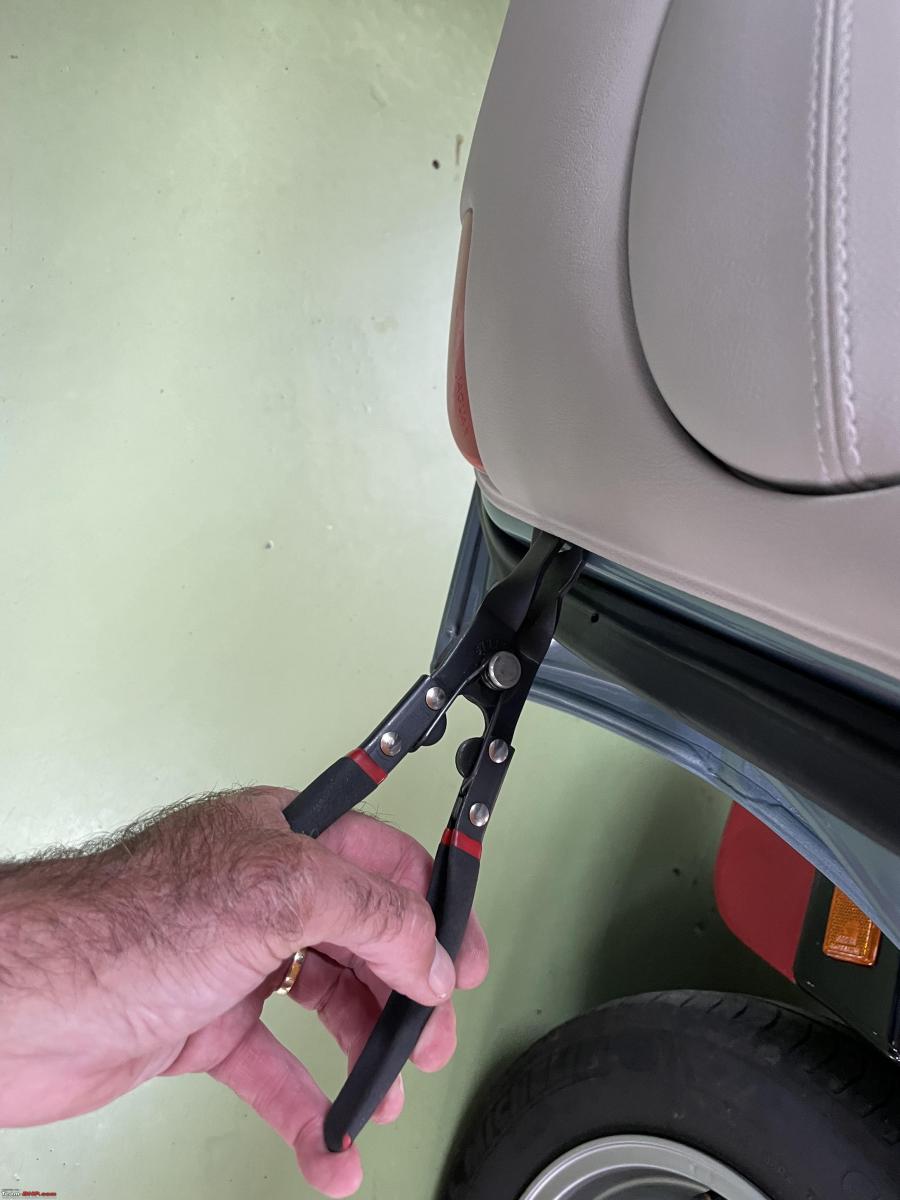
To get the door card off, loosen one large bolt underneath the armrest. The whole card is held in place with 7 clips. I always use my special card removal tools. Works a treat every time!
Pry off the protective cover at the rear for access to the lock mechanism. Notice the various electrical connection I undid earlier. Always tricky to get them off without bits breaking!
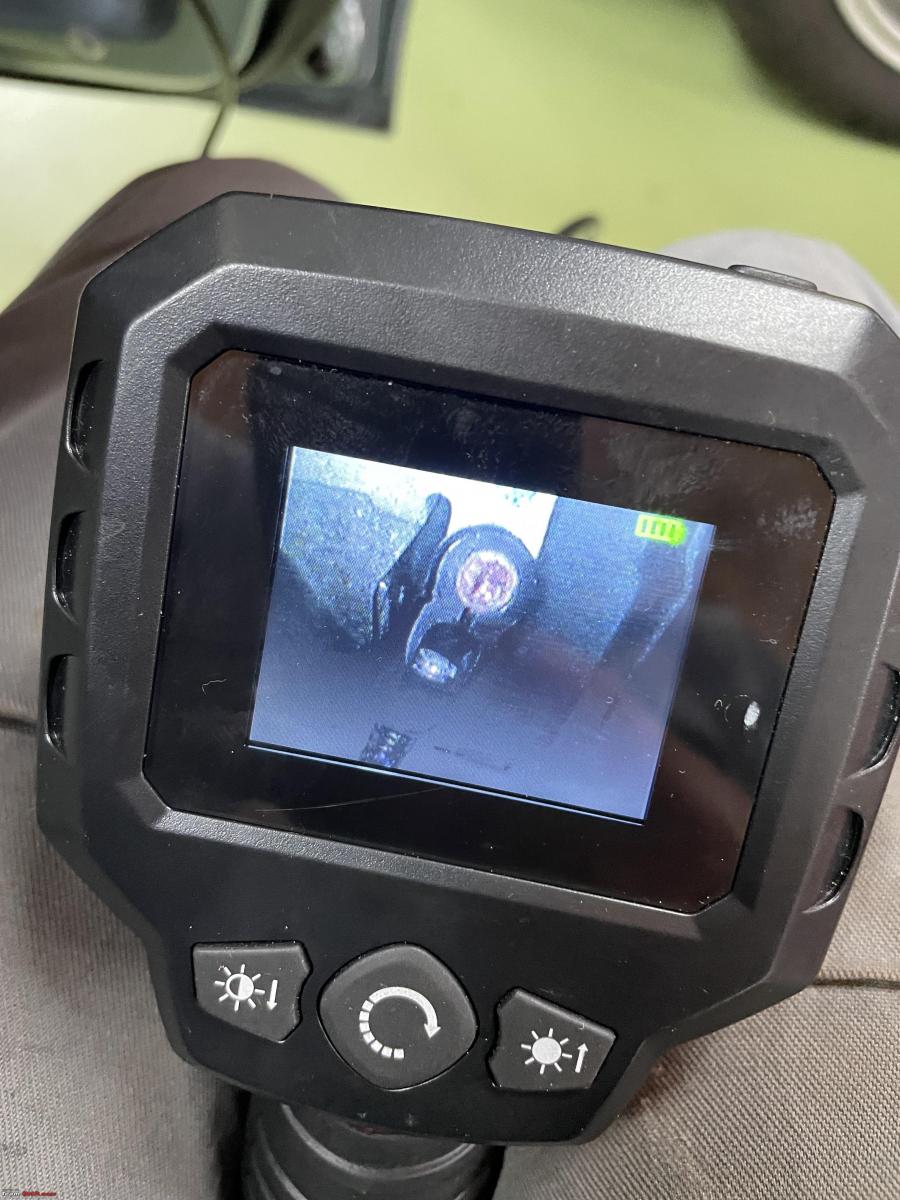
With everything removed, I could have a look inside the door. The door mechanism is sort of hidden. I used my special mirror to see inside. It became clear to me that the cable running from the door handle to the lock mechanism appeared to be intact, but had become loose. I also checked the door handle base for cracks. Many years ago, when we were still in the USA, I had the same problem with the driver’s door. I recall having taken out the lock mechanism, (which is a royal PITA) to find out the problem was actually with the handle base. It had cracked. When in its normal position nothing was shown, but with the door handle pulled, stress is applied to the base and I noticed it was just cracked and moved about.
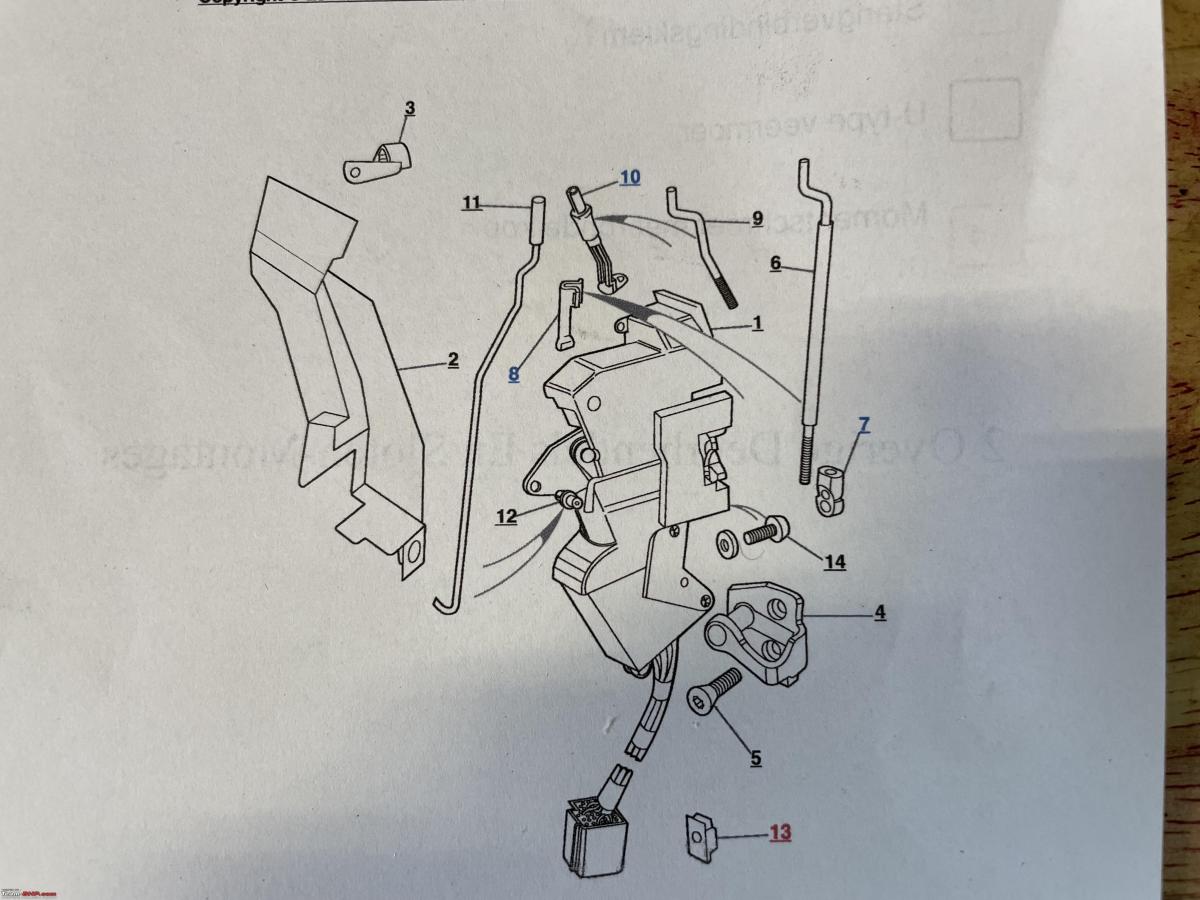
Getting the lock mechanism out, looks simple enough in the workshop manual. Another case is where theory and practice don’t match. The lock is held in place with three large bolts, easy to undo. But there are a couple of linkages that need undoing as well as the window guide rail needs to be undone. Even then it is a very snug fit.
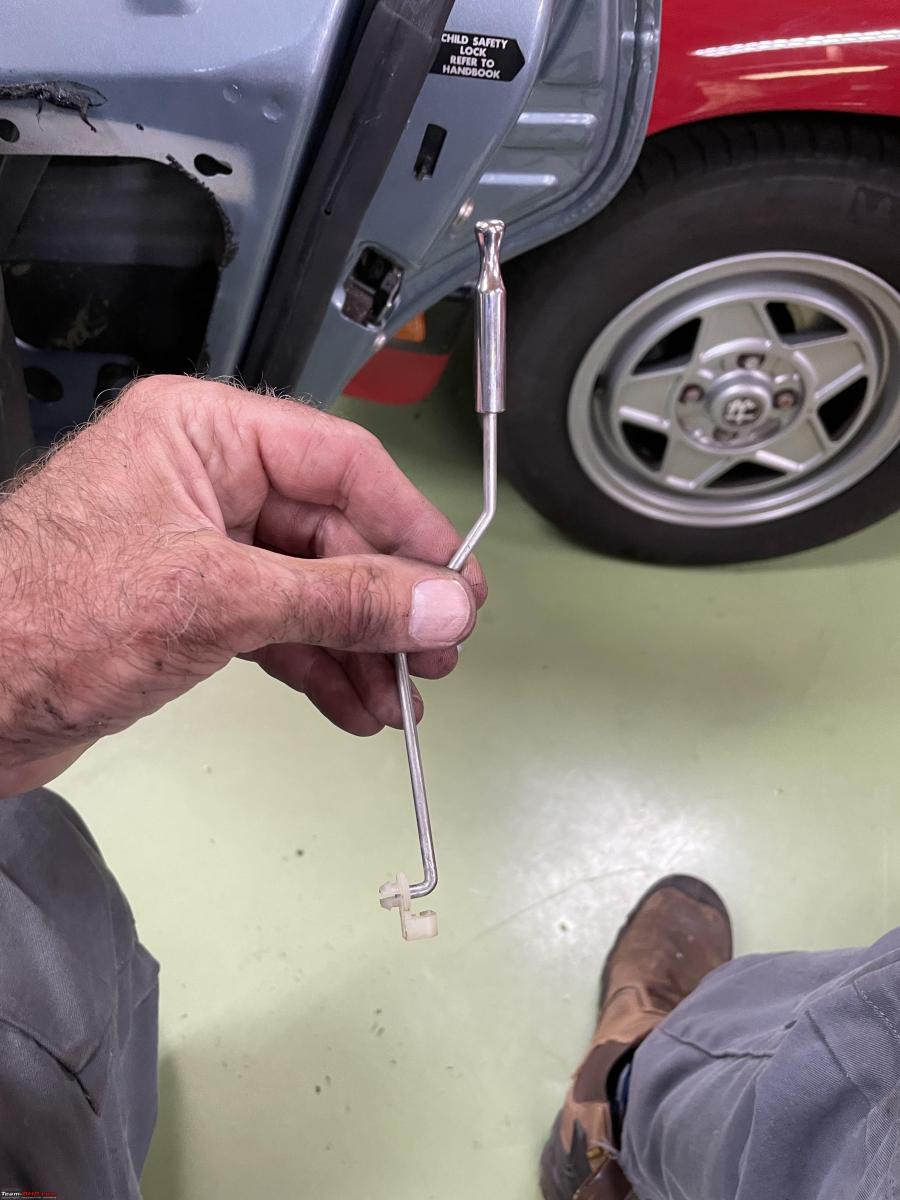
The connecting rod for the door open/close pin indicator is easy. Good access and is easy to pry out.
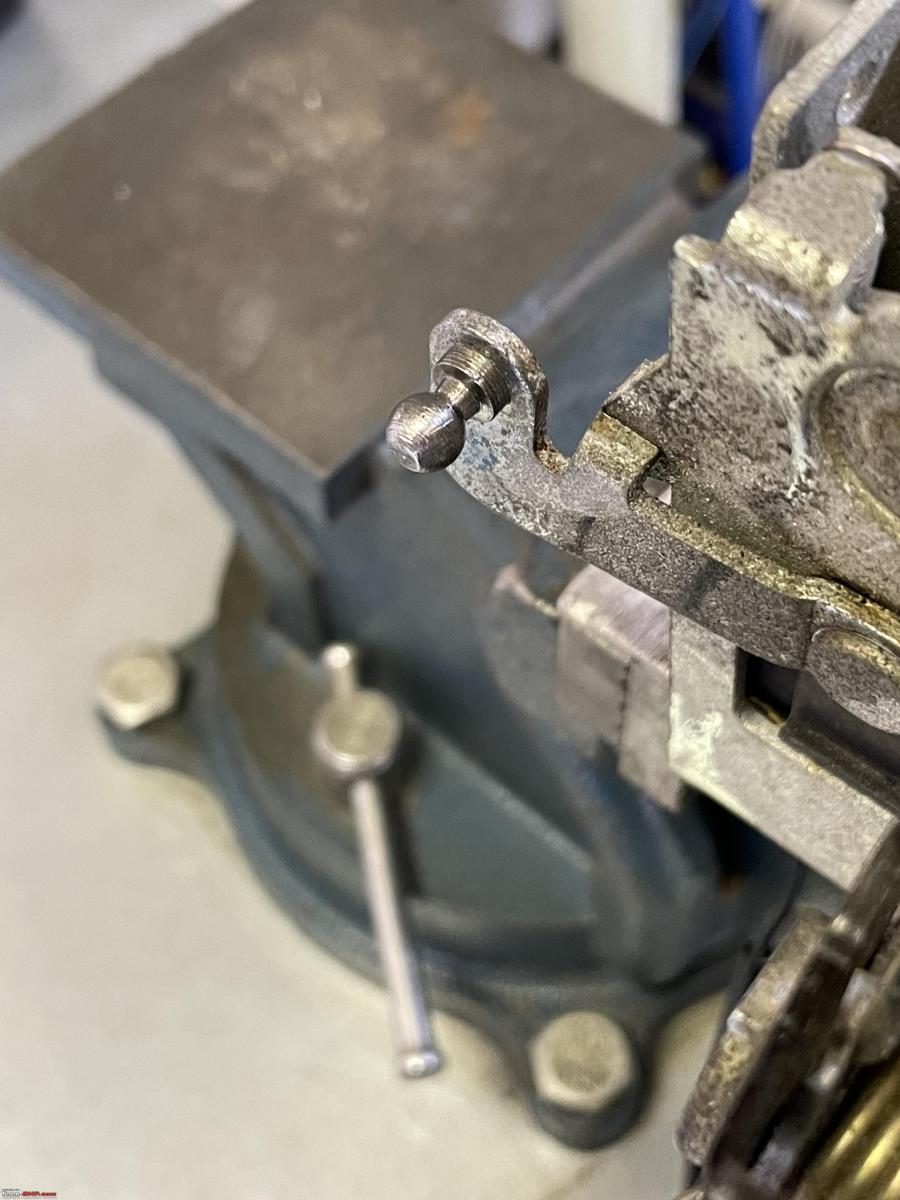
The big struggle was with the connecting rod for the outer door handle. You can not see it. All by touch and feel but impossible to get your fingers on it. Also, the little ball on it seemed rusty.
I used my little scope to get a better understanding of how it all fitted together.
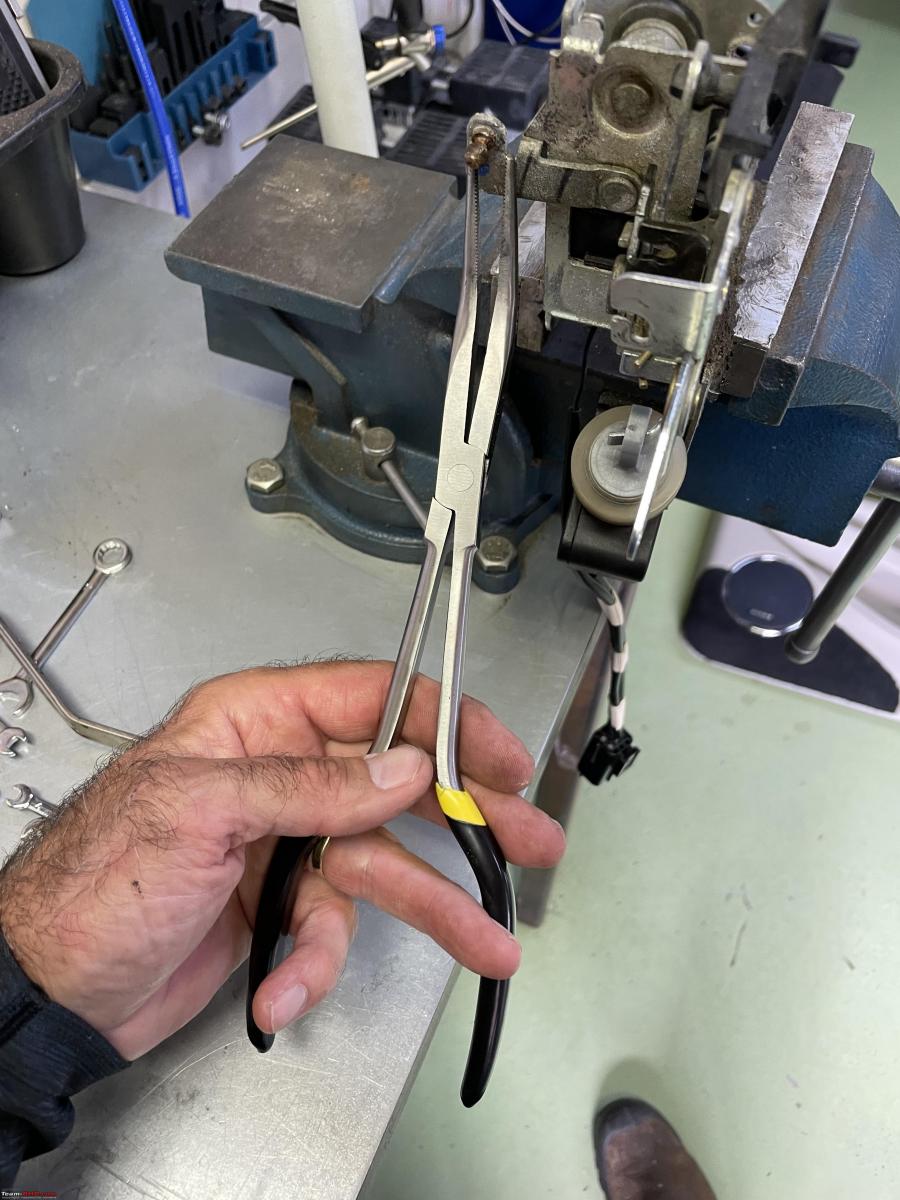
I used various tools to try and get a grip on the connector of this rod. It should just snap off. But that requires being able to pull at it a right angle or get something underneath. In the end, I managed with a very long nose plier.
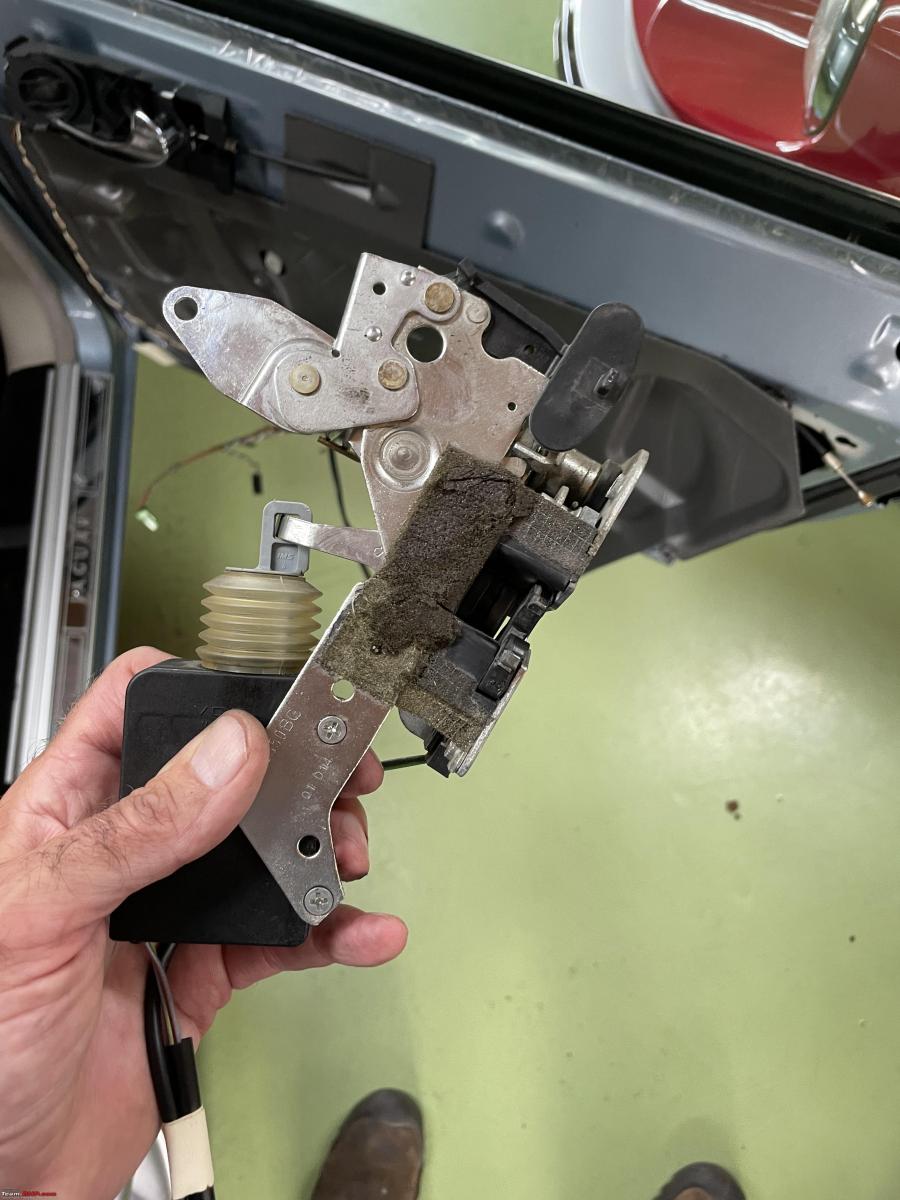
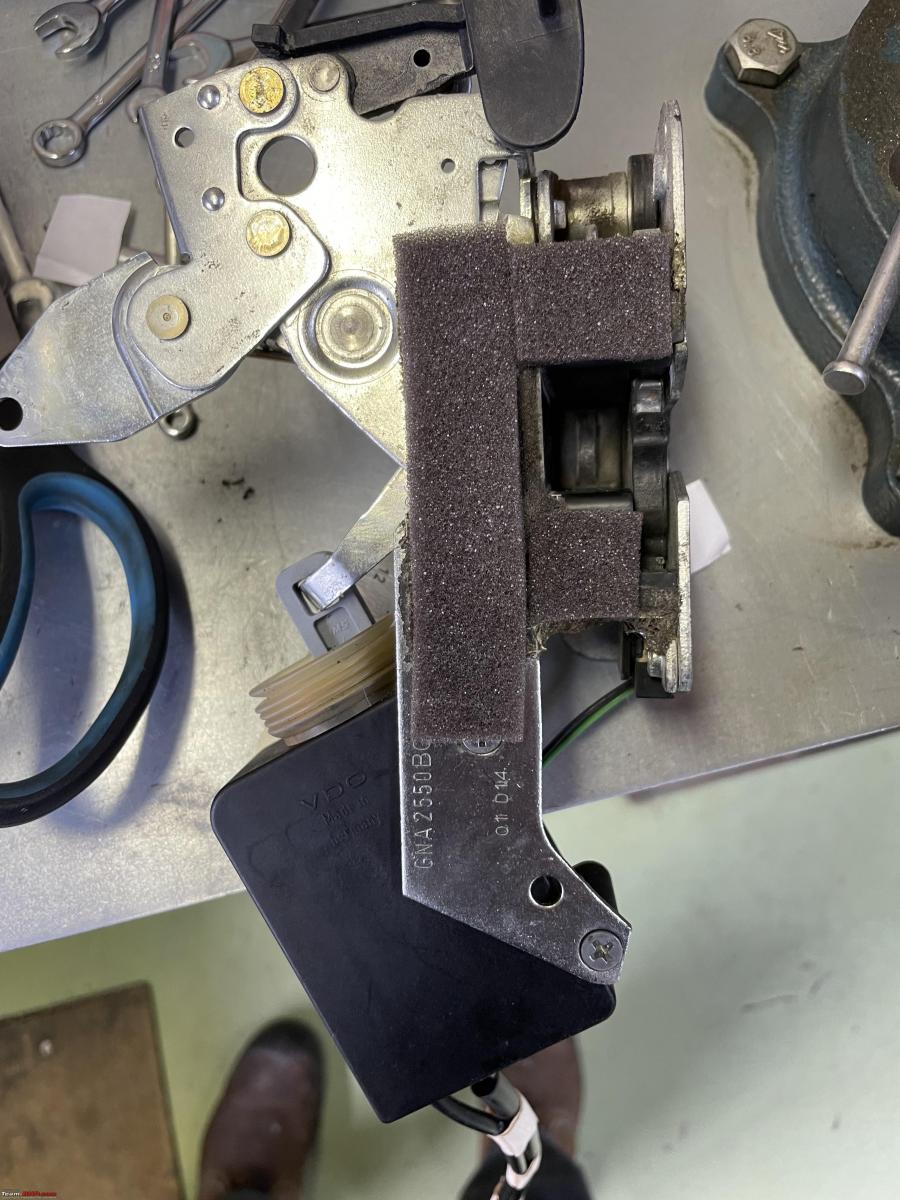
It took me some 2,5 hours of fiddling before I had the lock mechanism out. I am holding it by the electro-mechanical actuator for the lock.
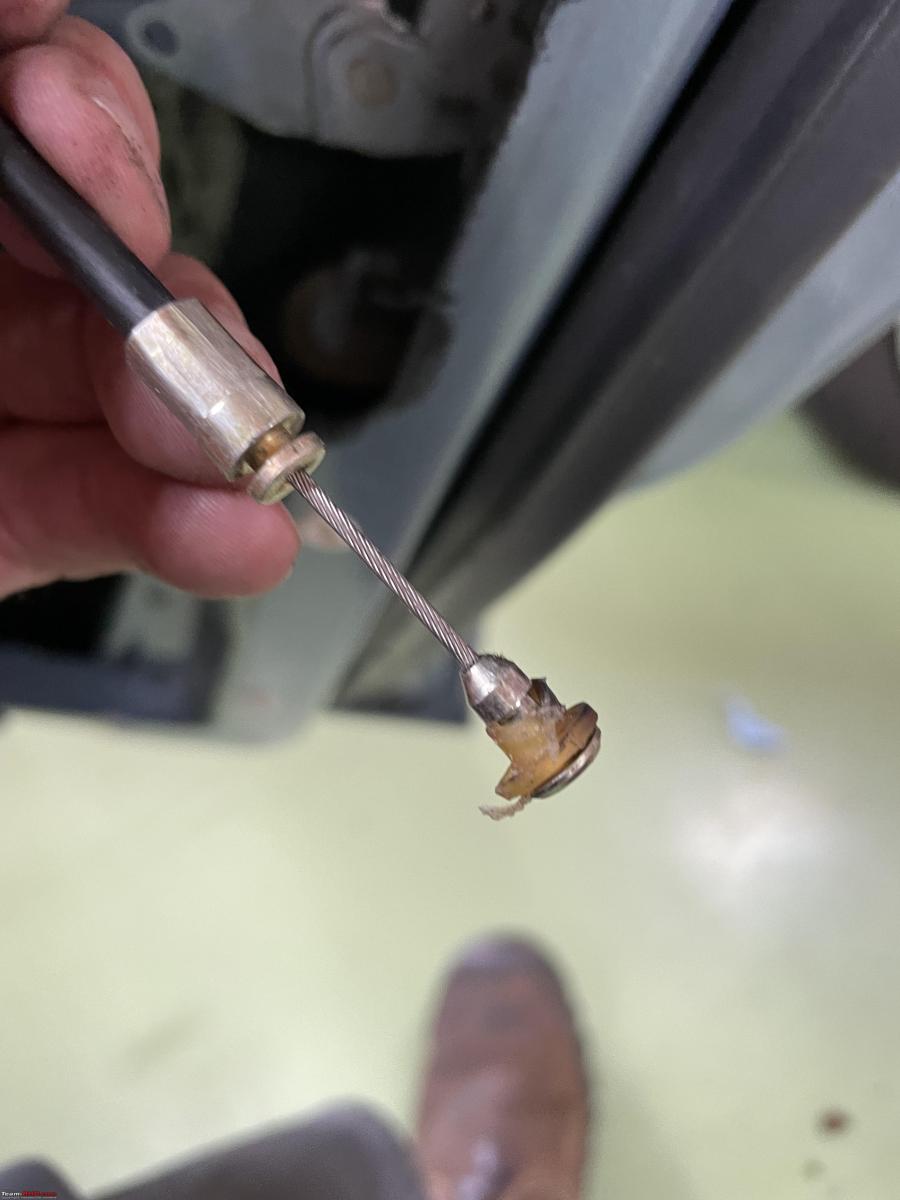
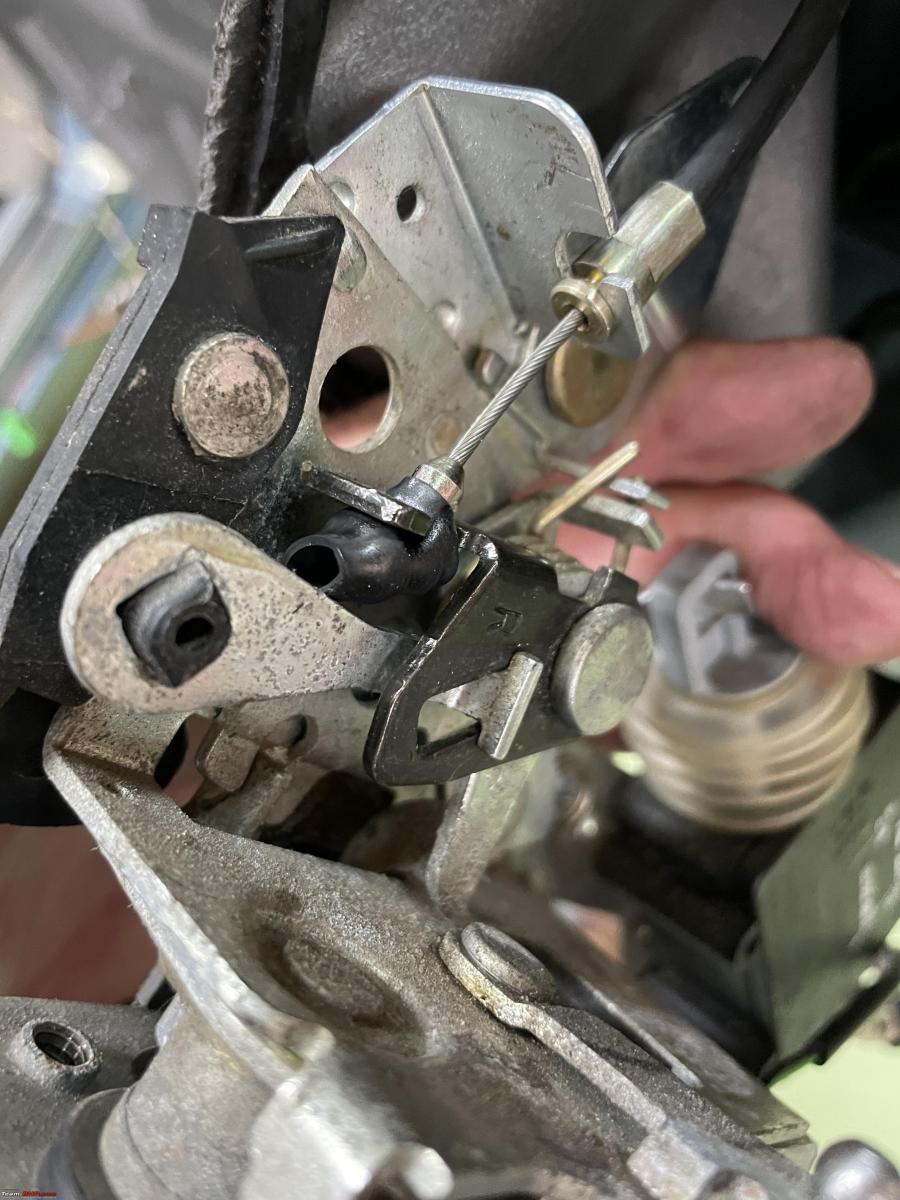
This is the end of the cable linkage between the internal door handle and the lock mechanism. As you can see the cable itself looks fine, but the little rubber sleeve is almost gone.
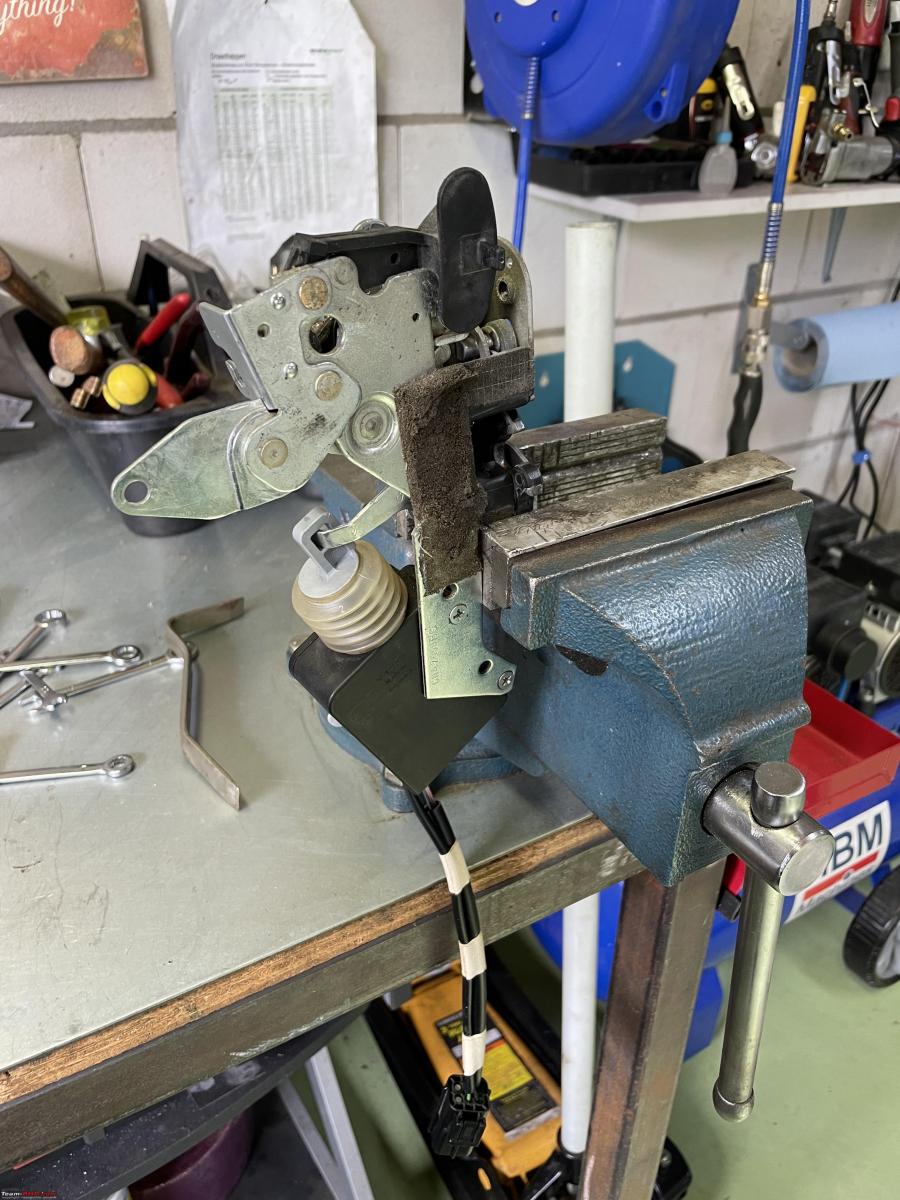
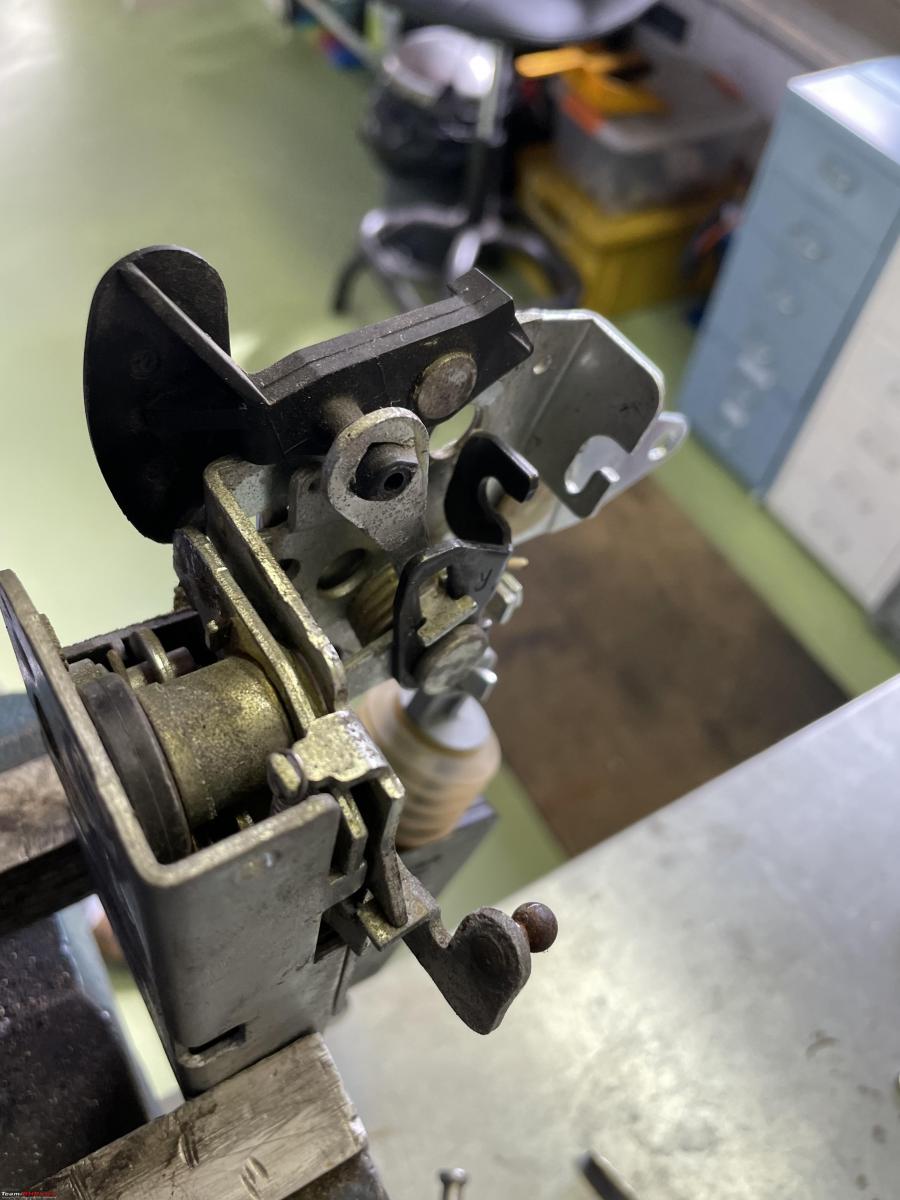
I took the lock to my vise to test it properly.
It is a pretty complicated contraption!
Here you can see how I managed to get that blasted connecting rod off, by slipping the ends of the long nose plier under it, whilst it was still in the door.
Made sure to clean and polish it properly. Put some silicone grease on it too.
I checked all the functions of the lock mechanism and everything worked fine. In the end, I concluded that probably the cable has managed to become loose. Partly due to that broken rubber sleeve and probably also because over the years, some general play and bending have taken place in these parts.
This black plastic lever is the child lock.
Here you can see how the cable is supposed to be fitted to the lock.
I experimented with various O-rings and other rubber pieces to get them to fit more snugly. In the end, a piece of heat shrink tube did the trick.
I also tried to push/pull everything back into its original shape.
Finally, attached some more protective material on the lock edges as some of the old stuff had been pulled off when I removed the lock.
Did a bit more testing and all was fine, so put all the bits back onto the Jaguar. Everything works again. All in all, this relative supposedly easy job took the better part of a whole day. I am sure a Jaguar-trained technician would have done it much quicker. But he might also have replaced the lock and the cable. And they are very, very expensive. So I am very happy with my own DIY solution.
Check out BHPian comments for more insights and information.
Source: Read Full Article
