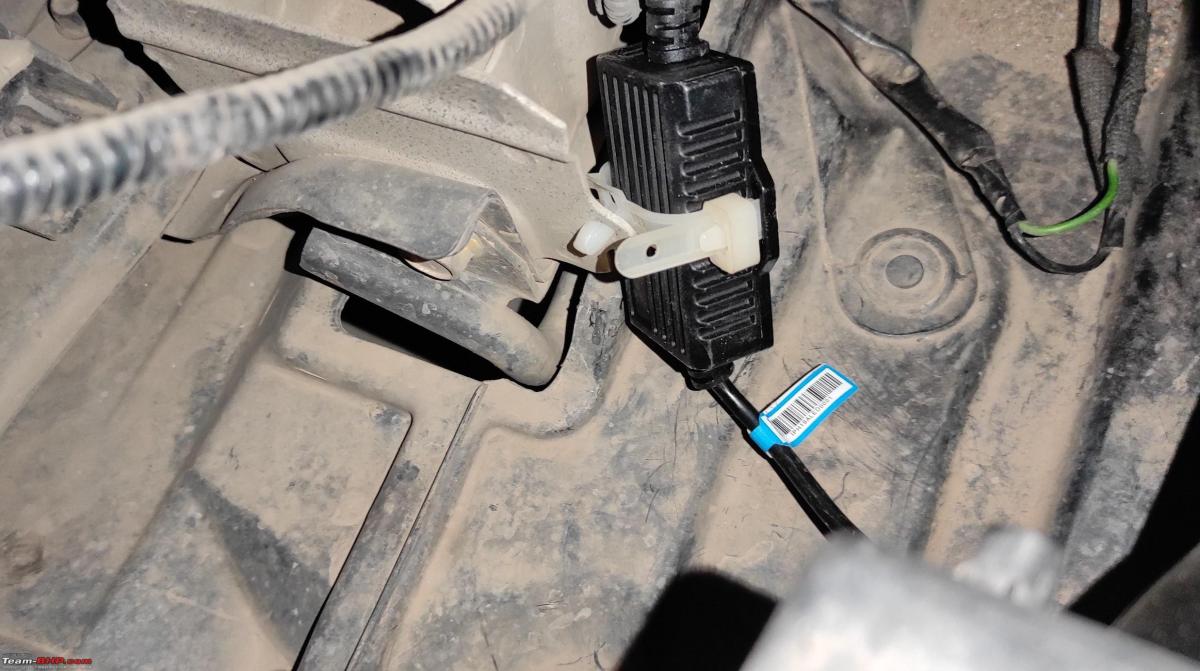
The S-Cross comes with fog lamps which have a small protruding plastic latch that holds the stock fog lamps. These need to be cut so that the mounting bracket for these LEDs can fit in.
BHPian sudeepg recently shared this with other enthusiasts.
Happy Diwali Everyone.
Fog light upgrade:
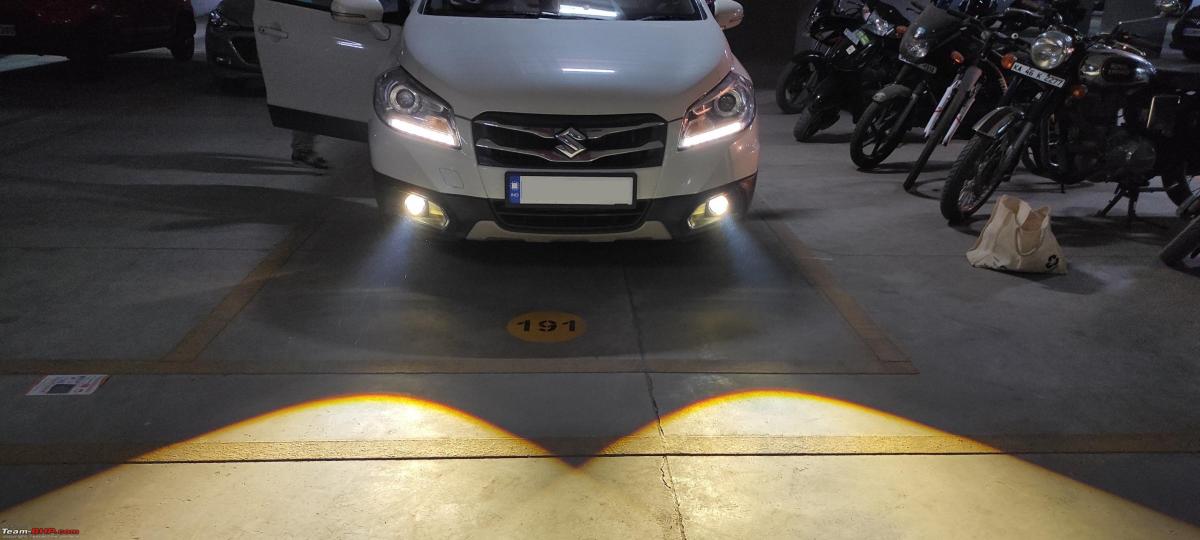
It is a very well-known fact that fog lights, and most OEM lights, are quite dull and ineffective for regular use. The premium offerings from Maruti all come with the dull fog lights that have been in use for years. I had previously used XP Micros on my blue S-Cross and they never failed me, besides providing great light on highways. I wanted to install these fogs in my white S-cross as well and had procured them from Blaze India. As a Diwali gift, I installed them yesterday.
Credits:
- To a good friend and BHPian Ashton Castellino who helped procure the H8/H11 connectors at a reasonable cost & for the good advice during install. Thoroughly enjoyed the conversation on how to go about the installation.
- To my dear son who always helps me with the DIY.
The product:
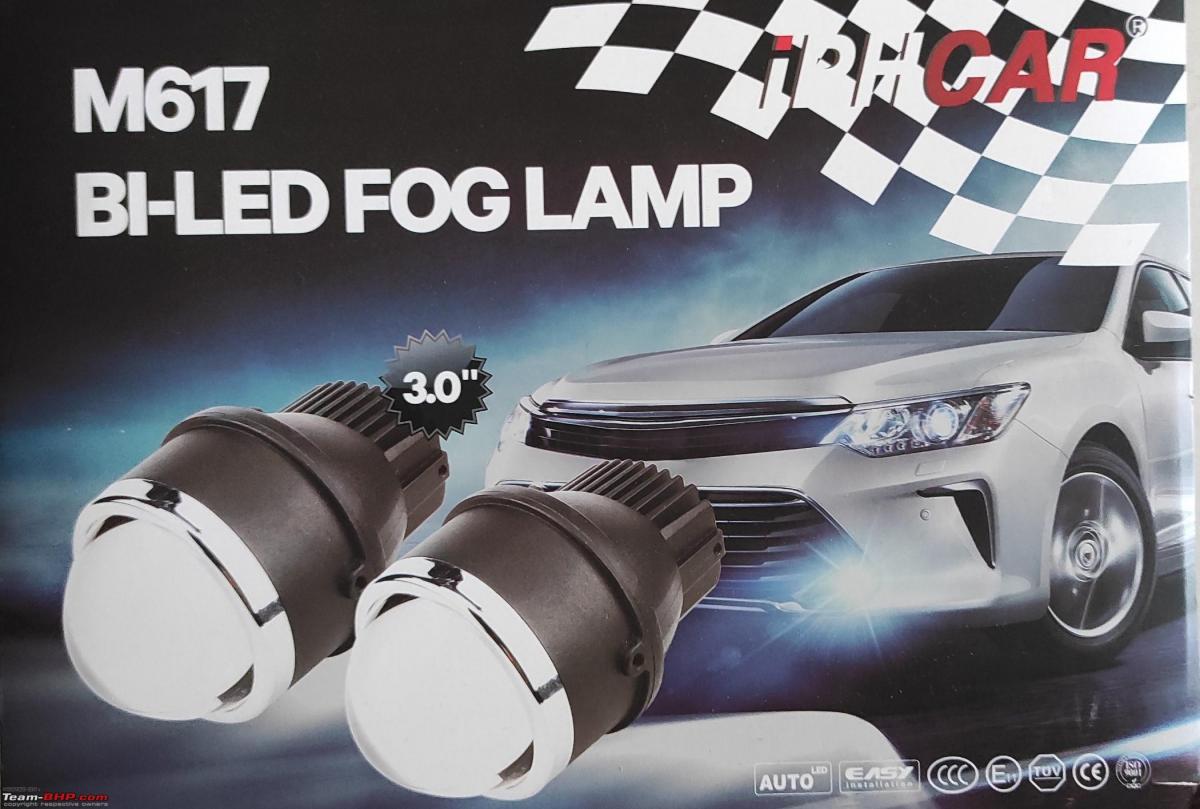
- Make: Sealed IPHCar Bi-LED Fog lamps with high and low beams
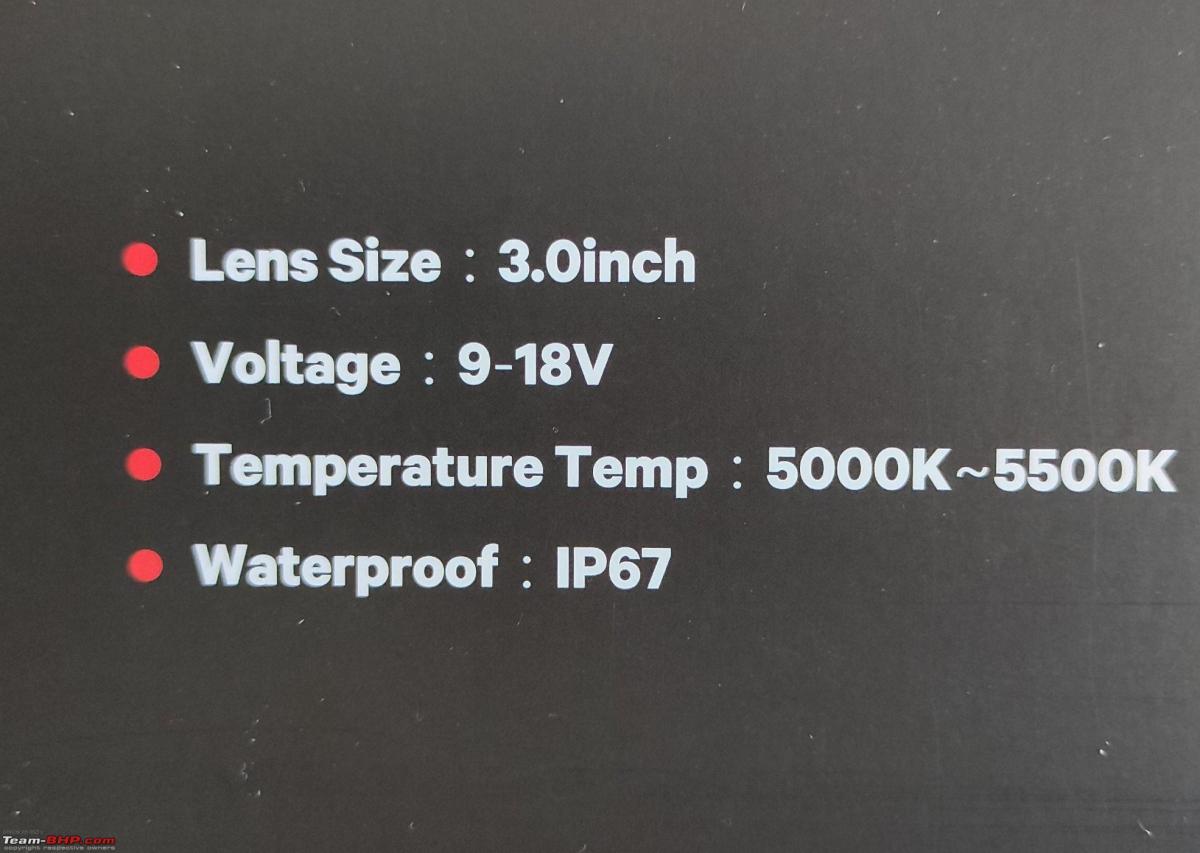
- Lens Size: 3.0 Inch
- Waterproof rating: IP67
- Colours: Yellow (3000K), White (5000-5500K).
- Operating Voltage: 9 – 18 Volts
- Provider: Blaze India
The installation:
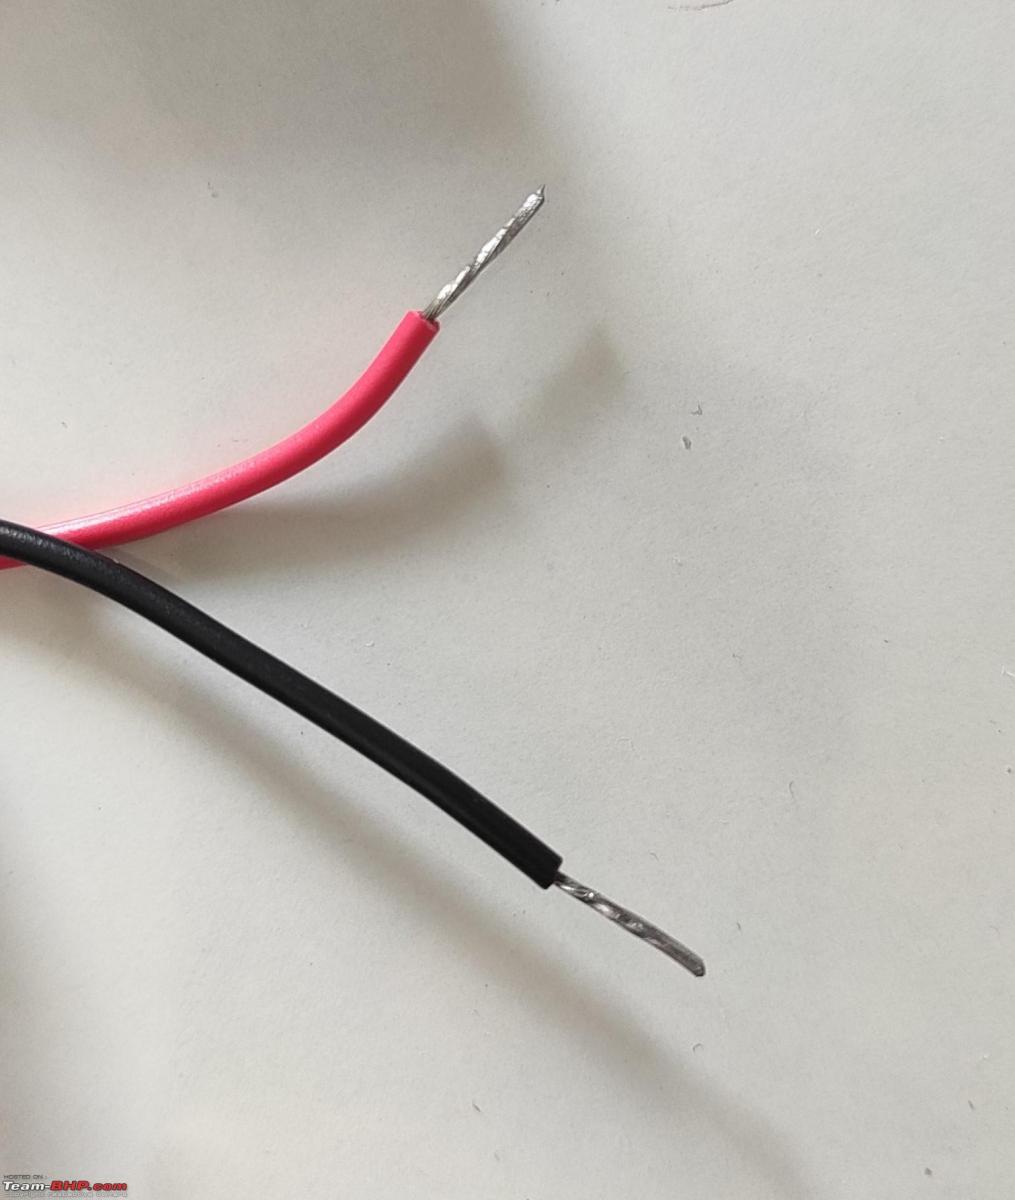
The box says installation is straightforward, but it isn’t so. First, the low and high-beam wires do not come with end connectors for universal compatibility. They come like this:
We have to procure the corresponding waterproof connectors (For S-Cross H8/H11) or resort to using electrical tapes. The latter approach also makes it somewhat difficult to maintain it in the long run since these fogs sit very close to the ground and can be subjected to a lot of water splash.
Secondly, there are multiple problems I encountered when I began the installation:
- The S-Cross comes with fog lamps which have a small protruding plastic latch that holds the stock fog lamps. These need to be cut so that the mounting bracket for these LEDs can fit in.
- The mounting bracket is a curved T Shaped bracket with vertical and horizontal adjustments. It is impossible to tighten them once it is installed due to the lack of space for the Allen key to reach into the screw on the inside area. Not even a short, 90-degree Allen key can access it.
NOTE: Keep in mind that the fogs are mounted in the S-cross from the front side, not from inside the bumper. Even in the case of mounting from inside the bumper, you will need the bumper to be securely mounted before alignment. To reach the inside area of the bumper, you have to remove holding screws which will throw the bumper out of alignment.
- You need two washers to get a good grip on the mounting bracket for the projector. Even then I am 100% sure that due to the vibrations, they will come off by themselves in no time. You have to use a thread locker like Loctite to lock it in, but the issue again is, how do you apply the thread locker since aligning and tightening is impossible (due to the point noted above). If you remove and tighten it by hand, the alignment of the beam will go off. I resorted to using a bit of MSeal to secure the projectors. Unfortunate, but that is what it is.
You will have to bend the bracket a bit to align the mounting holes. I chose not to install the high beams for two reasons:
- One yellow light on high beam can be very distracting.
- The high beam isn’t that tall & I am already having great high beams on the Morimotos.
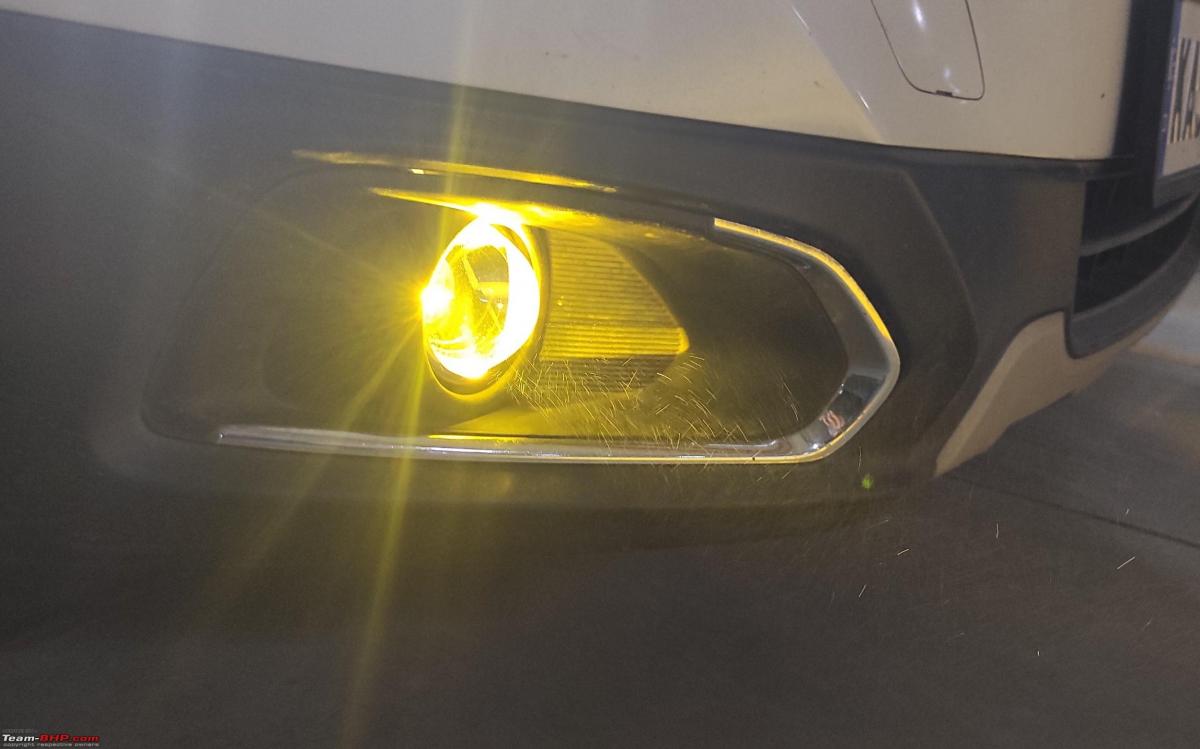
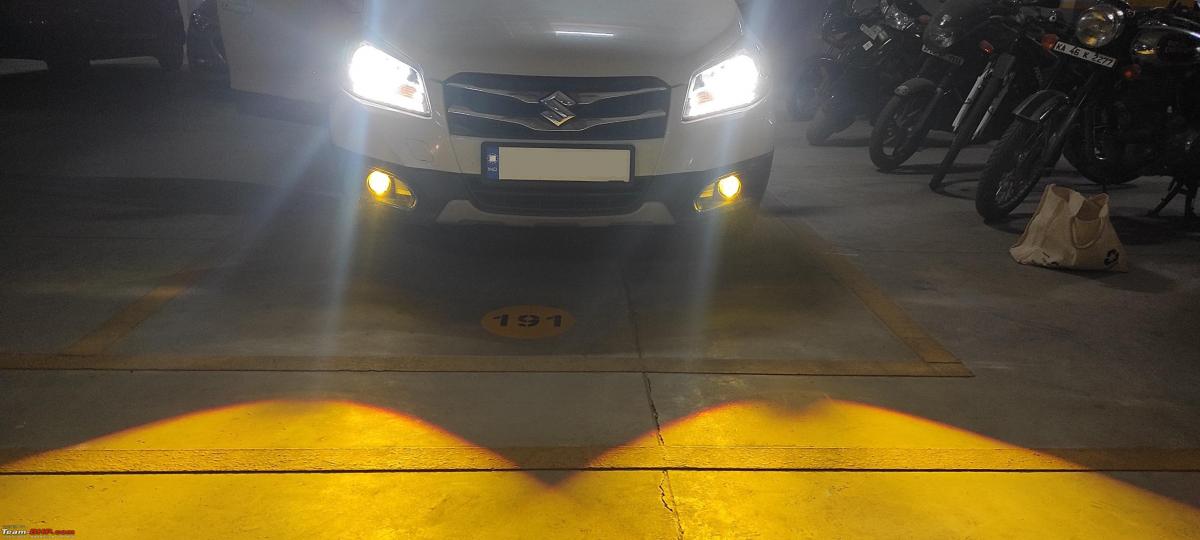
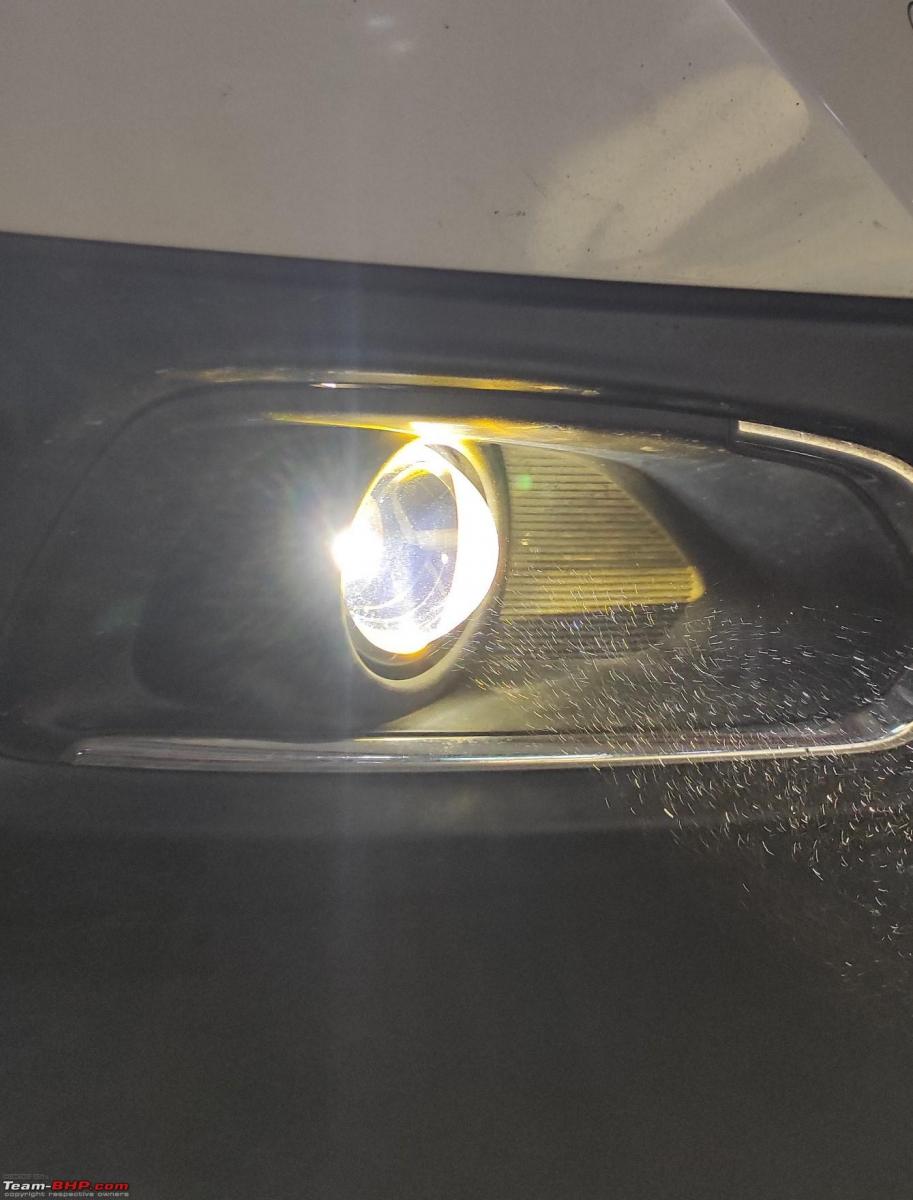
The color is cycled using the fog lamp switch (On/Off)
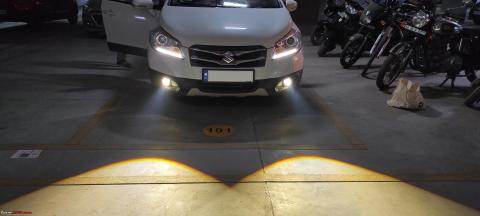
Pictures of the installation:
Check out BHPian comments for more insights and information.
Source: Read Full Article
